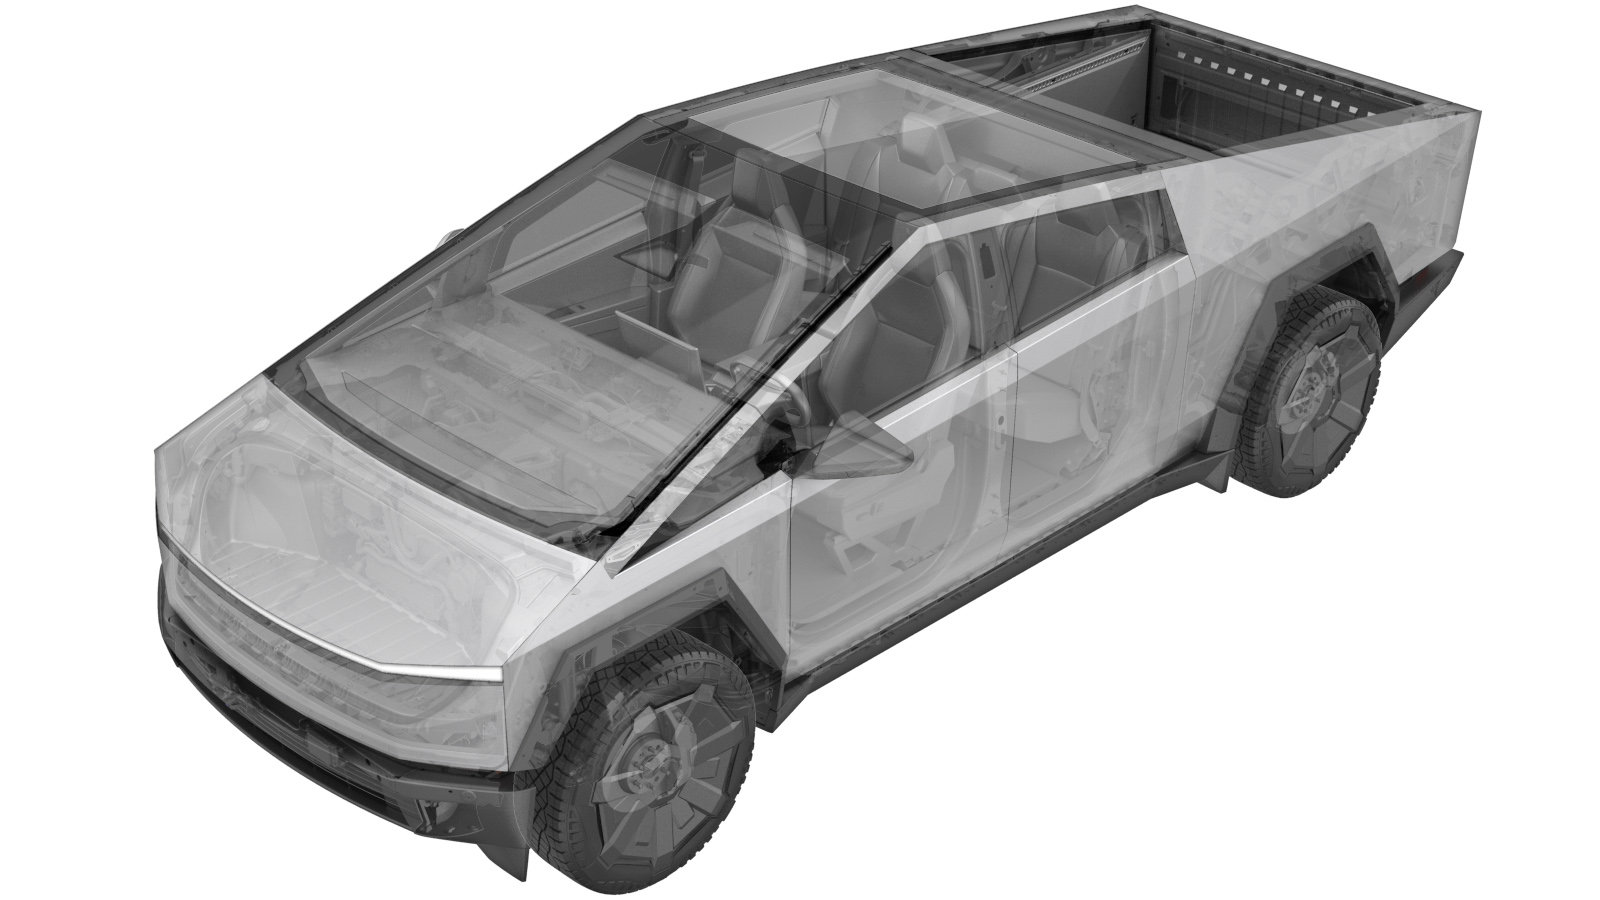
Hose - Return - Powertrain (Remove and Install)
 Correction code
1830073011
1830073012
FRT
0.84
NOTE: Unless
otherwise explicitly stated in the procedure, the above correction code and
FRT reflect all of the work required to perform this procedure, including
the linked procedures. Do
not stack correction codes unless explicitly told to do so.
NOTE: See Flat Rate Times to learn more about FRTs and how
they are created. To provide feedback on FRT values, email ServiceManualFeedback@tesla.com.
NOTE: See Personal Protection
to make sure wearing proper PPE when performing the below procedure.
NOTE: See Ergonomic Precautions for safe and
healthy working practices.
Remove
- Raise and support the vehicle. See Raise Vehicle - 2 Post Lift.
- Open the LH front door and lower the LH front window.
- Place the vehicle into Service Mode. See Service Mode.
- Unlock the vehicle Gateway. See Gateway (Unlock).
-
On the vehicle touchscreen, tap
Stop Thermal Fill Drain, tap Run, and
allow the routine to complete.
NoteMake sure the routine is successful.
- Remove the rear underhood apron. See Underhood Apron - Rear (Remove and Install).
- Disconnect MV power. See Disconnect MV Power (Modify).
- Remove the front aeroshield. See Aeroshield - Front (Remove and Install).
- Remove the RH front wheel liner. See Wheel Liner - Front - LH (Remove and Replace).
- Place a coolant catcher underneath the RH front of the vehicle.
-
Release the edge clip, disconnect the
powertrain return hose from the battery hose bundle, allow the hose to drain for
approximately 30 seconds, and then plug the fittings.
NoteRelease the spring clip to disconnect the hose from the battery hose bundle.
- Lower the vehicle until the tires are touching the ground.
- Remove the frunk assembly. See Frunk Assembly (Remove and Install).
-
Release the spring clip, disconnect
the powertrain return hose from the supermanifold, and then plug the fittings.
- Raise the vehicle fully.
-
Release the edge clips (x2) and spring
clip, disconnect the powertrain return hose, plug the fittings, and then remove the hose
from the vehicle.
NoteCut the cable tie and discard if present.NoteManipulate hose as needed for removal.
Install
-
Install the powertrain return hose
into the vehicle, and then secure the edge clips (x2) and spring clip.
NoteManipulate the hose as needed for installation.NoteInstall the cable tie and trim flush if present during removal.NotePerform a push-pull-push test to ensure the hose is fully engaged.
-
Connect the powertrain return hose to the battery hose bundle and secure the spring
clip, and then secure the edge clip.
NotePerform a push-pull-push test to ensure the hose is fully engaged.
- Install the RH front wheel liner. See Wheel Liner - Front - LH (Remove and Replace).
- Install the front aeroshield. See Aeroshield - Front (Remove and Install).
- Lower the vehicle until the tires are touching the ground.
-
Connect the powertrain return hose to the supermanifold and secure the spring
clip.
- Install the frunk assembly. See Frunk Assembly (Remove and Install).
- Perform cooling system vacuum refill. See Cooling System (Vacuum Refill).
- Reconnect MV power. See Disconnect MV Power (Modify).
- Tap Thermal System Performance Test, click Run, and allow the routine to complete.
-
Inspect the coolant level and top off
as necessary.
NoteMake sure the fluid level is at the Max line.
-
Install the coolant bottle cap.
- Install the rear underhood apron. See Underhood Apron - Rear (Remove and Install).
- Remove the vehicle from the lift. See Raise Vehicle - 2 Post Lift.
- Raise the LH front window and close the LH front door.