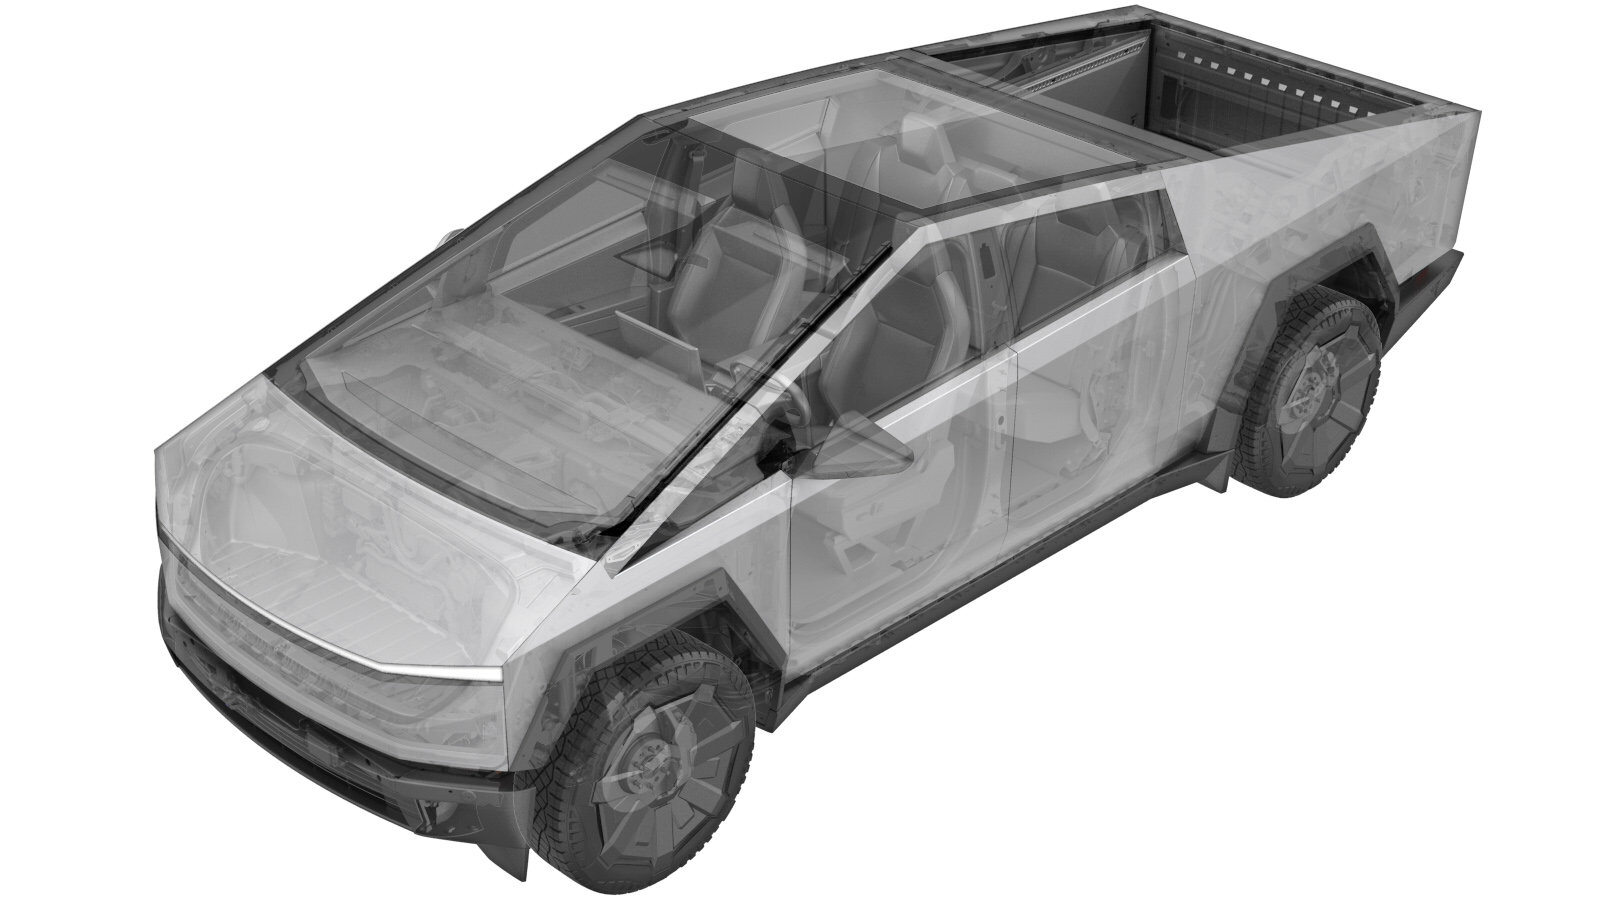
A/C Refrigerant (Recovery and Recharge)
 Correction code
18200102
FRT
1.32
NOTE: Unless
otherwise explicitly stated in the procedure, the above correction code and
FRT reflect all of the work required to perform this procedure, including
the linked procedures. Do
not stack correction codes unless explicitly told to do so.
NOTE: See Flat Rate Times to learn more about FRTs and how
they are created. To provide feedback on FRT values, email ServiceManualFeedback@tesla.com.
NOTE: See Personal Protection
to make sure wearing proper PPE when performing the below procedure.
NOTE: See Ergonomic Precautions for safe and
healthy working practices.
- 2025-10-30: Added guidance to consider A/C desiccant bag replacement.
- 2024-12-19: Updated oil type to POE RB100EV.
- 2024-03-04: Added step to reconnect MV power if disconnected during removal of component.
- 1711245-00-A Snap On Ecotechnics Dual Gas AC Machine
Recovery
- Perform a calibration check of the A/C machine. Refer to the A/C machine operator’s manual for instructions on how to perform a calibration check of the A/C machine. If the machine fails the calibration check, do not use the machine until a service representative has calibrated the A/C machine.
- Inspect the entire length of the hoses and fittings for degradation, cracks, or damage. Make sure that the condition of the hoses and fittings is such that they will not leak when in service.
- Inspect the A/C machine’s power supply cord and plug that they are not damaged and the insulation has not been compromised in any way.
- Make sure to use the appropriate type of A/C oil.
- Set up the A/C machine.
- Put the vehicle in Service Mode. See Service Mode.
- Unlock the vehicle gateway. See Gateway (Unlock).
-
Navigate to Refrigerant System on the
vehicle touchscreen.
NoteTouch Service Mode > Thermal > Refrigerant System
-
Touch Start Thermal Fill Drain (Refrigerant
only).
NoteAllow routine to complete. Ensure routine is successful.
- Open the powered frunk.
- Remove the rear underhood apron. See Underhood Apron - Rear (Remove and Install).
- Remove the frunk. See Frunk Assembly (Remove and Install).
-
Remove the caps from the A/C high
pressure and low pressure ports.
-
Connect the red high pressure hose to
the A/C high pressure port, and the blue low pressure hose to the A/C low pressure
port.
NoteThe high pressure and low pressure ports are of different sizes, and match the hose couplers accordingly.NotePull back the frunk wall if installed to access the low side port.
-
Follow the A/C machine instructions
for recovering refrigerant and oil from the vehicle.
NoteThe A/C machine will chime when recovery is complete.
-
Take note of or print the amount of
refrigerant and oil recovered after recovery is complete.
-
Determine whether the A/C desiccant
bag should be replaced.
NoteIf A/C refrigerant is being extracted due to thermal system service and the A/C desiccant has not been replaced in the amount of time listed below, replace the A/C desiccant bag. Add correction code 18405432 (heat pump) or 18205432 (non-heat pump) to the same Service Activity as the other thermal system correction(s) being performed.
- Model S
- Model X:
- Model 3:
- 2017–2021 (non-heat pump): 6 years
- 2021+ (heat pump): 4 years
- Model Y (2020–2024) (2025+): 4 years
- Cybertruck: 8 years
A/C Vacuum and Run Leak Test
-
Set vacuum time to 15 minutes and leak test to ON.
NoteMachine will chime once the process is completed.NoteVehicle may be left unattended.NoteVerify leak test passed before continuing.
Recharge
-
Perform the A/C recharge.
NoteEnter refrigerant and oil amount noted at AC recovery. Settings should match notes. Select Both Sides for charge. Select POE RB100EV using bottle icon.NoteMachine will chime once the process is completed.NoteVehicle may be left unattended.NoteIf desired, use the Dye Inject option to inject leak detection dye.
- Reconnect MV power if disconnected during removal. See Disconnect MV Power (Modify).
-
On the vehicle touchscreen, navigate
to Refrigerant System.
NoteTouch Service Mode > Thermal > Refrigerant System
-
Touch Stop Thermal Fill
Drain.
NoteAllow routine to complete. Ensure routine is successful.
-
Perform the Heat Pump Commissioning
through the touchscreen.
NoteTouch Thermal > Sensors and Valves > Run Heat Pump Commissioning, and then click Run. Close once routine is passed.
-
Proceed with the Hose Equalize steps
to complete the A/C recharge process and follow instructions displayed on the A/C
machine.
NoteDisconnect high side coupler from the vehicle, turn the A/C on, temperate setting LO, panel mode on, fresh air mode on, and blower speed set to 10.NoteVerify Hose Equalize settings. Verify discharge pressure does not exceed 26 bar and suction pressure is not below 1.15 bar.
-
Install the caps (x2) onto the A/C
ports
Performance Tests
-
Perform Thermal Performance through
the touchscreen.
NoteTouch Thermal > Actions > Test Thermal Performance, and then click Run. Close once the routine is completed.NoteIf thermal test fails, see https://toolbox.teslamotors.com/articles/206000.
Install
- Install the frunk. See Frunk Assembly (Remove and Install).
- Install the rear underhood apron. See Underhood Apron - Rear (Remove and Install).
- Close the powered frunk.
- Exit Service Mode. See Service Mode.
- Test to make sure the climate control system functions properly.