2026-06-25
Raise Vehicle - 2 Post Lift
Warning
Before raising Cybertruck on a 2 post lift, fully read and understand Vehicle Weight Information and Lifting Precautions.
Warning
This procedure is a DRAFT.
Although it has been validated, Warnings and Cautions might be missing. Follow safety
requirements and use extreme caution when working on or near High Voltage systems and
components.
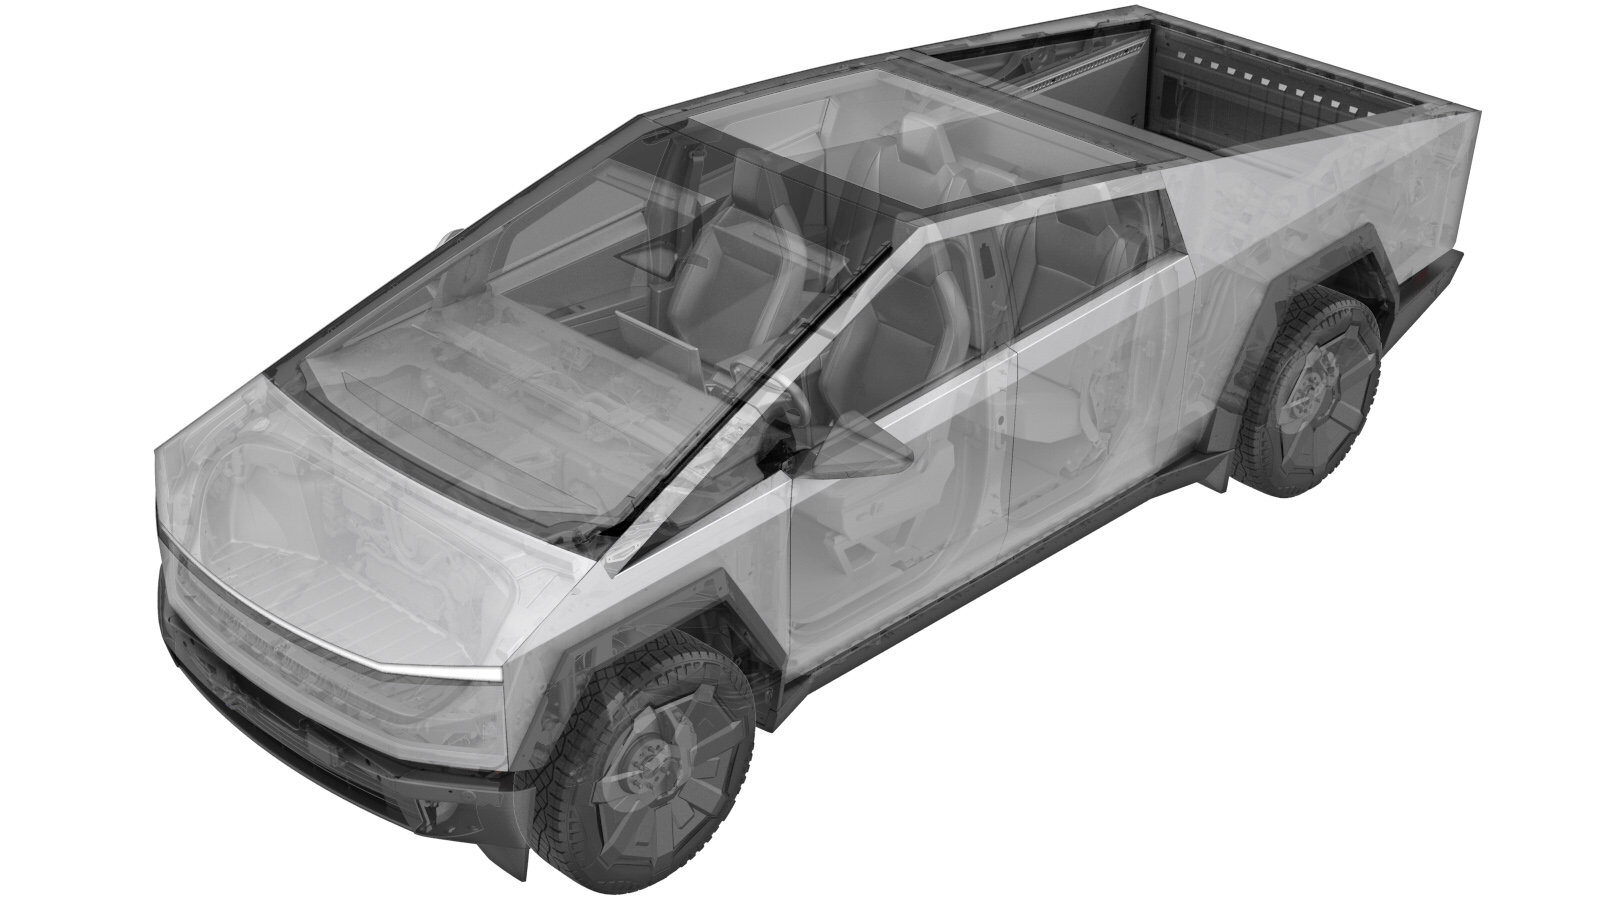
- 2026-06-25: Added more images to help locate the rocker lift points.
Equipment:
- 1936724-00-A - Universal Lift Pad adapters
Raise
Warning
To
reduce the risk of personal injury, use appropriate equipment while performing this
operation.
Warning
Do not work on an incorrectly supported
vehicle.
-
Disconnect the charging cable from the vehicle.
WarningDo not attach the charging cable to the charge port while the vehicle is on the lift.CAUTIONPerform a visual check of the lift according to the equipment operator's manual before using the lift.
- Move the lifting arms fully outward.
- Move the vehicle to the lift, position the vehicle centrally between the lift posts, and make sure that the steering wheel is in line with the lift posts.
-
On the vehicle touchscreen, touch to activate Jack Mode.
- If servicing the HV battery, prepare the vehicle for lifting via the rocker lift points. See Lift Via Rocker Lift Points. Otherwise, continue to the next step.
-
Position the front and rear lifting arm pads under the vehicle lift points on the HV battery as shown.
- Adjust the lifting arm pads to the optimum height.
- Make sure that the hood, tailgate, and all doors are closed, unless necessary for the work to be performed.
- Check that the arms are correctly located, and make sure that no part of the vehicle is in danger of contacting the ceiling, tool boxes, or other items in the service area when the vehicle is raised.
-
Raise the vehicle slightly, and check the following:
- Make sure all 4 pads are in the correct position.
- Check the balance of the vehicle.
- Make sure that the four arms are properly locked and cannot rotate.
CAUTIONIf the procedure requires the hood, tailgate, or doors to be open while the vehicle is raised, closely watch their position as the vehicle is being raised to avoid contact with the lift mechanism, ceiling, or objects hanging from the ceiling. -
Raise the vehicle to the necessary service height, and then lower the lift until the safety locks are properly engaged.
WarningMake sure the safety locks are engaged before servicing the vehicle. Failure to do so could result in damage to the vehicle and/or personal harm.
Lower
- Make sure that no tools, equipment, other items, or personnel are under the vehicle or under any open doors.
-
Disengage any lift safety locks, and fully lower the vehicle.
WarningTo avoid injuries, stay clear from the vehicle.WarningMake sure there's an audible click of the locks on both sides before lowering, otherwise vehicle may tilt to the side.
- Move the lifting arms fully out from under the vehicle, and lower the lifting pads.
- Close any open hood, tailgate, or doors as necessary.
-
On the vehicle touchscreen, touch to deactivate Jack Mode.
-
Remove the vehicle from the lift.
-
If the vehicle was prepared for lifting via the rocker lift points, perform the following:
Lift Via Rocker Lift Points
- Remove the LH and RH front rocker step reinforcement rocker panel trims. See Rocker Step Reinforcement - Front - LH (Remove and Install).
- Remove the LH and RH rear rocker step reinforcement rocker panel trims. See Rocker Step Reinforcement - Rear - LH (Remove and Install).
- Remove the original 2 post lift arm pads (x4) from the lift arms.
-
Install the universal lift pad adapters (x4) on the 2 post lift arms.
-
Align the universal lift pad adapter pins (x4) with the lift point holes on the vehicle body.
Figure 1. Rocker mounting point locations - Return to step 7 "Adjust the lifting arm pads to the optimum height."