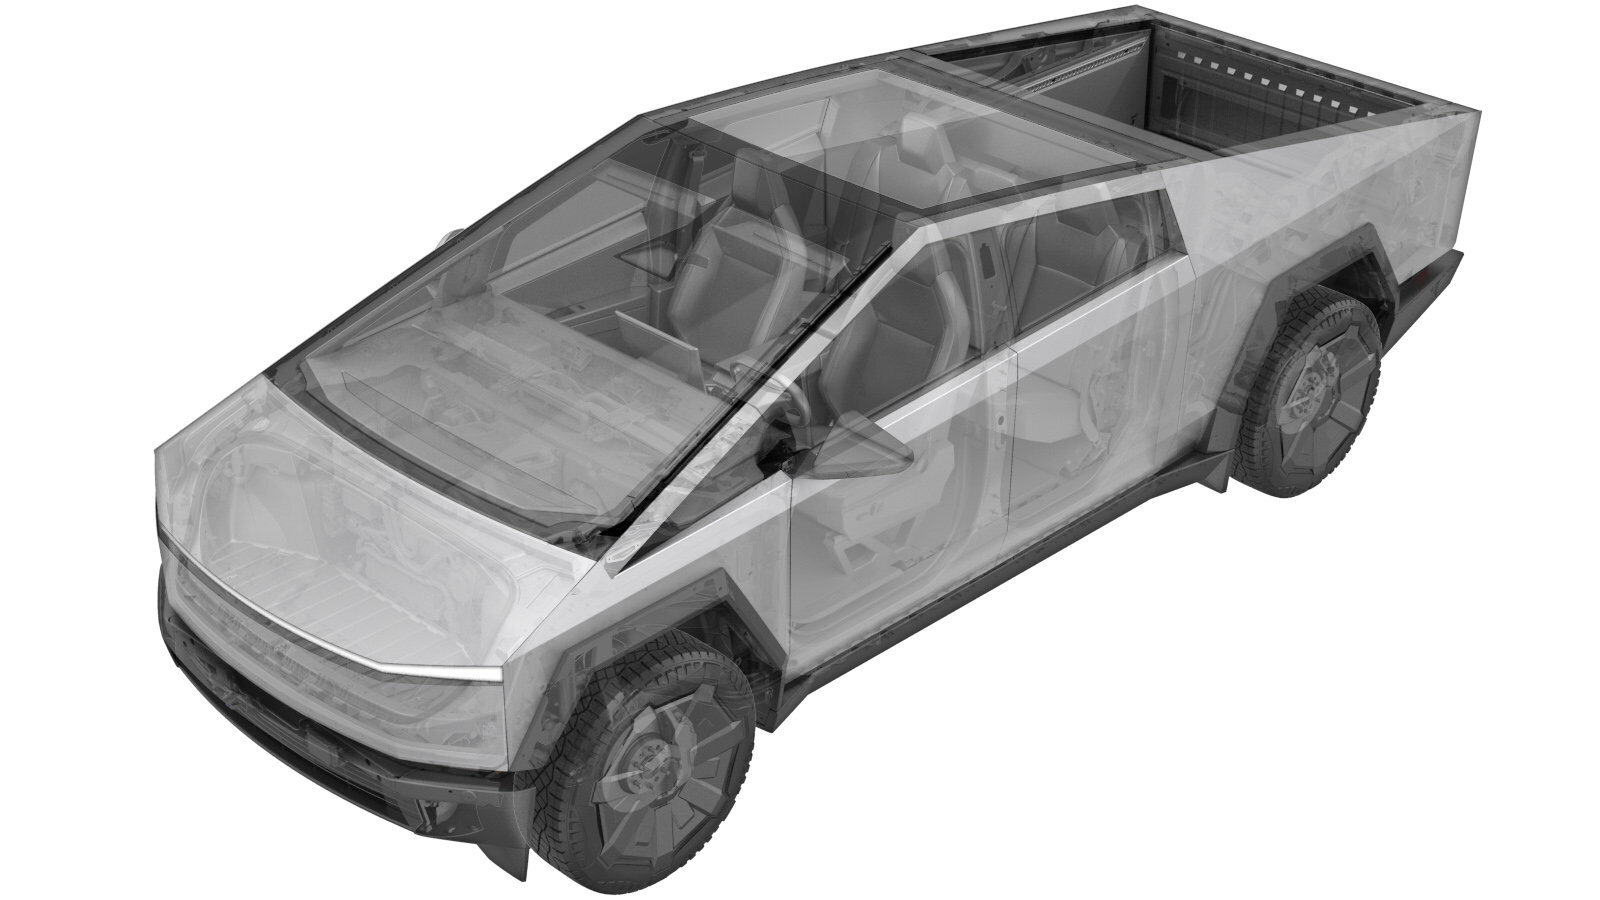
Overhead Console Assembly - Front (Remove and Install)
 Correction code
1505103011
FRT
0.12
NOTE: Unless
otherwise explicitly stated in the procedure, the above correction code and
FRT reflect all of the work required to perform this procedure, including
the linked procedures. Do
not stack correction codes unless explicitly told to do so.
NOTE: See Flat Rate Times to learn more about FRTs and how
they are created. To provide feedback on FRT values, email ServiceManualFeedback@tesla.com.
NOTE: See Personal Protection
to make sure wearing proper PPE when performing the below procedure.
NOTE: See Ergonomic Precautions for safe and
healthy working practices.
- 2025-12-01: Added step to release front edge of front header trim.
Remove
- Open the LH front door and lower the LH front window.
- Pivot the LH and RH visors to the sides.
-
Release the front edge of the front header trim.
-
Pull the front overhead console
assembly downward to release the clips (x2), disconnect the electrical connector, and
then remove the assembly from the vehicle.
CAUTIONDo not allow the assembly to hang from the harness.
Install
-
Position the front overhead console
assembly into the vehicle, connect the electrical connector, and then secure the clips
(x2) that attach the assembly to the vehicle.
NoteReplace any missing or damaged clips.NotePush the assembly firmly into place to secure.
-
Secure the front edge of the front header trim.
- Move LH and RH visors to the original positions.
- Raise the LH front window and close the LH front door.