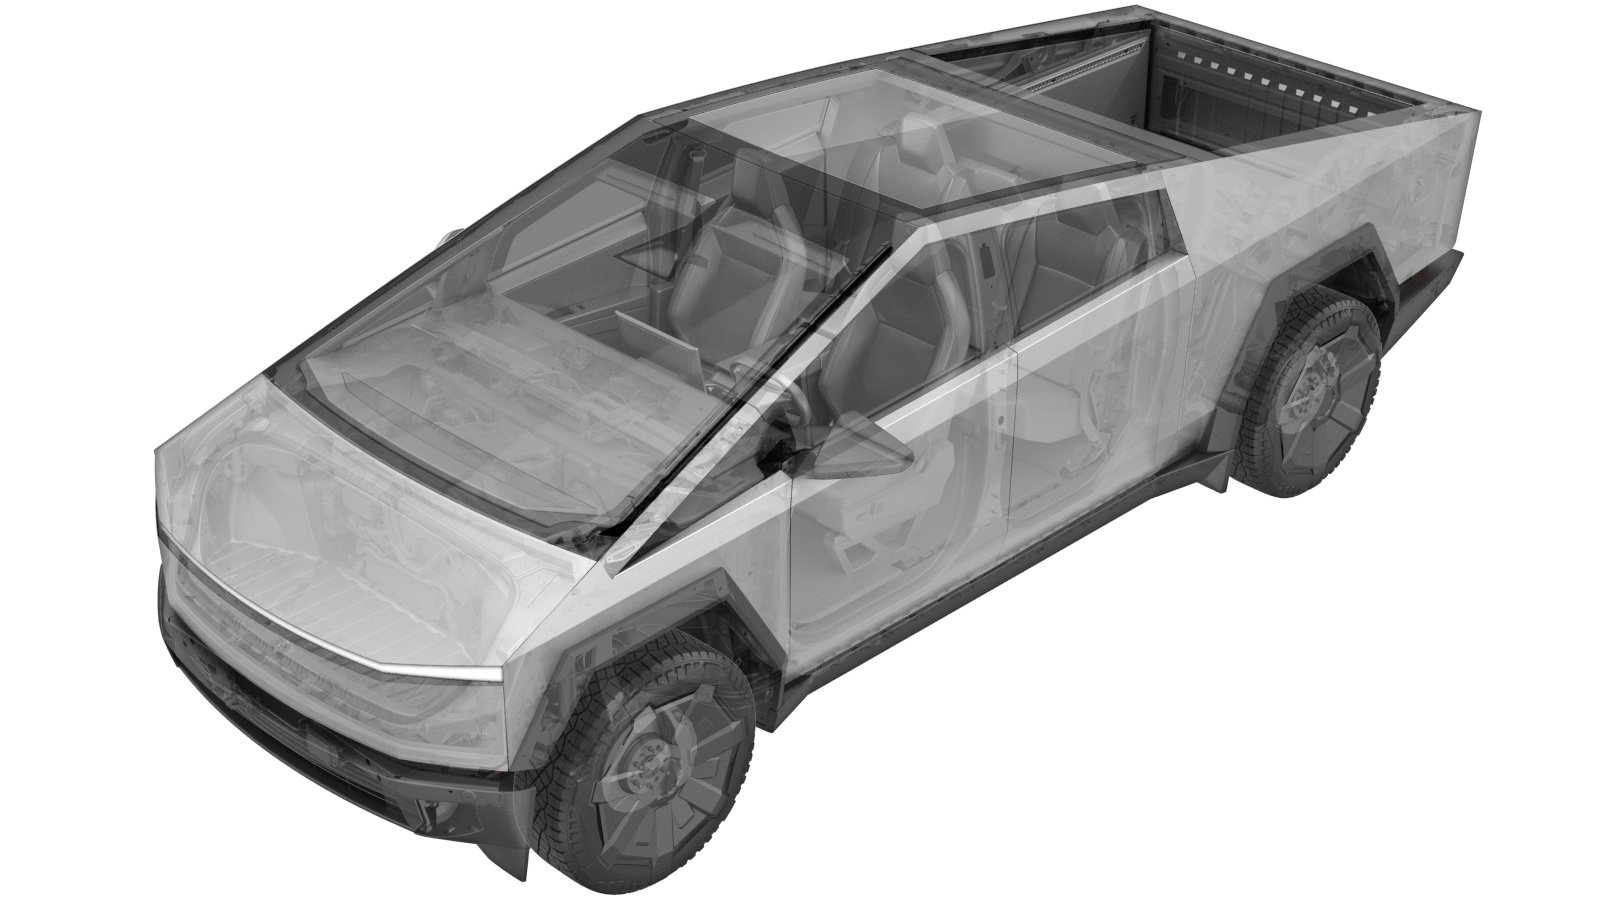
Gearbox Fluid - Front Drive Unit (Drain and Fill) (Remove and Replace)
 Correction code
39300102
FRT
0.48
NOTE: Unless
otherwise explicitly stated in the procedure, the above correction code and
FRT reflect all of the work required to perform this procedure, including
the linked procedures. Do
not stack correction codes unless explicitly told to do so.
NOTE: See Flat Rate Times to learn more about FRTs and how
they are created. To provide feedback on FRT values, email ServiceManualFeedback@tesla.com.
NOTE: See Personal Protection
to make sure wearing proper PPE when performing the below procedure.
NOTE: See Ergonomic Precautions for safe and
healthy working practices.
- 2025-01-14: Noted that additional diagnosis may be necessary if over 300 mL of fluid was added.
- 2025-01-06: Added note to record the amount of fluid added.
- 2024-12-23: Added note that Cybertruck drive unit gearbox fluid drain procedures are under development.
Drain
Refill
- Raise and support the vehicle on a 2 post lift. See Raise Vehicle - 2 Post Lift.
- Open the LH front door and lower the LH front window.
- Remove the front aeroshield. See Aeroshield - Front (Remove and Install).
-
Position a fluid catcher under the
Front Drive Unit (FDU).
-
Remove the oil fill plug from the
FDU.
 15 Nm (11.1 lbs-ft)TIpUse of the following tool(s) is recommended:
- 8 mm Allen
NoteVerify the O-ring is not damaged. Replace the O-ring as needed. -
Inspect the oil fill plug O-rings. If it is damaged, replace the oil fill plug.
-
Release the clips (x2) that attach the RH side of the acoustic cover to the lower portion of the acoustic cover.
-
Release the clips (x2) that attach the RH side acoustic cover to the FDU.
NoteRoute the caustic cover between the front subframe and the halfshaft.
-
Set up fill kit with KAF1.
NoteAdd extra fluid to container as it will prevent underfill and additional air being injected.CAUTIONOnly use KAF1 fluid for the front drive unit. Do not interchange or mix fluid types.
-
Position the oil pump hose into the FDU fill hole.
-
Pump fluid into the FDU until fluid
spills out of the fill hole.
CAUTIONIf over 500 mL of gearbox fluid was added to the drive unit, additional diagnosis may be needed.NoteNote in the Service Visit the amount of fluid added to the drive unit.
-
Remove the oil pump hose from the FDU fill hole.
NoteTurn off the valve, and then remove the hose from the fill hole.
-
Spray the area with brake cleaner and wipe any residual fluid.
-
Fasten the clips (x2) that attach the RH side acoustic cover to the FDU.
NoteRoute the cover between the front subframe and the halfshaft.
-
Fasten the clips (x2) that attach the RH side acoustic cover to the lower portion of the acoustic cover.
-
Install the oil fill plug onto the FDU.
 15 Nm (11.1 lbs-ft)TIpUse of the following tool(s) is recommended:
- 8 mm Allen
NoteVerify the O-ring is not damaged. Replace the O-ring as needed. - Remove the fluid catcher from underneath the vehicle.
- Install the front aeroshield. See Aeroshield - Front (Remove and Install).
- Remove the vehicle from the lift. See Raise Vehicle - 2 Post Lift.
- Raise the LH front window and close the LH front door.