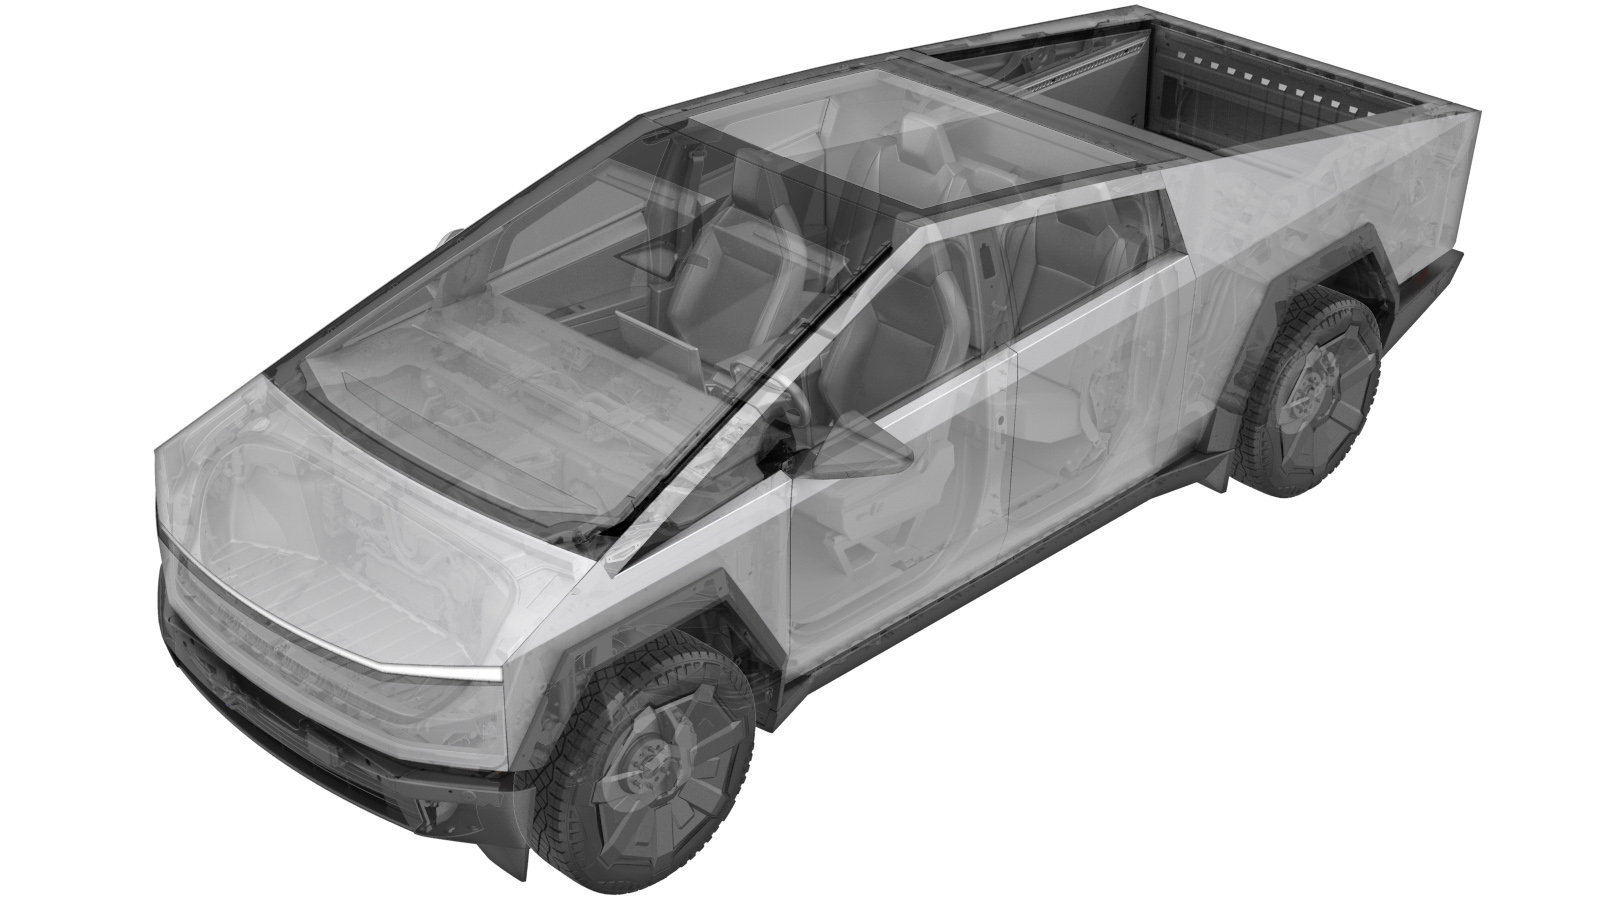
Tonneau Rail - LH (Remove and Install) (Post 11/4/2024)
 Correction code
NA
NOTE: Unless
otherwise explicitly stated in the procedure, the above correction code and
FRT reflect all of the work required to perform this procedure, including
the linked procedures. Do
not stack correction codes unless explicitly told to do so.
NOTE: See Flat Rate Times to learn more about FRTs and how
they are created. To provide feedback on FRT values, email ServiceManualFeedback@tesla.com.
NOTE: See Personal Protection
to make sure wearing proper PPE when performing the below procedure.
NOTE: See Ergonomic Precautions for safe and
healthy working practices.
-
Open tonneau cover
NotePress forward arrow on LH bed rail
-
Open tailgate
NotePress button to release
-
Remove LH sail applique
Note17x clips, 1x datum, 1x harness clip, 1x connector, Carefully remove RH sail applique from vehicle
-
Inspect LH sail applique
Note17x clips, 1x datum, Inspect for missing clips, Replace missing clips, Replace sail applique if any of the clip towers are broken or missing, Sail applique can only be removed and reinstalled 5 times before it must be replaced due to damage to the clips, If there are already 4 or more marks on the underside of the applique, replace sail applique
-
Remove LH tonneau water management seal
Note1x clip, Pull away from rail to release from groove
-
Remove LH sail applique corner bracket
Note1x bolt, 10mm, 9 Nm, 1x datum
-
Remove LH tonneau rail
Note9x bolts, 10mm, 9 Nm, Lift upwards and slide rearwards to relase
-
Install LH tonneau rail
Note9x bolts, 10mm, 9 Nm, Maneuver rail into position, Fasteners may vary, if needed add new bolt to secure applique corner bracket into place
-
Install RH sail applique corner bracket
Note1x bolt, 10mm, 9 Nm, 1x datum, Align datum onto tonneau rail
-
Install LH tonneau water management seal
Note1x clip, Push seal into rail groove
-
Install LH sail applique
Note17x clips, 1x datum, 1x connector, 1x harness clip, Verify the forward most clips are present and seated correctly, Align RH sail applique into position, Ensure all clips are properly secured onto body, Failure to secure clips could result in part ejection
-
Close tailgate
-
Close tonneau cover