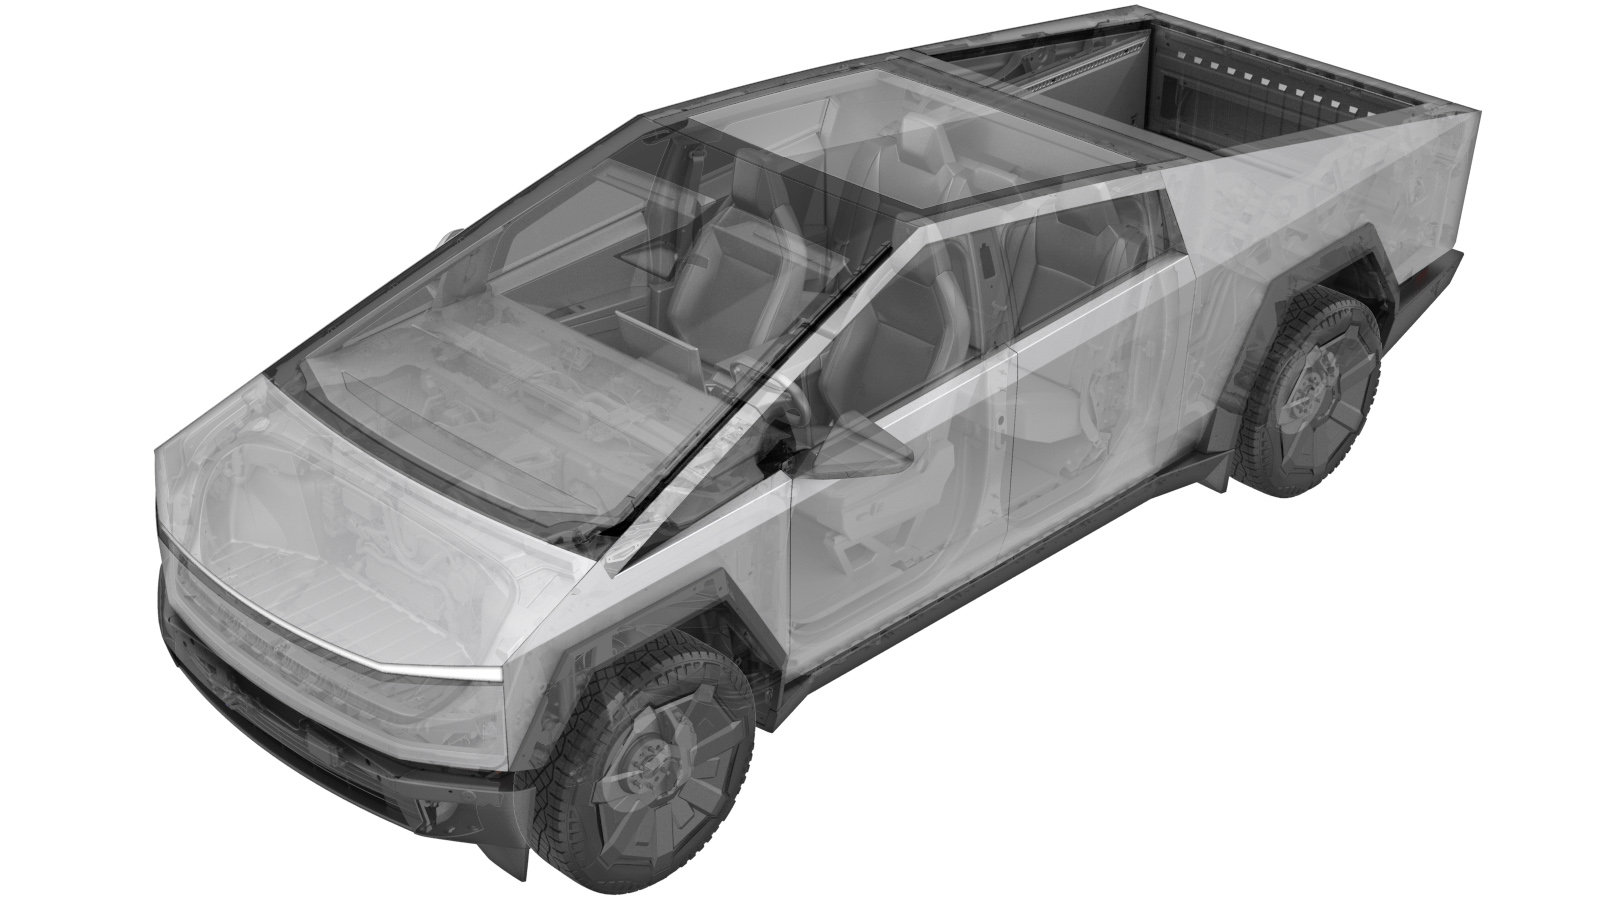
Core - Expansion Valve - Supermanifold (Remove and Install)
 Correction code
1840114111
1840114112
FRT
0.36
NOTE: Unless
otherwise explicitly stated in the procedure, the above correction code and
FRT reflect all of the work required to perform this procedure, including
the linked procedures. Do
not stack correction codes unless explicitly told to do so.
NOTE: See Flat Rate Times to learn more about FRTs and how
they are created. To provide feedback on FRT values, email ServiceManualFeedback@tesla.com.
NOTE: See Personal Protection
to make sure wearing proper PPE when performing the below procedure.
NOTE: See Ergonomic Precautions for safe and
healthy working practices.
- 2024-12-06: Reordered and updated steps to latest time study.
Remove
- This procedure requires refrigerant evacuation and recharge. Add specific evacuation and recharge correction code as needed.
- Open the LH front door and lower the LH front window.
- Recover the AC refrigerant. See A/C Refrigerant (Recovery and Recharge).
- Disconnect MV power. See Disconnect MV Power (Modify).
-
Release the connector lock and
disconnect the harness electrical connectors (x2) from the supermanifold controller, and
then release the harness clip that attaches the Supermanifold harness to the harness
bracket.
-
Remove the bolts (x3) that attach the
Supermanifold controller to the vehicle, and then remove the controller from the
vehicle.
 4 Nm (2.9 lbs-ft)TIpUse of the following tool(s) is recommended:
- 8 mm socket
-
Remove the bolts (x3) that attach the
Supermanifold harness bracket to the Supermanifold.
 8 Nm (5.9 lbs-ft)TIpUse of the following tool(s) is recommended:
- 8 mm socket
-
Release the connector locks, and then
disconnect the harness electrical connectors (x4) from the Supermanifold.
-
Release the Supermanifold harness
bracket and valve coils from the Supermanifold.
NotePull the bracket away while ensuring all the valve coils remain with bracket, excluding one valve coil closest to desiccant plug.NotePivot the harness bracket and coils to the side.NoteMake sure the coil seals remain on the valve cores.
-
Remove the expansion valve core.
 19 Nm (14.0 lbs-ft)NoteDepending on valve core being removed, a PT sensor socket may be required in place of 28mm socket.TIpUse of the following tool(s) is recommended:
- 28 mm 12-point deep socket
Install
- Lubricate the O-ring on the expansion valve core before installation.
-
Install the expansion valve core.
 19 Nm (14.0 lbs-ft)CAUTIONTighten the sensor by hand to ensure the O-rings seat correctly.NoteDepending on valve core being removed, a PT sensor socket may be required in place of 28mm socket.TIpUse of the following tool(s) is recommended:
- 28 mm 12-point deep socket
-
Reconnect the A/C hoses to the
vehicle.
- Perform A/C vacuum and run leak test. See A/C Refrigerant (Recovery and Recharge).
-
Remove the low side AC hose from the
Supermanifold to HVAC AC line assembly.
-
Use an oil injector to add measured
amount of oil back into the system.
NoteUse calculated oil loss measurement and add new RB100EV oil into the system. If more than 30 mL was drained out during recovery, refer to drained oil loss chart: Toolbox article 353700.
-
Install the low side AC hose to the
Supermanifold to HVAC AC line assembly.
- Recharge the A/C refrigerant. See A/C Refrigerant (Recovery and Recharge).
-
Position the Supermanifold harness bracket and valve coils onto the
Supermanifold.
NotePosition the Supermanifold harness bracket and coils onto the valve cores. Rotate the coils as needed for alignment. Make sure the coil seals are all in place.
-
Connect the harness electrical connectors (x4) to the Supermanifold, and then engage
the connector locks.
-
Install the bolts (x3) that attach the
Supermanifold harness bracket to the Supermanifold.
 8 Nm (5.9 lbs-ft)TIpUse of the following tool(s) is recommended:
- 8 mm socket
-
Position the Supermanifold controller
into the vehicle, and then install the bolts (x3) that attach the controller to the
vehicle.
 4 Nm (2.9 lbs-ft)TIpUse of the following tool(s) is recommended:
- 8 mm socket
-
Connect the harness electrical
connectors (x2) to the Supermanifold controller, engage the connector locks, and then
install the harness clip that attaches the Supermanifold harness to the harness
bracket.
- Reconnect MV power. See Disconnect MV Power (Modify).
- Continue performing A/C recharge procedure and use the vehicle touchscreen to perform Thermal Performance test. See A/C Refrigerant (Recovery and Recharge).
- Exit Service Mode. See Service Mode.
- Install the frunk assembly. See Frunk Assembly (Remove and Install).
- Install the rear underhood apron. See Underhood Apron - Rear (Remove and Install).
- Raise the LH front window and close the LH front door.
- This procedure requires refrigerant evacuation and recharge. Add specific evacuation and recharge correction code as needed.