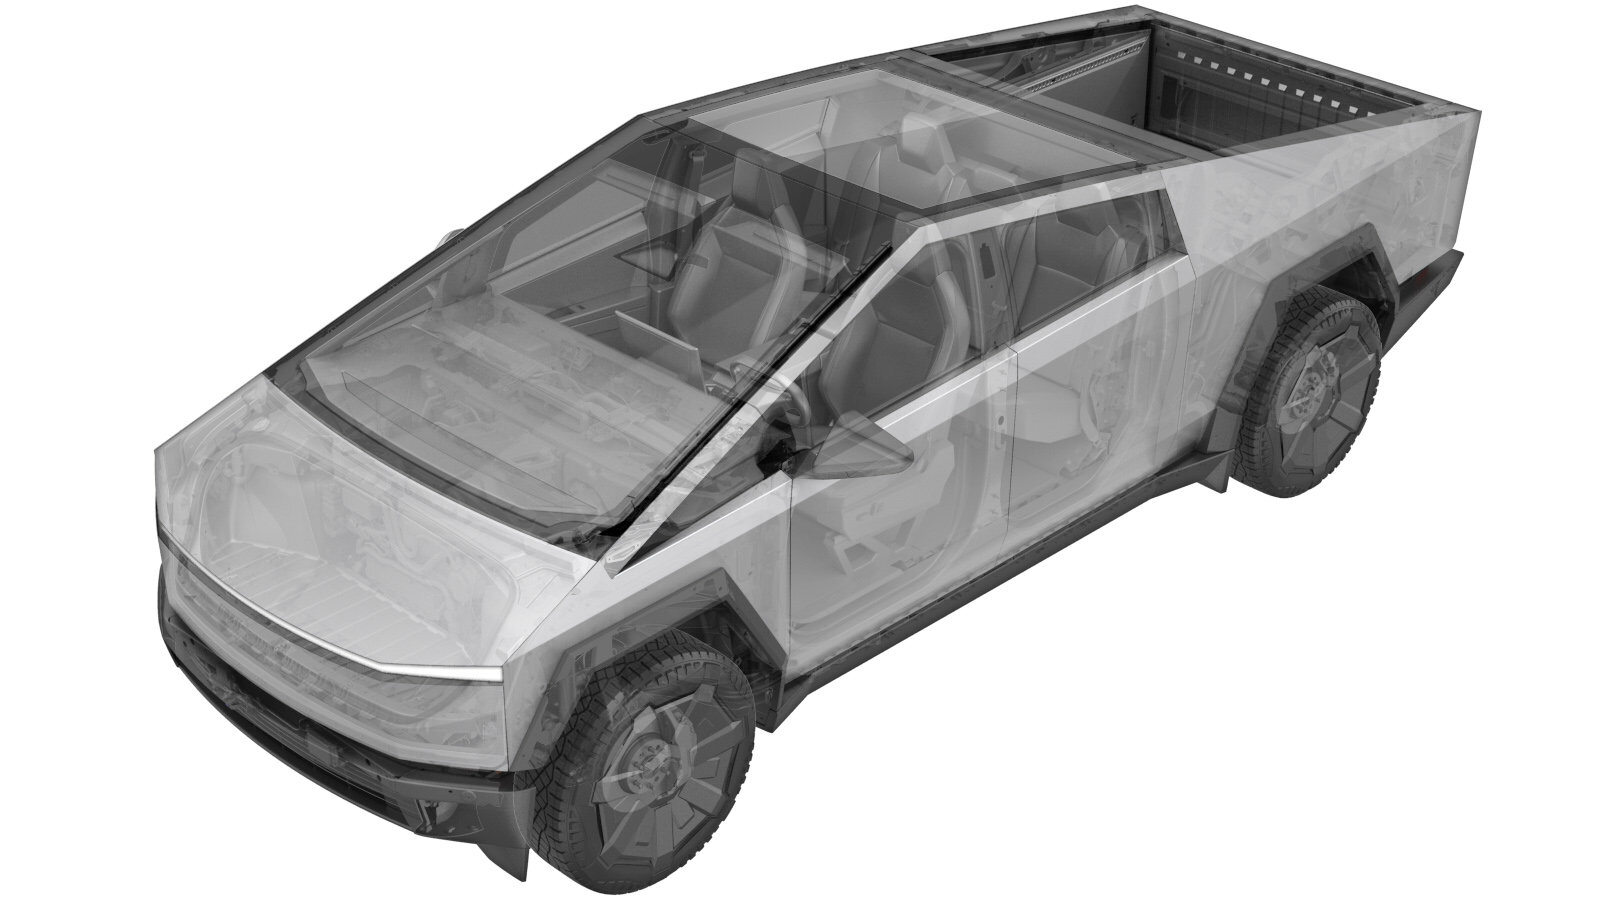
Cover - HEPA Filter (Remove and Install)
 Correction code
1810021091,
1810021092
FRT
0.06
NOTE: Unless
otherwise explicitly stated in the procedure, the above correction code and
FRT reflect all of the work required to perform this procedure, including
the linked procedures. Do
not stack correction codes unless explicitly told to do so.
NOTE: See Flat Rate Times to learn more about FRTs and how
they are created. To provide feedback on FRT values, email ServiceManualFeedback@tesla.com.
NOTE: See Personal Protection
to make sure wearing proper PPE when performing the below procedure.
NOTE: See Ergonomic Precautions for safe and
healthy working practices.
Remove
- Remove the frunk access panel. See Access Panel - Frunk (Remove and Install).
-
Release the snap clips (x3) that secure the HEPA filter cover to the vehicle.
CAUTIONThe clips are fragile and will break if too much force is applied.NoteGently press down on the clip to release it.
Figure 1. Snap clips -
Use the pull tabs (x2) to release the
top of the HEPA filter cover from the housing, and then lift the cover to release it
from the guide tabs (x5).
CAUTIONDo not pull from the snap clips.
Figure 2. Push/Pull tabs Figure 3. Guide tabs
Install
-
Install the HEPA filter cover into the
guide tabs (x5), and then secure the top of the cover by pushing on the push tabs
(x2).
CAUTIONDo not push on the snap clips.
Figure 4. Guide tabs Figure 5. Push/Pull tabs -
Engage the snap clips (x3) by lifting
the clip until an audible click is heard.
CAUTIONThe clips are fragile and will break if too much force is applied.NotePush the cover into the vehicle while engaging the snap clips.
Figure 6. Snap clips - Install the frunk access panel. See Access Panel - Frunk (Remove and Install).