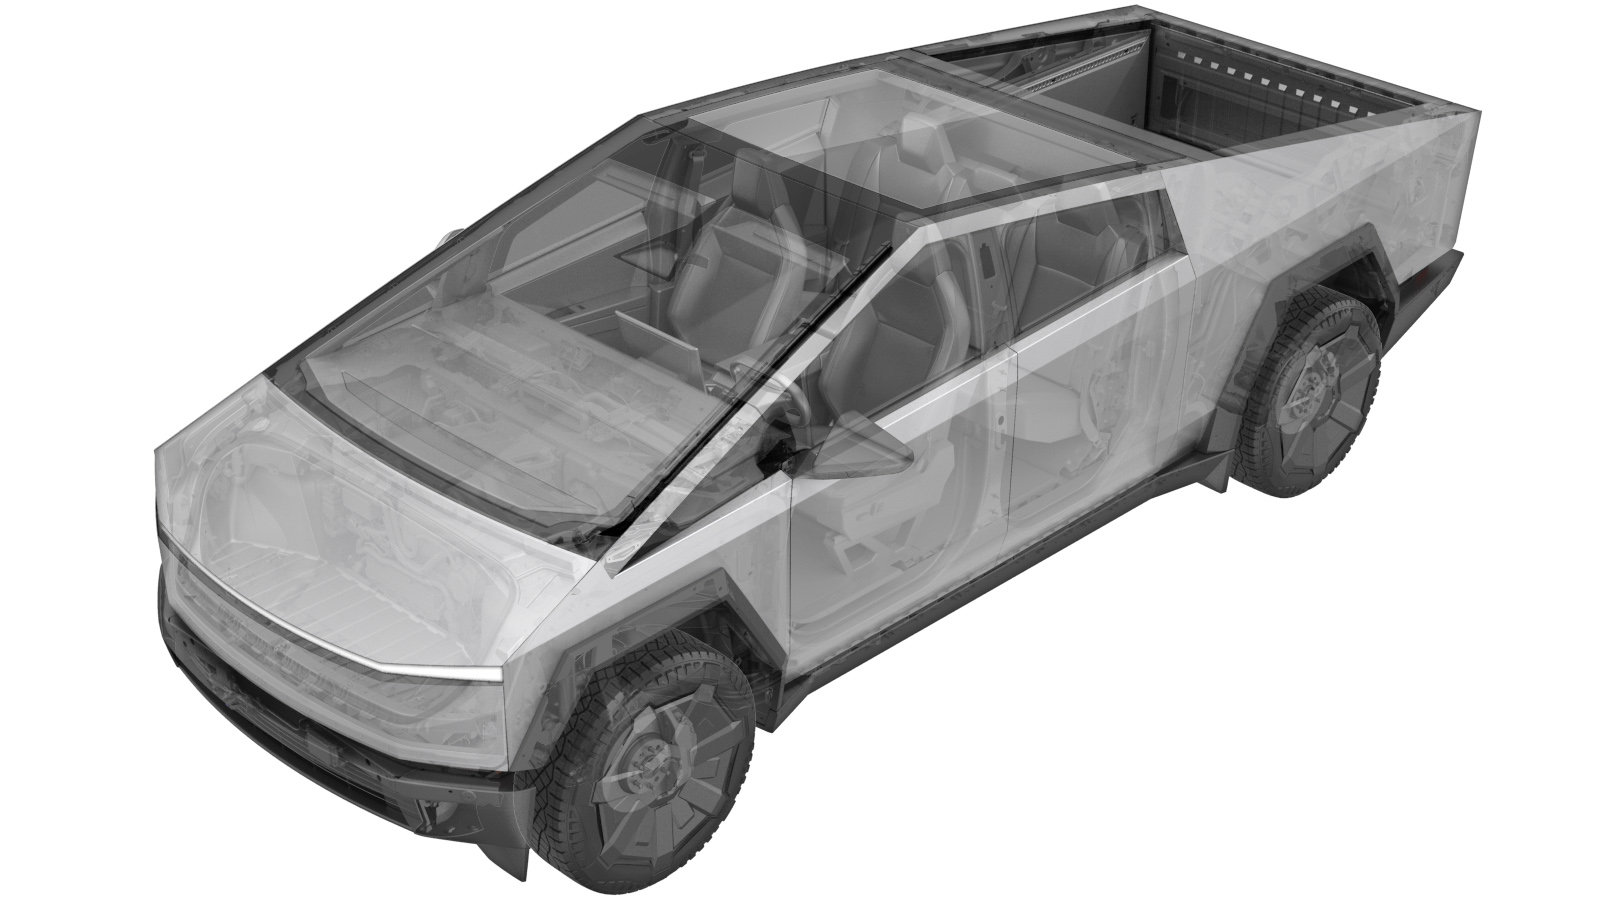
Camera - Forward Facing (Pitch Verification) (Test/Adjust)
 Correction code
17221000
0.24
NOTE: Unless
otherwise explicitly stated in the procedure, the above correction code and
FRT reflect all of the work required to perform this procedure, including
the linked procedures. Do
not stack correction codes unless explicitly told to do so.
NOTE: See Flat Rate Times to learn more about FRTs and how
they are created. To provide feedback on FRT values, email ServiceManualFeedback@tesla.com.
NOTE: See Personal Protection
to make sure wearing proper PPE when performing the below procedure.
NOTE: See Ergonomic Precautions for safe and
healthy working practices.
- 2025-01-28: Fixed correction code and title.
- 2024-10-24: Added step to remove overhead console assembly in rearview mirror beauty cover procedure link.
- 2024-09-12: Added steps to adjust camera pitch.
- 2024-08-28: Added missing step to set the ride height to "Medium".
Procedure
- Open the LH front door and lower the LH front window.
- Using the vehicle touchscreen, set the vehicle ride height to "Medium".
- Place the vehicle into Service Mode. See Service Mode.
- Unlock the vehicle Gateway. See Gateway (Unlock).
- Park the vehicle on a flat surface with at least 3.5 feet of clearance in front of the vehicle.
-
Set up the tripod so that the bottom
of the target is 3 ft (91.4cm) from the ground.
-
Place the target against the front
fascia centered to the vehicle.
-
Make sure that the target is on flat
ground by examining the bubble level on the back of the target.
-
Apply a piece of red tape on the
target referencing the camera height.
NoteThe top of the tape should be target height 165 cm.
-
On the vehicle touchscreen, navigate
to to verify the front camera pitch.
-
Review the main and wide images. The
top of the tape should coincide with the blue horizontal line.
- If the tape is between the green lines, the camera pitch is within specification. Skip to step 19.
- If the forward facing camera pitch is out of specification, proceed to the next step to adjust.
- Remove the rear view mirror beauty cover. See Beauty Cover - Rearview Mirror (Remove and Install).
- On the vehicle touchscreen, navigate to , and then tap Run to clear the front camera calibration.
- Navigate to , and then tap Run to reset DAS.
- Navigate to , and then tap Run to ping DAS.
-
Use a pitch adjustment wrench (PN: 1448868-00-B) to adjust the camera pitch.
NoteClockwise pitches the camera upward. Counter-clockwise pitches the camera downward. 1 rotation can adjust pitch 0.5 - 1.5 degrees.
-
Review the main and wide images. The top of the tape should coincide with the blue
horizontal line.
- If the tape is between the green lines, the camera pitch is within specification. Continue to the next step.
- If the forward facing camera pitch is out of specification, repeat step 13 through step 17 to readjust.
- Install the rear view mirror beauty cover. See Beauty Cover - Rearview Mirror (Remove and Install).
- Remove the target from the front of the vehicle.
- Exit Service Mode. See Service Mode.
- Raise the LH front window and close the LH front door.