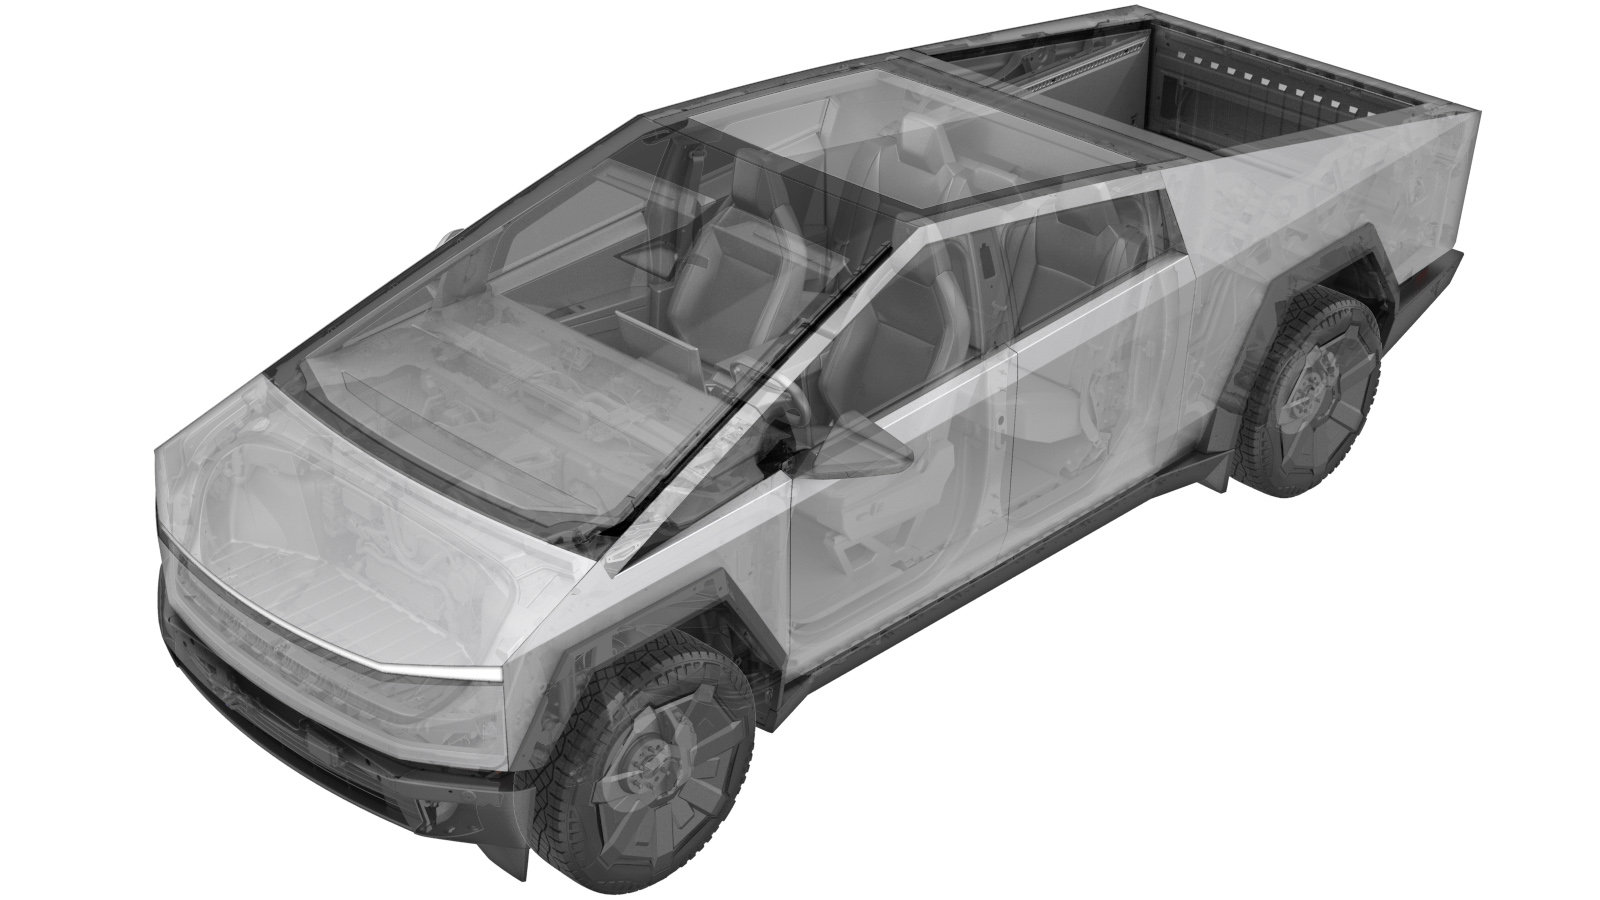
Harness - Door - Rear - LH (Remove and Install)
 Correction code
1710031081
1710031082
1710031021
1710031022
0.42
NOTE: Unless
otherwise explicitly stated in the procedure, the above correction code and
FRT reflect all of the work required to perform this procedure, including
the linked procedures. Do
not stack correction codes unless explicitly told to do so.
NOTE: See Flat Rate Times to learn more about FRTs and how
they are created. To provide feedback on FRT values, email ServiceManualFeedback@tesla.com.
NOTE: See Personal Protection
to make sure wearing proper PPE when performing the below procedure.
NOTE: See Ergonomic Precautions for safe and
healthy working practices.
Remove
- Open the LH front door and lower the LH front window.
- Put the vehicle in Service Mode. See Service Mode.
- Open the LH rear door and lower the LH rear window.
- Remove the LH rear beltline assembly. See Beltline Assembly - Door Panel - Rear - LH (Remove and Install).
- Remove the LH rear door inner waist belt seal. See Waist Belt Seal - Inner - Rear Door - LH (Remove and Install).
-
Manually latch the LH rear door.
NoteUse a pocket screwdriver to manually latch the door.
- Raise the LH rear window.
- Remove the LH rear door trim. See Panel - Door Trim - Rear - LH (Remove and Install).
- Remove the LH rear moving glass. See Moving Glass - Door - Rear - LH (Remove and Install).
- Open the powered frunk.
- Remove the rear underhood apron. See Underhood Apron - Rear (Remove and Install).
- Disconnect MV power. See Disconnect MV Power (Modify).
- Remove the LH rear window regulator. See Window Regulator - Rear Door - LH (Remove and Install).
-
Release the grommet from the LH rear
door harness connector at the B-pillar, and then pull back to expose the connector and
harness wires.
-
Apply gentle tension to the harness
wires, and use a pick to press down on the inner tang in the top half of the harness
connector.
-
Continue to apply gentle tension to
the harness wires, and use the pick to press up on the inner tang in the bottom half of
the harness connector, and then disconnect the harness from the B-pillar
connector.
-
Release the grommet and clips (x3)
that attach the LH rear door harness to the door interior, and then move the harness out
through the door opening.
Install
-
Move the LH rear door harness in
through the door opening, and then fasten the grommet and clips (x3) that attach the
harness to the door interior.
NoteSeat the grommet and verify it is fully installed. Use a plastic trim tool to push grommet into place, if required.
-
Fasten the grommet to the LH rear door
harness connector, and then firmly press the harness to the B-pillar connector.
NotePerform a push-pull-push check of the connector.
- Install the LH rear window regulator. See Window Regulator - Rear Door - LH (Remove and Install).
- Connect MV power. See Disconnect MV Power (Modify).
- Install the LH rear moving glass. See Moving Glass - Door - Rear - LH (Remove and Install).
- Install the LH rear door inner waist belt seal. See Waist Belt Seal - Inner - Rear Door - LH (Remove and Install).
- Unlatch the LH rear door.
- Install the rear underhood apron. See Underhood Apron - Rear (Remove and Install).
- Close the powered frunk.
- Install the LH rear door trim. See Panel - Door Trim - Rear - LH (Remove and Install).
- Install the LH rear beltline assembly. See Beltline Assembly - Door Panel - Rear - LH (Remove and Install).
- Raise the LH rear window and close the LH rear door.
- Raise the LH front window and close the LH front door.