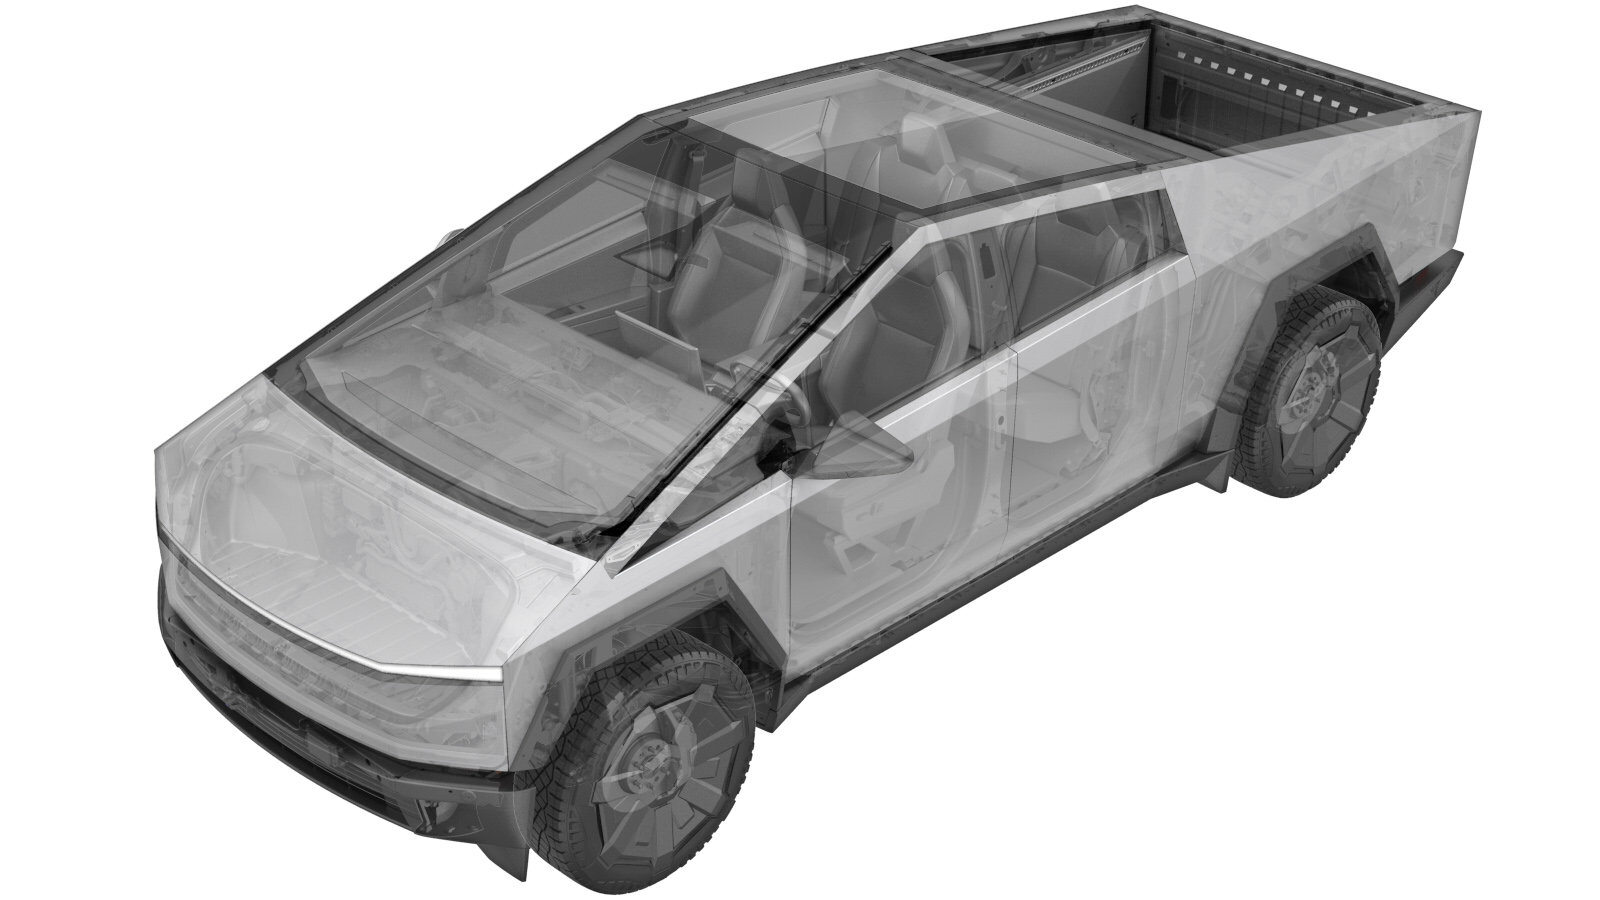
Body Controller - Rear (Remove and Replace)
 Correction code
1715017022
FRT
0.60
NOTE: Unless
otherwise explicitly stated in the procedure, the above correction code and
FRT reflect all of the work required to perform this procedure, including
the linked procedures. Do
not stack correction codes unless explicitly told to do so.
NOTE: See Flat Rate Times to learn more about FRTs and how
they are created. To provide feedback on FRT values, email ServiceManualFeedback@tesla.com.
NOTE: See Personal Protection
to make sure wearing proper PPE when performing the below procedure.
NOTE: See Ergonomic Precautions for safe and
healthy working practices.
- 2024-09-11: Added note and link for testing and servicing Super Connectors.
Remove
- Remove the rear body controller. See Body Controller - Rear (Remove and Install).
Install
- Install the rear body controller. See Body Controller - Rear (Remove and Install).
- Place the vehicle into Service Mode via the UI. See Service Mode.
- In Toolbox, click the Actions tab, and then search for "Service CAN Redeploy".
- Click Service CAN Redeploy, click Run, and allow the routine to complete.
- Exit Service Mode. See Service Mode.
- At the alignment rack, verify that the turn and slip plates are locked.
- On the touchscreen, touch to set the vehicle ride height to Medium.
- With the help of an assistant, align the vehicle to the alignment rack ramps, drive vehicle onto the alignment rack, and then shift into Park.
- Exit the vehicle, and then place wheel chocks at both sides of the LH rear wheel.
- Raise the alignment rack to a comfortable working height.
- Perform ride height calibration. See Ride Height Calibration.
- Fully lower the alignment rack.
- Remove the wheel chocks from the LH rear wheel.
- Release the passenger seat belt from the driver buckle, and then remove the vehicle from the alignment rack.
- Raise the LH front window and close the LH front door.