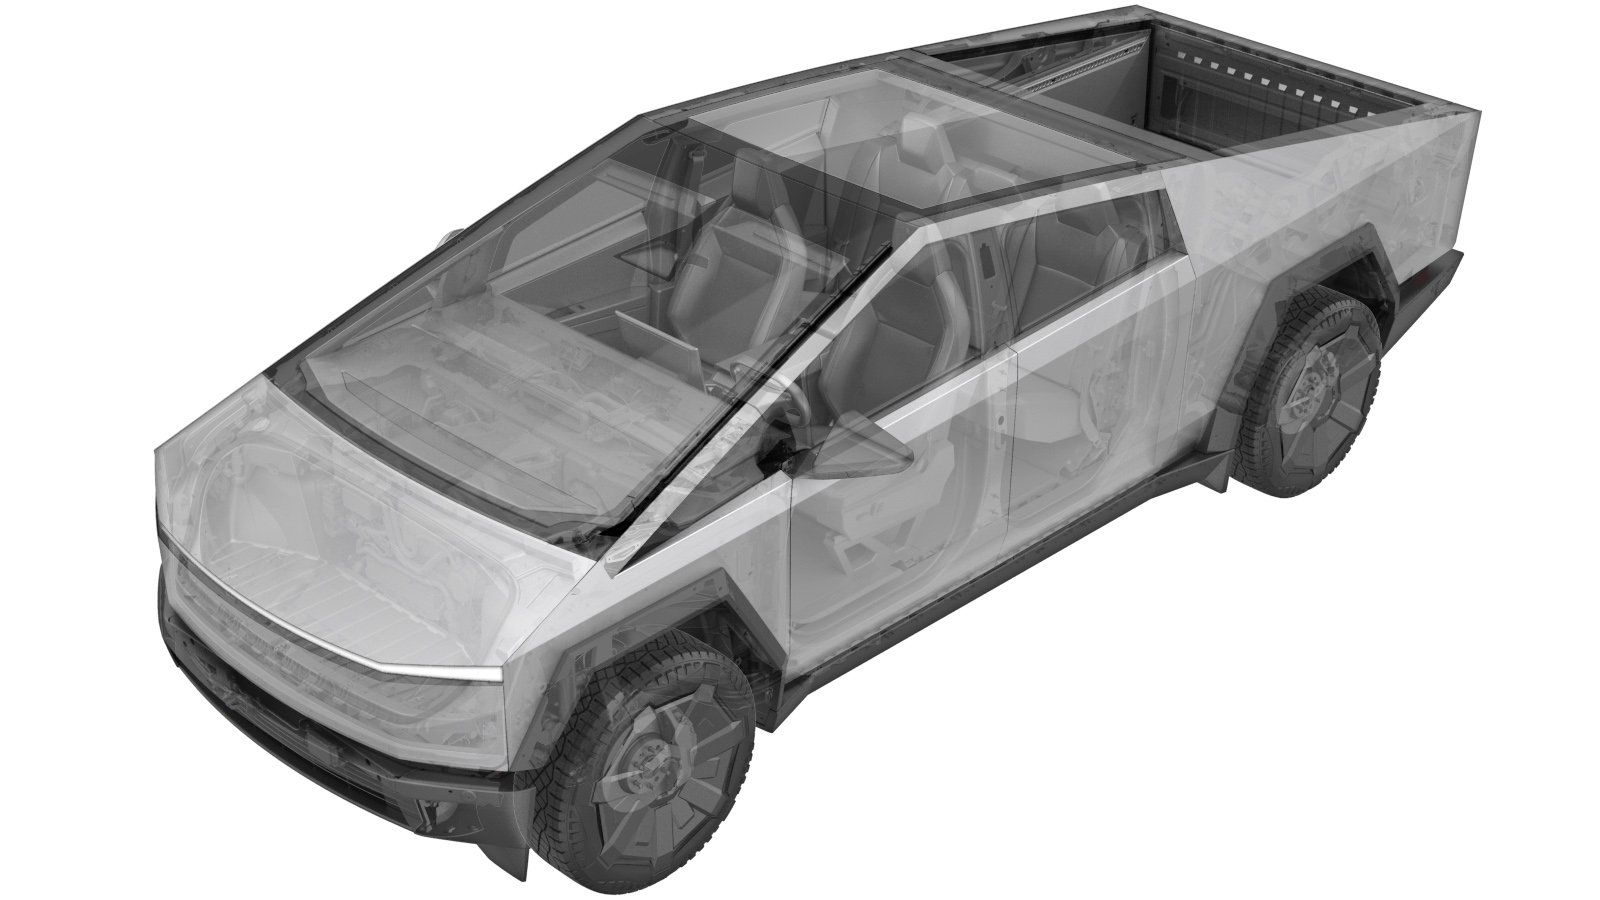
Gap Hider - Instrument Panel (Remove and Install)
 Correction code
3205111071
3205111072
FRT
0.54
NOTE: Unless
otherwise explicitly stated in the procedure, the above correction code and
FRT reflect all of the work required to perform this procedure, including
the linked procedures. Do
not stack correction codes unless explicitly told to do so.
NOTE: See Flat Rate Times to learn more about FRTs and how
they are created. To provide feedback on FRT values, email ServiceManualFeedback@tesla.com.
NOTE: See Personal Protection
to make sure wearing proper PPE when performing the below procedure.
NOTE: See Ergonomic Precautions for safe and
healthy working practices.
Remove
- Open the LH front door and lower the LH front window.
- On the vehicle touchscreen, navigate to UI > Controls > Steering, and then use the left steering wheel scroll wheel to adjust the steering column fully forward and fully down.
- Open the RH front door and lower the RH front window.
- Remove the LH mid A-pillar trim. See Trim - A-Pillar - Mid - LH (Remove and Install).
- Remove the LH lower A-pillar trim. See Trim - A-Pillar - Lower - LH (Remove and Install).
- Remove the footwell cover. See Cover - Footwell (Remove and Install).
- Remove the RH mid A-pillar trim. See Trim - A-Pillar - Mid - LH (Remove and Install).
- Remove the RH lower A-pillar trim. See Trim - A-Pillar - Lower - LH (Remove and Install).
- Remove the rear underhood apron. See Underhood Apron - Rear (Remove and Install).
- Disconnect MV power. See Disconnect MV Power (Modify).
- Remove the instrument panel mid panel assembly. See Mid Panel Assembly - Instrument Panel (Remove and Install).
- Remove the instrument panel lower panel assembly. See Lower Assembly - Instrument Panel (Remove and Install).
- Remove the instrument panel lower gap hider. See Gap Hider - Instrument Panel - Lower (Remove and Install)
-
Remove the bolts (x4) that attach the
upper instrument panel gap hider to the vehicle, and then remove the trim from the
vehicle.
 1.8 Nm (1.3 lbs-ft)NoteLift the gap hider gently for access.CAUTIONBe careful not to damage the trim.NoteThe steering column harness is captive to the lower LH bolt.TIpUse of the following tool(s) is recommended:
- Torx T25 socket
Install
-
Position the upper instrument panel
gap hider into the vehicle, and then install the bolts (x4) that attach the trim to the
vehicle.
 1.8 Nm (1.3 lbs-ft)NoteLift the gap hider gently for access.CAUTIONBe careful not to damage the trim.NoteMake sure the steering column harness is captured by the lower LH bolt.TIpUse of the following tool(s) is recommended:
- Torx T25 socket
- Install the instrument panel lower gap hider. See Gap Hider - Instrument Panel - Lower (Remove and Install)
- Install the instrument panel lower panel assembly. See Lower Assembly - Instrument Panel (Remove and Install).
- Install the instrument panel mid panel assembly. See Mid Panel Assembly - Instrument Panel (Remove and Install).
- Reconnect MV power. See Disconnect MV Power (Modify).
- Install the rear underhood apron. See Underhood Apron - Rear (Remove and Install).
- Install the RH lower A-pillar trim. See Trim - A-Pillar - Lower - LH (Remove and Install).
- Install the RH mid A-pillar trim. See Trim - A-Pillar - Mid - LH (Remove and Install).
- Install the footwell cover. See Cover - Footwell (Remove and Install).
- Install the LH lower A-pillar trim. See Trim - A-Pillar - Lower - LH (Remove and Install).
- Install the LH mid A-pillar trim. See Trim - A-Pillar - Mid - LH (Remove and Install).
- Raise the RH front window and close the RH front door.
- On the vehicle touchscreen, navigate to UI > Controls > Steering, and then use the left steering wheel scroll wheel to adjust steering column back to the original position.
- Raise the LH front window and close the LH front door.