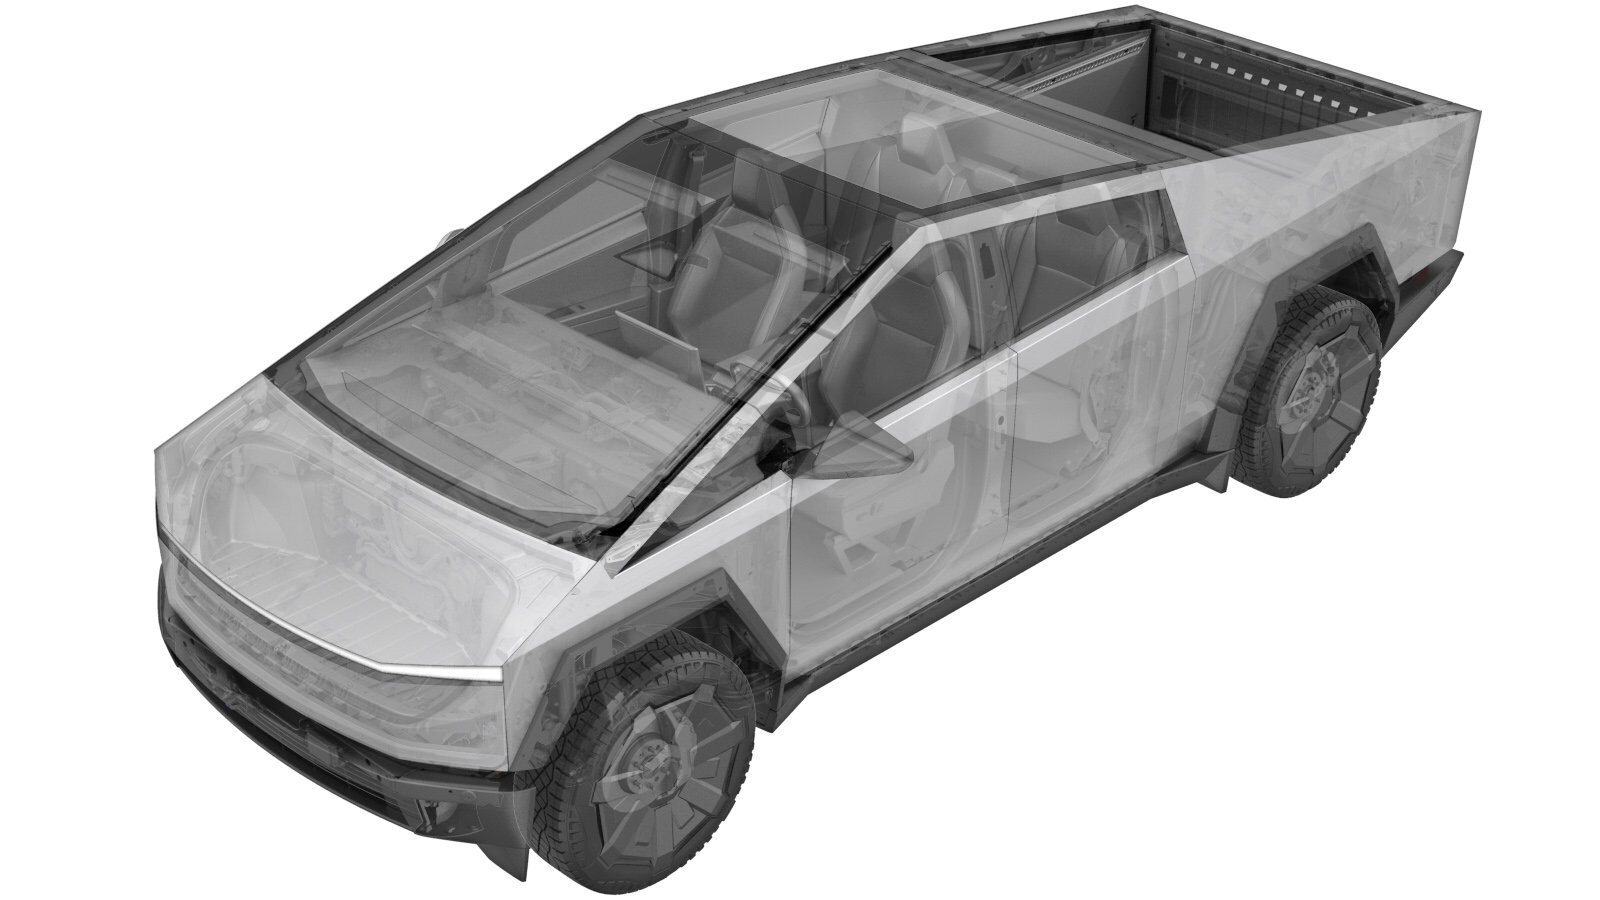
Trim - A-Pillar - Upper - LH (Remove and Install)
 Correction code
1518006151
1518006152
1518006161
1518006162
FRT
0.24
NOTE: Unless
otherwise explicitly stated in the procedure, the above correction code and
FRT reflect all of the work required to perform this procedure, including
the linked procedures. Do
not stack correction codes unless explicitly told to do so.
NOTE: See Flat Rate Times to learn more about FRTs and how
they are created. To provide feedback on FRT values, email ServiceManualFeedback@tesla.com.
NOTE: See Personal Protection
to make sure wearing proper PPE when performing the below procedure.
NOTE: See Ergonomic Precautions for safe and
healthy working practices.
- 2025-07-03: Removed steps for IP quarter panel, added notes for clarity, added images.
Remove
- Open the LH front door and lower the LH front window.
- Remove the front header trim. See Trim - Header - Front (Remove and Install).
- Remove the LH mid A-pillar trim. See Trim - A-Pillar - Mid - LH (Remove and Install).
-
Disconnect the LH upper A-pillar
electrical connector.
NoteRelease the lower A-pillar as needed.
-
Apply masking tape to the top pad around the upper A-pillar trim area to prevent
damage.
-
Release the trim clips (x8) and tether
clip that attach the LH upper A-pillar trim to the A-pillar, disconnect the electrical
connector and release the harness clip, and then remove the bolt that attaches the
tether to the A-pillar.
 6 Nm (4.4 lbs-ft)NoteDepress the tabs on either side of tether clip to release.TIpUse of the following tool(s) is recommended:
- 10 mm socket
Install
-
Position the LH upper A-pillar trim to
the A-pillar, install the bolt that attaches the tether to the A-pillar, connect the
electrical connector and install the harness clip, and then secure the clips (x8) that
attach the trim to the vehicle.
 6 Nm (4.4 lbs-ft)NoteMake sure the tether is correctly oriented.NoteReplace any missing or damaged clips.TIpUse of the following tool(s) is recommended:
- 10 mm socket
-
Remove the masking tape.
-
Connect the LH upper A-pillar electrical connector.
NoteSecure the lower A-pillar trim as needed.
- Install the LH mid A-pillar trim. See Trim - A-Pillar - Mid - LH (Remove and Install).
- Install the front header trim. See Trim - Header - Front (Remove and Install).
- Raise the LH front window and close the LH front door.