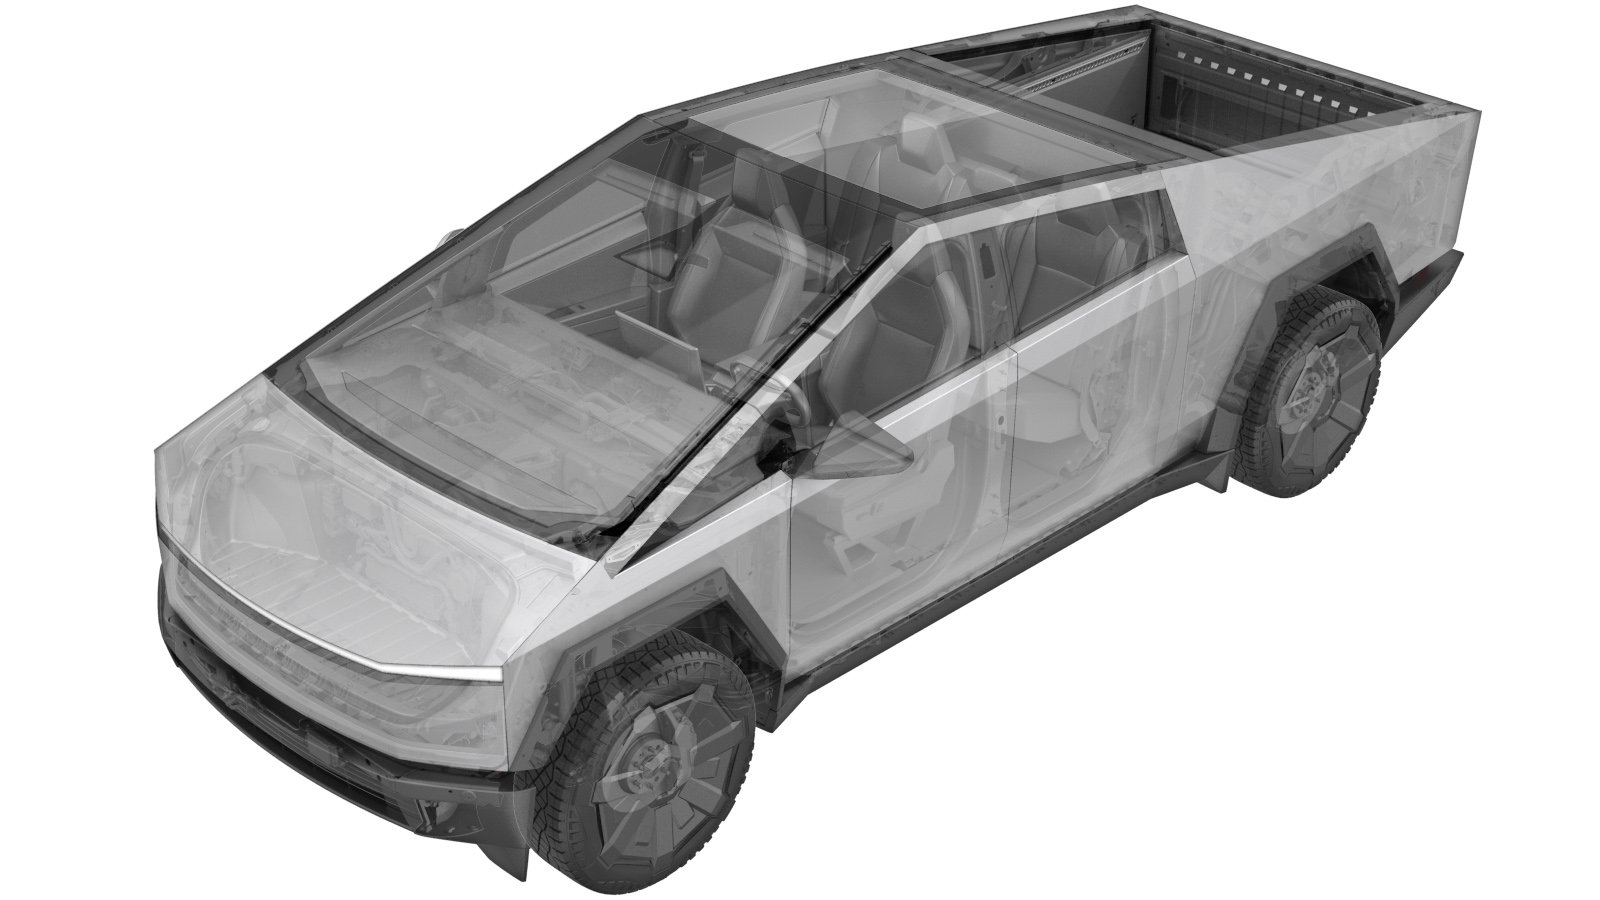
Edge Seal - Windshield - Front (Remove and Replace)
 Correction code
1020133082
FRT
0.48
NOTE: Unless
otherwise explicitly stated in the procedure, the above correction code and
FRT reflect all of the work required to perform this procedure, including
the linked procedures. Do
not stack correction codes unless explicitly told to do so.
NOTE: See Flat Rate Times to learn more about FRTs and how
they are created. To provide feedback on FRT values, email ServiceManualFeedback@tesla.com.
NOTE: See Personal Protection
to make sure wearing proper PPE when performing the below procedure.
NOTE: See Ergonomic Precautions for safe and
healthy working practices.
Remove
- Remove the rear underhood apron. See Underhood Apron - Rear (Remove and Install).
-
Release a corner of the windshield
front edge seal, and then pull the seal away from the vehicle to remove it.
Install
-
Remove the adhesive residue from
windshield front edge.
CAUTIONDo not remove the net pads.TIpUse a finger and a trim tool to roll the adhesive off.
-
Use IPA wipes to clean the windshield
front edge.
NoteAllow 1 minute of dry time.
-
Position the windshield front edge
seal into the vehicle with the red backing still attached.
NoteDo not remove red backing.NotePosition the seal between the glass and hinge. Align the seal with glass edges. Tuck the seal under the glass.NoteApply masking tape as needed to keep the seal in place.
-
Starting from one corner of the seal,
remove the red backing, apply weather strip adhesive onto the seal double-sided tape,
and then press the seal up onto the windshield.
- Install the rear underhood apron. See Underhood Apron - Rear (Remove and Install).