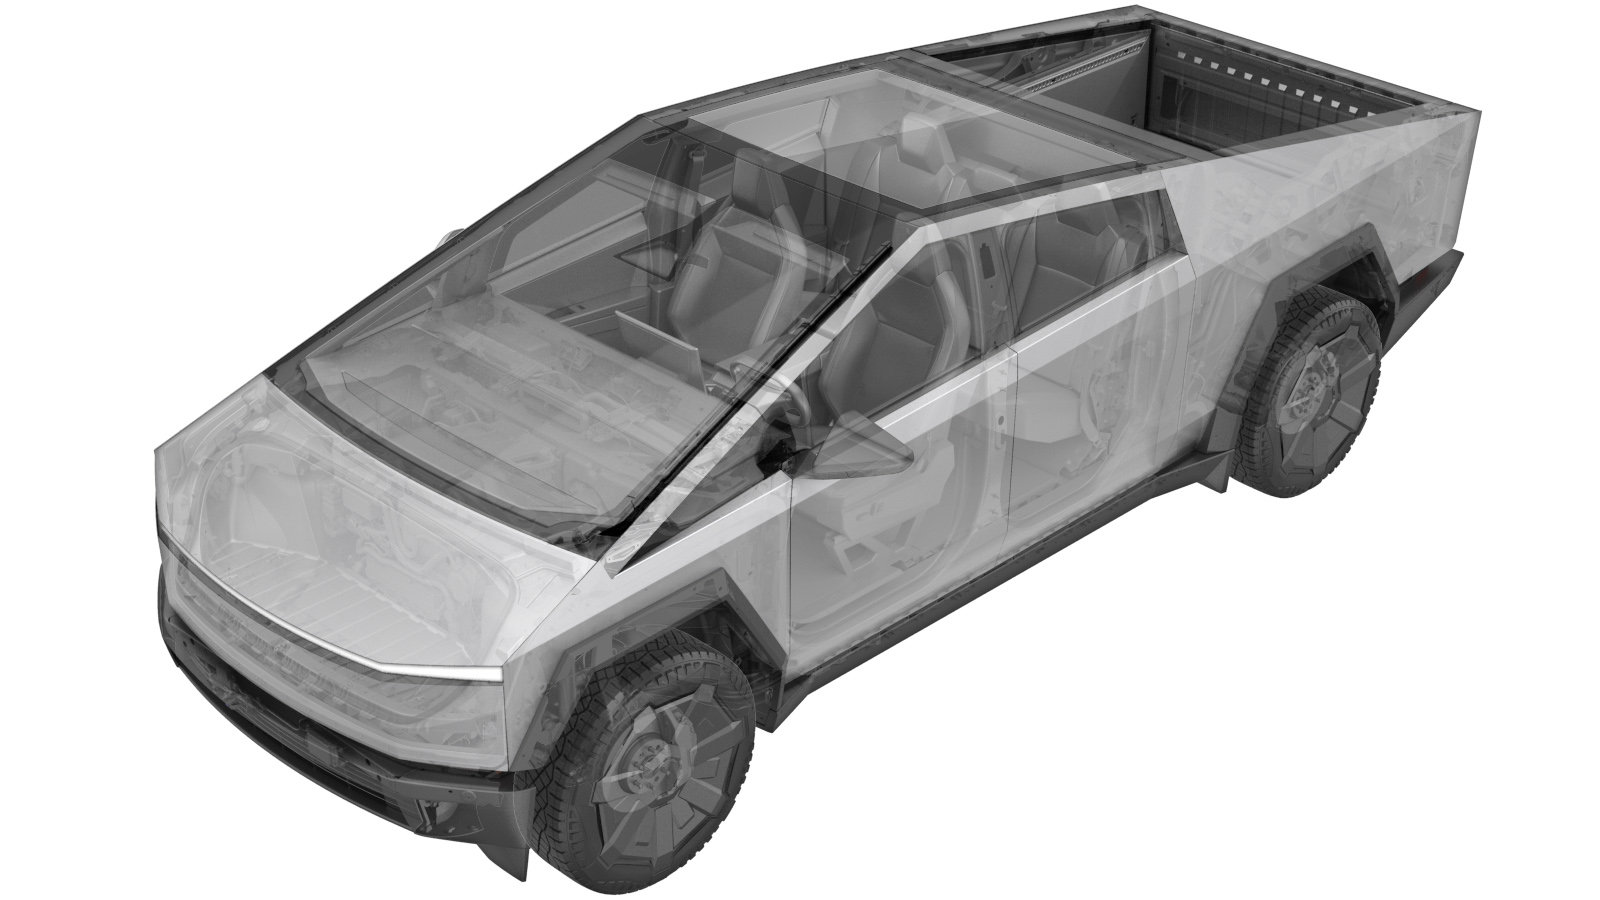
Core - VCV - SuperManifold (Remove and Replace)
 Correction code
NA
NOTE: Unless
otherwise explicitly stated in the procedure, the above correction code and
FRT reflect all of the work required to perform this procedure, including
the linked procedures. Do
not stack correction codes unless explicitly told to do so.
NOTE: See Flat Rate Times to learn more about FRTs and how
they are created. To provide feedback on FRT values, email ServiceManualFeedback@tesla.com.
NOTE: See Personal Protection
to make sure wearing proper PPE when performing the below procedure.
NOTE: See Ergonomic Precautions for safe and
healthy working practices.
- 2025-01-14: Updated procedure to latest time study.
-
This procedure requires Refrigerant
evacuation and recharge, please add specific evacuation and recharge correction code as
needed
Note18200102,18033302,18033305,18200122**Always use this Step ID**
- Recover the A/C refrigerant. See A/C Refrigerant (Recovery and Recharge).
-
Remove AC hoses from vehicle
- Disconnect MV power. See Disconnect MV Power (Modify).
-
Remove supermanifold controller
Note2x connectors, 1x harness clip, 3x bolts, 8mm, 4 Nm, Release locking features
-
Release supermanifold harness bracket
and valve coils
Note4x connectors, 3x bolts, 8mm, 8 Nm, Remove bolts then release four connectors indicated in image, Pull bracket away ensuring all valve coils remain with bracket excluding one valve coil closest to dessicant plug, Pivot harness bracket and coils to side, Ensure coil seals remain on valve cores
-
Remove vapor control valve core
Note1x valve core, 28mm, 19 Nm, Depending on valve core being removed PT sensor socket may be required in place of 28mm socket
-
Install vapor control valve core
Note1x valve core, 28mm, 19 Nm, Lubricate o-rings, Depending on valve core being installed PT sensor socket may be required in place of 28mm socket, Tighten sensor by hand to ensure o-rings seat correctly
-
Reconnect AC hoses to vehicle
-
Perform system vacuum and refrigerant
refill
NoteSelect 20 mins of Vacuum, Recharge refrigerant to car's specs, add oil quantity as needed, select both HP and LP for charging
-
Remove AC hoses from vehicle
-
Install supermanifold harness bracket
and coils
Note4x connectors, 3x bolts, 8mm, 8 Nm, Position supermanifold harness bracket and coils onto valve cores, Rotate coils as required for alignment, Ensure coil seals are all in place, Engage locking tabs
-
Install supermanifold controller
Note2x connectors, 1x harness clip, 3x bolts, 8mm, 4 Nm, Engage locking features
- Reconnect MV power. See Disconnect MV Power (Modify).
-
Navigate to Refrigerant System through
UI
NoteSelect Service Mode > Thermal > Refrigerant System
-
Run ODIN routine
PROC_EGGRIGHT3_X_THERMAL-FILL-DRAIN-STOPvia Toolbox: (link)via Service Mode:
- Thermal ➜ Actions ➜ Stop Thermal Fill/Drain
- Thermal ➜ Coolant System ➜ Stop Coolant Fill/Drain
- Thermal ➜ Refrigerant System ➜ Stop Refrigerant Fill/Drain
- Drive Inverter ➜ Front Drive Inverter Replacement ➜ Stop Fluid Fill/Drain
- Drive Inverter ➜ Rear Drive Inverter Replacement ➜ Stop Fluid Fill/Drain
- Drive Inverter ➜ Rear Left Drive Inverter Replacement ➜ Stop Fluid Fill/Drain
- Drive Inverter ➜ Rear Right Drive Inverter Replacement ➜ Stop Fluid Fill/Drain
- Drive Unit ➜ Front Drive Unit Replacement ➜ Stop Coolant Fill/Drain
- Drive Unit ➜ Rear Drive Unit Replacement ➜ Stop Coolant Fill/Drain
-
Perform Heat Pump Commissioning through
UI
NoteSelect Thermal > Sensors and Valves > Run Heat Pump Commissioning, click Run, close once routine is passed
-
Install caps onto AC ports
Note2x caps
-
Perform Thermal Performance through the
UI
NoteSelect Thermal > Actions > Test Thermal Performance, click Run, close once routine is completed, if thermal test fails follow https://toolbox.teslamotors.com/articles/206000
- Run ODIN routine PROC_ICE_X_EXIT-SERVICE-MODEvia Toolbox: (link)
- Install the frunk assembly. See Frunk Assembly (Remove and Install).
- Install the rear underhood apron. See Underhood Apron - Rear (Remove and Install).
- Raise the LH front window and close the LH front door.
-
This procedure requires Refrigerant
evacuation and recharge, please add specific evacuation and recharge correction code as
needed
Note18200102,18033302,18033305,18200122**Always use this Step ID**