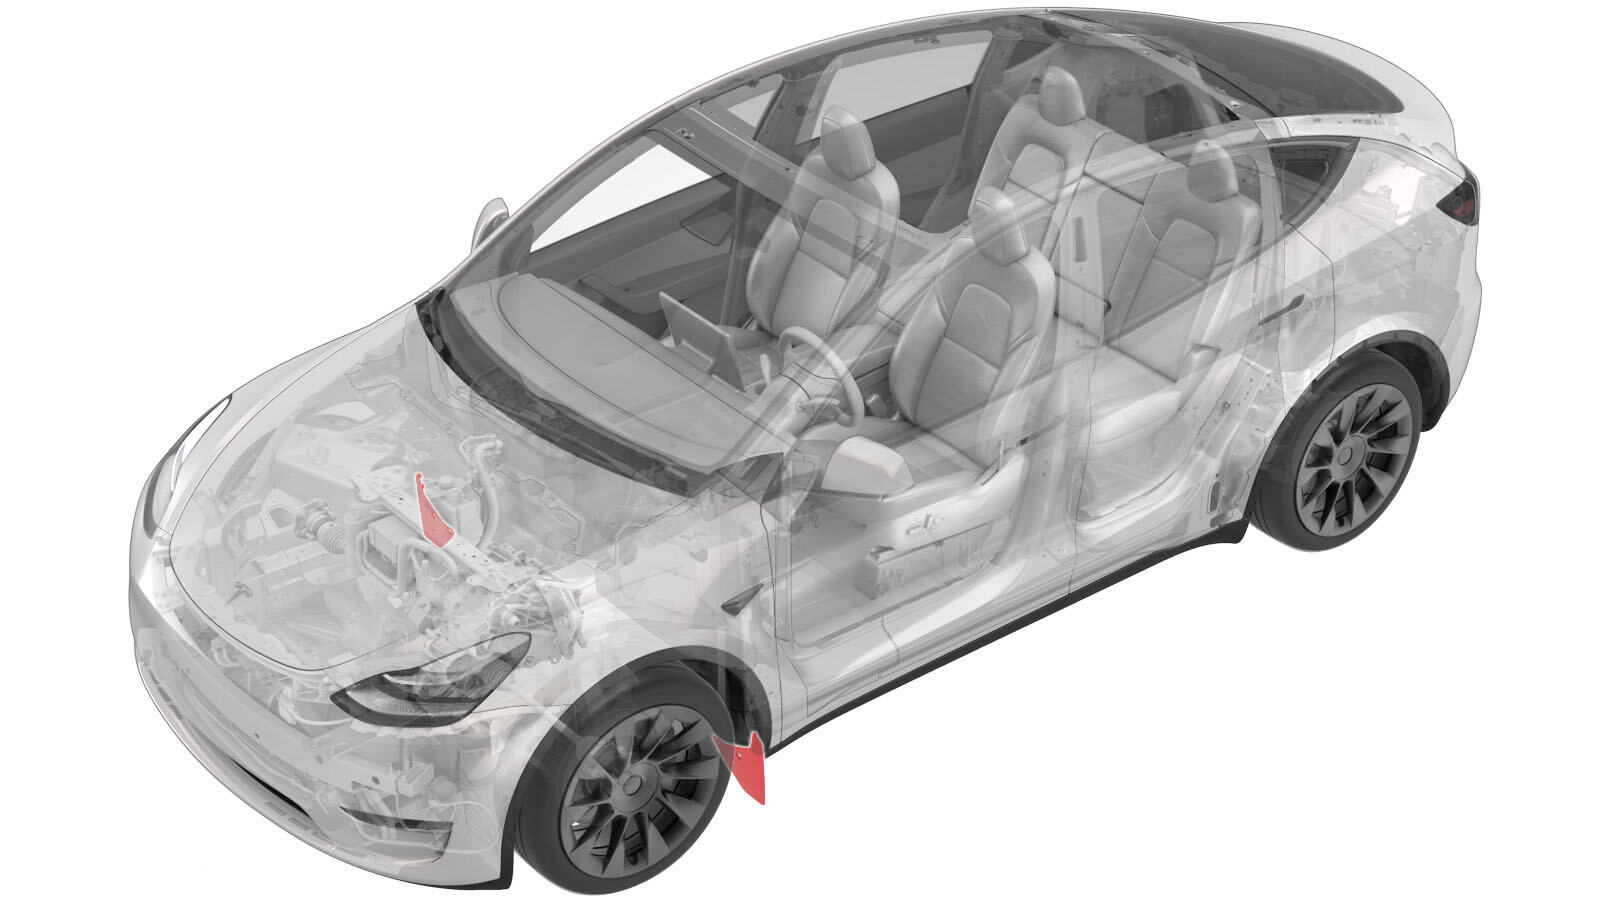
Mud Flap - LH (Remove and Replace)
 Correction code
12207102
0.12
NOTE: Unless otherwise explicitly
stated in the procedure, the above correction code and FRT reflect all of the work
required to perform this procedure, including the linked procedures. Do not stack correction codes unless
explicitly told to do so.
NOTE: See Flat Rate
Times to learn more about FRTs and how they are created.
NOTE: See Personal Protection to make sure wearing proper PPE when
performing the below procedure. NOTE: See Ergonomic Precautions for safe and healthy working
practices.
Correction code
12207102
0.12
NOTE: Unless otherwise explicitly
stated in the procedure, the above correction code and FRT reflect all of the work
required to perform this procedure, including the linked procedures. Do not stack correction codes unless
explicitly told to do so.
NOTE: See Flat Rate
Times to learn more about FRTs and how they are created.
NOTE: See Personal Protection to make sure wearing proper PPE when
performing the below procedure. NOTE: See Ergonomic Precautions for safe and healthy working
practices.
Remove
- Turn the steering wheel fully to the left to provide access to the working area.
-
Carefully use a push clip removal tool or flathead screwdriver to remove the push clips (x2) that attach the mud flap. Discard the push clips.
CAUTIONDiscard the existing push clips. Do not use the existing push clips to install the new mud flap.
- Maneuver the mud flap so that the tabs on the mud flap unhook from the backside of the front fender garnish. Remove the mud flap from the vehicle.
Install
- Clean the installation area with alcohol and allow to fully dry before installation.
-
Maneuver the new mud flap in place so that the tabs on the mud flap hook onto the backside of the front fender garnish. Make sure that the mud flap is aligned correctly with the holes in the front wheel arch liner and body of the vehicle.
-
Install the opened (plastic rivet pulled out) new push clip into the inboard hole, and then push the plastic rivet in to close the push clip.
NoteMake sure to install the inboard push clip first.
-
Install the opened (plastic rivet pulled out) new push clip into the outboard hole, and then push the plastic rivet in to close the push clip.