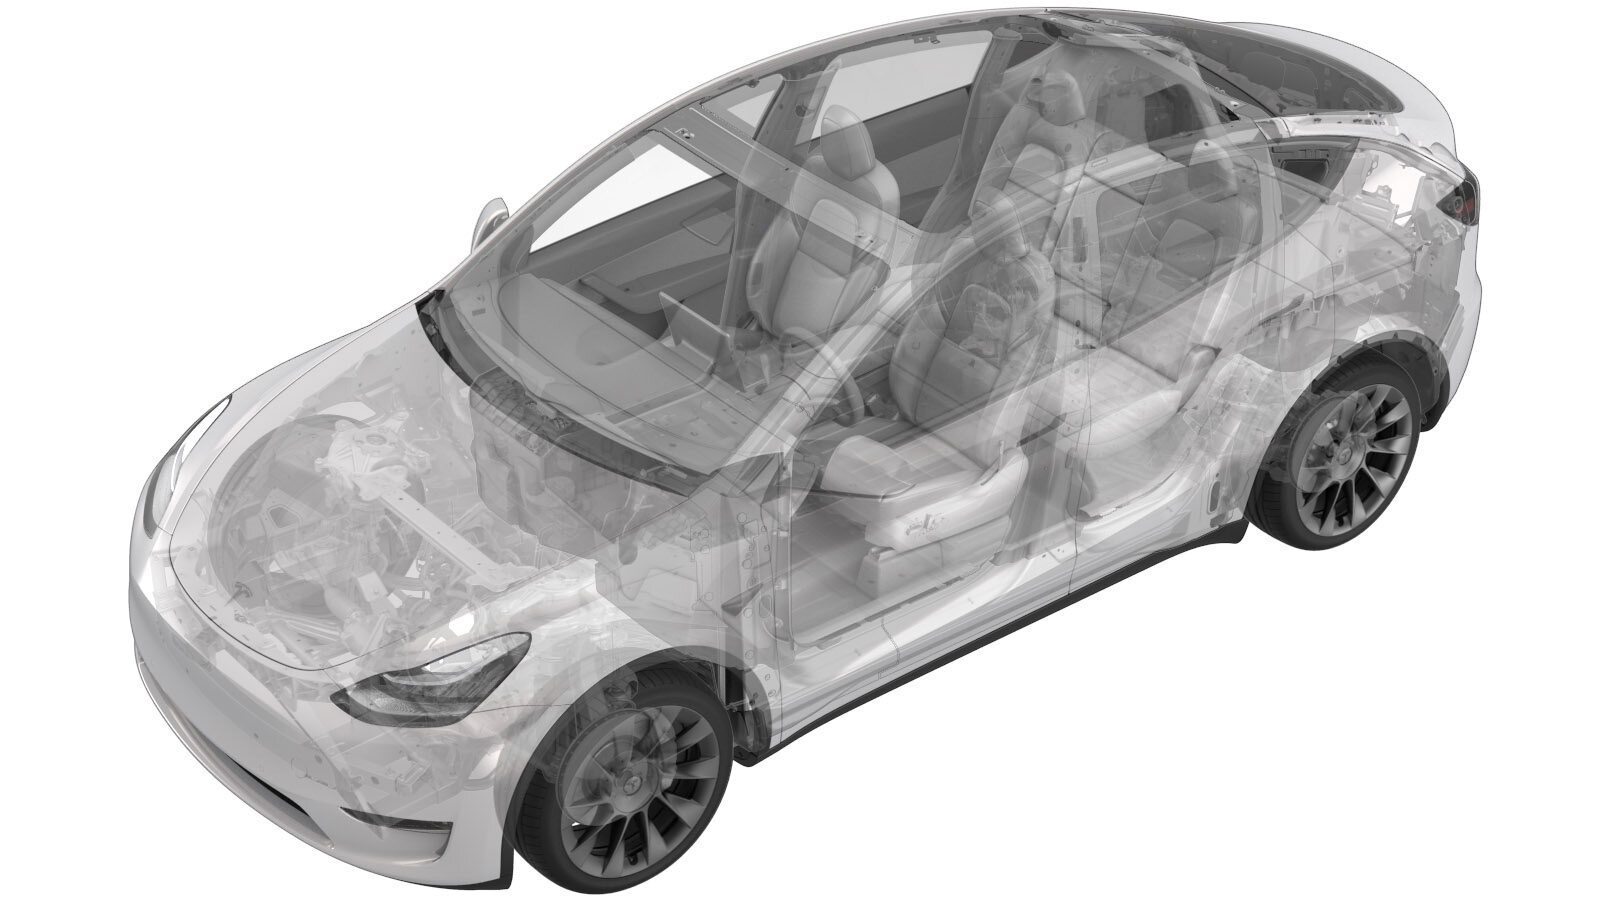
ECU - Charge Port (7-Seat) (Remove and Replace)
 Correction code
44015032
0.48
NOTE: Unless otherwise explicitly
stated in the procedure, the above correction code and FRT reflect all of the work
required to perform this procedure, including the linked procedures. Do not stack correction codes unless
explicitly told to do so.
NOTE: See Flat Rate
Times to learn more about FRTs and how they are created. To provide feedback on
FRT values, email ServiceManualFeedback@tesla.com.
NOTE: See Personal Protection to make sure wearing proper PPE when
performing the below procedure. See Ergonomic Precautions for safe and healthy working practices.
-
Place vehicle in service mode through UI
NoteSelect vehicle's badge icon in Controls > Software for four seconds and then type "service" into dialog boxAnd then touch "ok"At last Select ‘X’ at top left of window to close once complete
- Open the LH front door.
-
Lower all four windows
-
Move LH front seat forward
-
Open LH rear door
-
Tilt 7s 2nd row 60 seat forward
NoteHold 2nd row 60 seat LH shoulder switch, Slide seat all the way forward and tit up
-
Partially remove LH rear door seal
-
Remove LH 7s lower C-pillar trim
Note8x clips, Rear edge secures onto trunk side trim, Release front clips then rear clips
-
Open liftgate
-
Release 3rd row LH seat backrest
NoteFront switch at LH trunk trim panel
-
Release 3rd row RH seat backrest
NoteRear switch at LH trunk trim panel
-
Remove rear load floor
-
Remove trunk sill trim
Note4x clips
-
Remove 7s LH load floor bracket
Note2x clips
-
Remove LH trunk side trim
Note2x connectors, 1x push clip, 8x clips, 7x tabs, guide front clip stanchions around LH C-pillar, trim part may slightly differ, by vehicle build location
-
Release top edge of LH 7s trunk side trim and disconnect 12V outlet and trunk switch connectors
Note6x clips, 2x connectors
-
Release remaining clips and remove LH 7s trunk side trim
Note1x push clip, 5x clips, Guide front clip stanchions around LH C-pillar, Pull the top of the trunk side trim all the way down flat so it clears the edge of the folded down LH 3rd row seatback and pull straight out
-
Disconnector ECU connectors.
Note3x connectors
-
Remove Charge Port ECU
Note1x 10mm bolt, slide the Charge Port ECU to the front of the vehicle.
-
Install Charge Port ECU
Note1x 10mm bolt, 3x connectors, slide the Charge Port ECU to the rear of the vehicle
-
Re-install software via UI
NoteVia Controls > Service Mode > Software Reinstall
-
Select "REQUEST" to initiate software installation
NoteVehicle will send a request to Tesla server for the re-installation of the current firmware, Read instructions on the UI then select request if you meet the criteria, Vehicles with software version before 2022.20.7 will require internet connectivity to request the software job from the server
-
Position LH 7s trunk side trim and install lower clips
Note1x push clips, 5x clips, Start by tucking the lower portion of the trunk side trim around the edge of the 3rd row LH backrest so it slides in and seats properly, Guide front clip stanchions around LH C-pillar
-
Connect 12V outlet and trunk switch connectors then install top edge of LH 7s trunk side trim
Note6x clips, 2x connectors
-
Install LH trunk pocket bracket
Note1x push clip, 5x alignment tabs
-
Install 7s LH load floor bracket
Note2x clips
-
Install trunk sill trim
Note4x clips, Seat seal around edge of trim
-
Install rear load floor
-
Raise 3rd row RH seat backrest to its original position
NoteManually raise backrest up to its original position until it locks into place
-
Raise 3rd row LH seat backrest to its original position
NoteManually raise backrest up to its original position until it locks into place
-
Close liftgate
-
Install LH 7s lower C-pillar trim
Note8x clips, Rear edge is secures onto trunk side trim, Secure rear clips then front clips
-
Reseat LH rear door seal
NoteSeat pillar and sill trim tabs underneath seal
-
Position 7s 2nd row 60 seat back to its original position
NoteTilt 2nd row 60 seat down, Press LH shoulder switch and slide back into original position
-
Close LH rear door
-
Move LH front seat to original position
-
Verify operation of charging system
NoteUse customer's charging equipment if available, Ensure all charging adapters are present
-
Raise all four windows
- Close the LH front door.