Assembly - Trailer Hitch (Retrofit)
 Correction code
12300206
0.96
NOTE: Unless otherwise explicitly
stated in the procedure, the above correction code and FRT reflect all of the work
required to perform this procedure, including the linked procedures. Do not stack correction codes unless
explicitly told to do so.
NOTE: See Flat Rate
Times to learn more about FRTs and how they are created. To provide feedback on
FRT values, email ServiceManualFeedback@tesla.com.
NOTE: See Personal Protection to make sure wearing proper PPE when
performing the below procedure. See Ergonomic Precautions for safe and healthy working practices.
Correction code
12300206
0.96
NOTE: Unless otherwise explicitly
stated in the procedure, the above correction code and FRT reflect all of the work
required to perform this procedure, including the linked procedures. Do not stack correction codes unless
explicitly told to do so.
NOTE: See Flat Rate
Times to learn more about FRTs and how they are created. To provide feedback on
FRT values, email ServiceManualFeedback@tesla.com.
NOTE: See Personal Protection to make sure wearing proper PPE when
performing the below procedure. See Ergonomic Precautions for safe and healthy working practices.
- 2025-02-20: Released new procedure.
- 2025-10-14: Added extra info for selecting Tow Package.
Torque Specifications
| Description | Torque Value | Recommended Tools | Reuse/Replace | Notes |
|---|---|---|---|---|
| Trailer hitch assembly to body studs |
 62.5 Nm (46.1 lbs-ft) |
|
Reuse |
Remove
- Remove the rear bumper beam. See Bumper Beam - Rear (Remove and Replace).
Install
- 1497847-20-D (7 Seater)
- 1497847-30-D (5 Seater)
- 1497847-39-D (5 Seater)
-
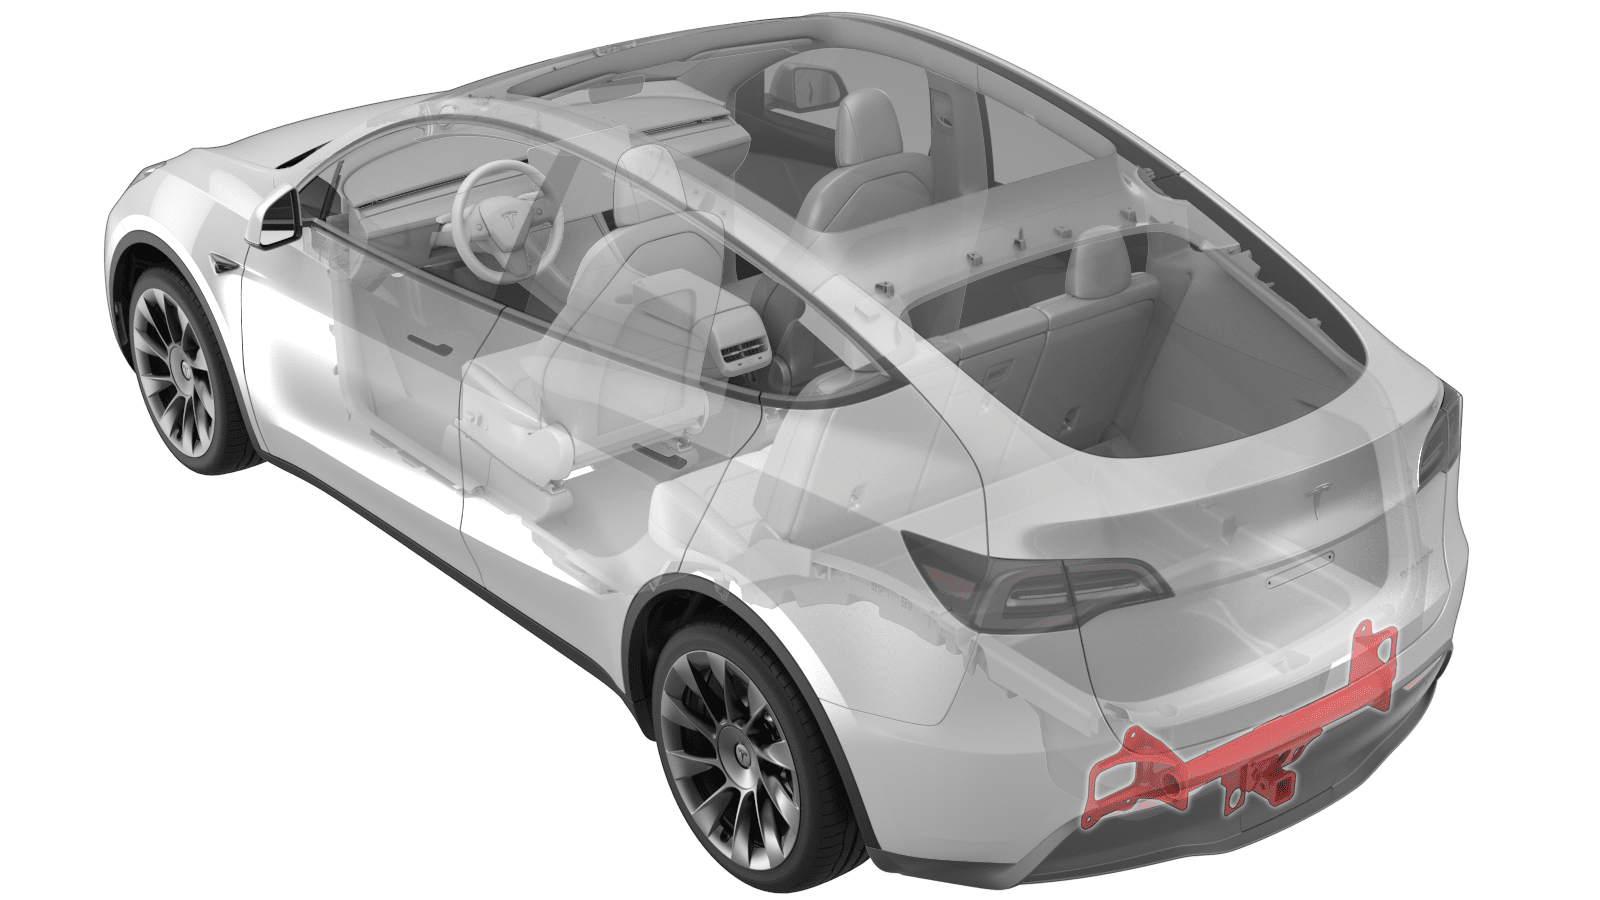
Maneuver the trailer hitch
assembly in place so that the holes are placed over the studs on the body of
the vehicle.
TIpRecommend assistance when performing this step.
-
Install the LH nuts (x3) and
RH nuts (x3) that attach the trailer hitch assembly to the studs on the body
of the vehicle.
 62.5 Nm (46.1 lbs-ft)TIpUse of the following tool(s) is recommended:
- 15 mm, 6-point deep socket
- 6 in extension
- Install the rear center bracket. See Bracket - Rear - Center (Remove and Replace).
-
For Europe and Taiwan
(ECE trailer sockets) only: drill a 6 mm drain hole at the lowest
point of the trailer socket, at the hinge side of the socket.
CAUTIONTo prevent damage to the wires and pins inside the socket, carefully drill only through the plastic housing.NoteThis drill hole is required to prevent corrosion in the event of water ingress.
-
Remove the white cap from the rear body harness connector.
-
Remove the tape that attaches the trailer hitch harness to the trailer
hitch beam.
-
Inspect the trailer hitch harness connector (X046) to determine if it's a
16 pin or 9 pin connector. This information will be used later in the
procedure.
Figure 1. 16 pin MOLEX connector Figure 2. 9 pin MOLEX connector -
Connect the trailer hitch
assembly electrical connector.
- Install the rear fascia. See Fascia - Rear (Remove and Install).
- Enable Service Mode Plus. See Service Mode Plus.
- On the vehicle touchscreen, touch .
-
From the towPackage menu, select one of the
following:
- REV1 for vehicles with a 16 pin trailer hitch harness connector, as determined in step 7. These trailer hitches have a Gen1 ECU with plastic casing.
- REV2 for vehicles with a 9 pin trailer hitch harness connector, as determined in step 7. These trailer hitches have a Gen2 ECU with metal casing (part number 1764896-**-*).
NoteOn vehicles with 16 pin connector X046, the trailer connector is powered directly from the left body controller. On vehicles with the 9 pin connector X046, the trailer connector is powered by a separate trailer ECU.NoteVehicles with a lithium-ion low voltage battery and REV1 trailer hardware do not have auxiliary power on the trailer connector. Determine the low voltage battery type by touching . - Exit Service Mode Plus. See Service Mode Plus.
- Reinstall the vehicle software. See Software Reinstall - Touchscreen.
-
Use a trailer light tester to test the trailer light connector.
NoteUse a trailer light kit, bike rack, or other equipment as an alternative testing method if no trailer light tester is available.