2023-12-20
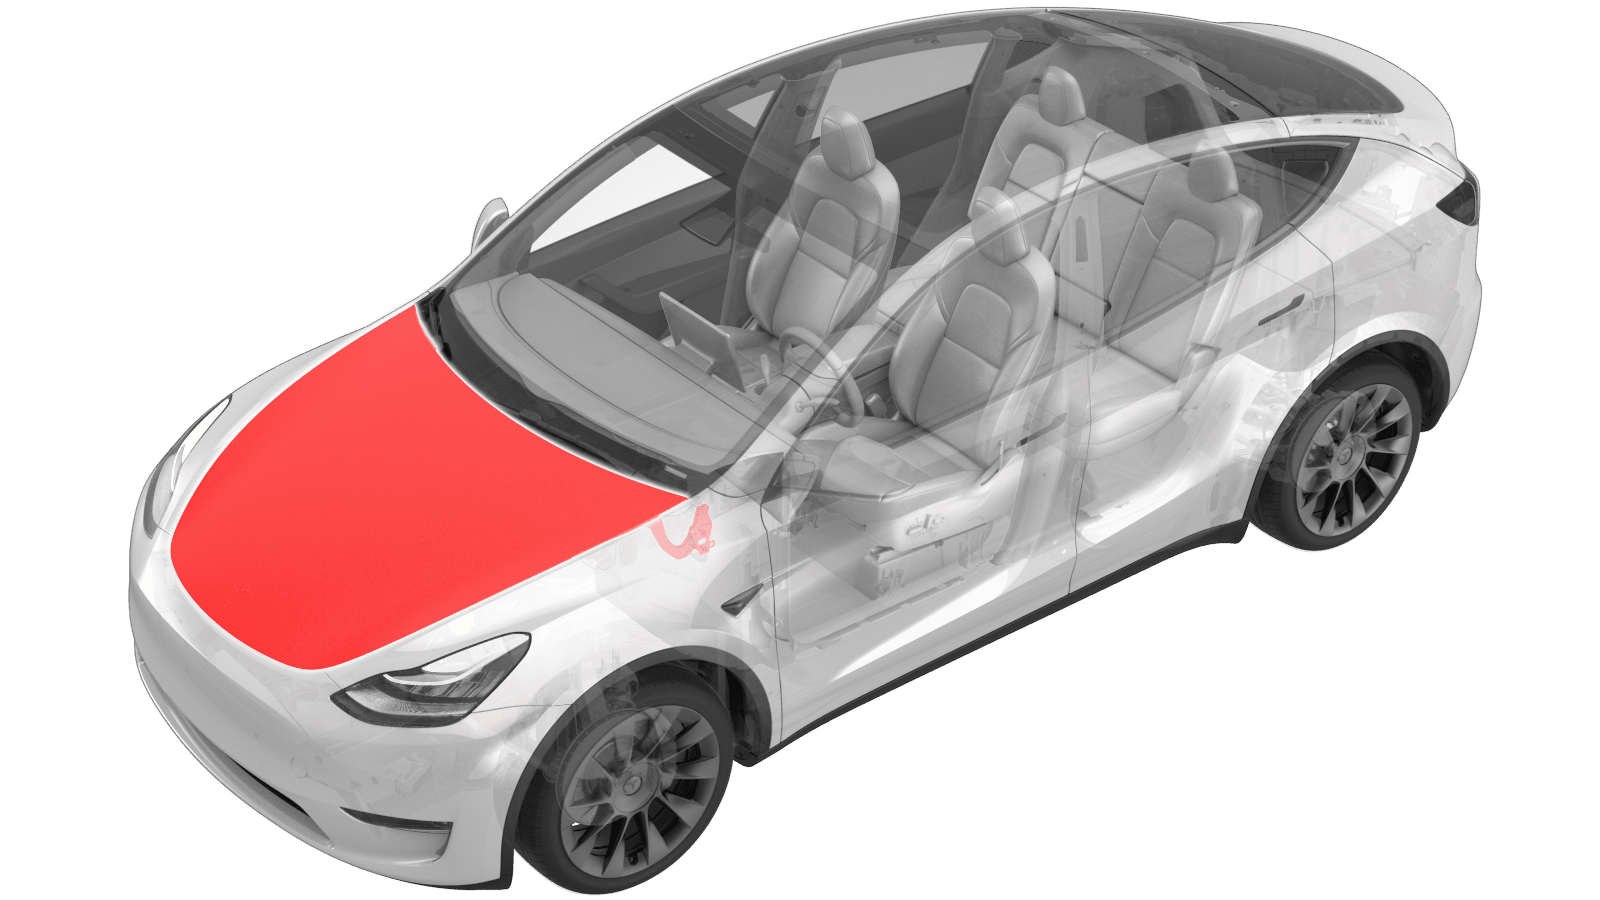
Hood Alignment
 Correction code
10000004
Adjustable FRT
NOTE: This procedure uses an adjustable correction code. Use the correction code listed above and manually enter the actual amount of time spent performing this procedure. Do not stack correction codes unless explicitly told to do so.
NOTE: See Flat Rate Times to learn more about FRTs and how they are created.
NOTE: See Personal Protection to make sure you are wearing proper PPE when performing the procedure below.
NOTE: See Ergonomic Precautions for safe and healthy working practices.
Correction code
10000004
Adjustable FRT
NOTE: This procedure uses an adjustable correction code. Use the correction code listed above and manually enter the actual amount of time spent performing this procedure. Do not stack correction codes unless explicitly told to do so.
NOTE: See Flat Rate Times to learn more about FRTs and how they are created.
NOTE: See Personal Protection to make sure you are wearing proper PPE when performing the procedure below.
NOTE: See Ergonomic Precautions for safe and healthy working practices.
- 2023-12-20: Updated the original nonadjustable correction code to the new adjustable one.
Procedure
-
Identify any adjacent panels that may also need adjustment to successfully align the hood to within specification.
NoteIf multiple panels require adjustment, the best practice is to start with a panel that is adjacent to a fixed panel on the vehicle (e.g. quarter panel or roof rail).NoteThe optimal adjustment order is the following:
- Trunk/liftgate
- Rear doors
- Front doors
- Fenders
- Hood
-
Remove the striker for the hood to accurately assess the natural alignment of the assembly.
CAUTIONForcing the hood gaps into alignment via latch adjustments can lead to premature wear on the hinge and latch assemblies.
- Identify what directions the hood needs to be adjusted to bring it within specification.
-
Use the images below to identify the hardware that needs to be loosened to adjust the hood position in the necessary directions.
TIpThe rubber bumpstops at the front of the hood should be adjusted to set the height at the front slightly overflush from the fascia. Then, the latch can be adjusted to pull the hood down to flush and ensure the hood sits snugly in the closed position.NoteModel 3 images shown; Model Y similar.
- Loosen the necessary bolts just enough to enable adjusting the assemblies with a light application of force.
- Retighten them.
-
Check to see if the fit has improved.
CAUTIONAdjust the hood in only one direction at a time to reduce risk of damage from panels contacting each other during the adjustment process.
- Repeat the process until the hood fit is within gap and flushness specifications.
- Re-torque all hardware that was loosened back to factory values.
- Reinstall the striker and torque to factory values.
- Adjust the hood latch until the hood latches securely in place without excessive closing effort and sits flush to adjacent panels in the fully latched position.