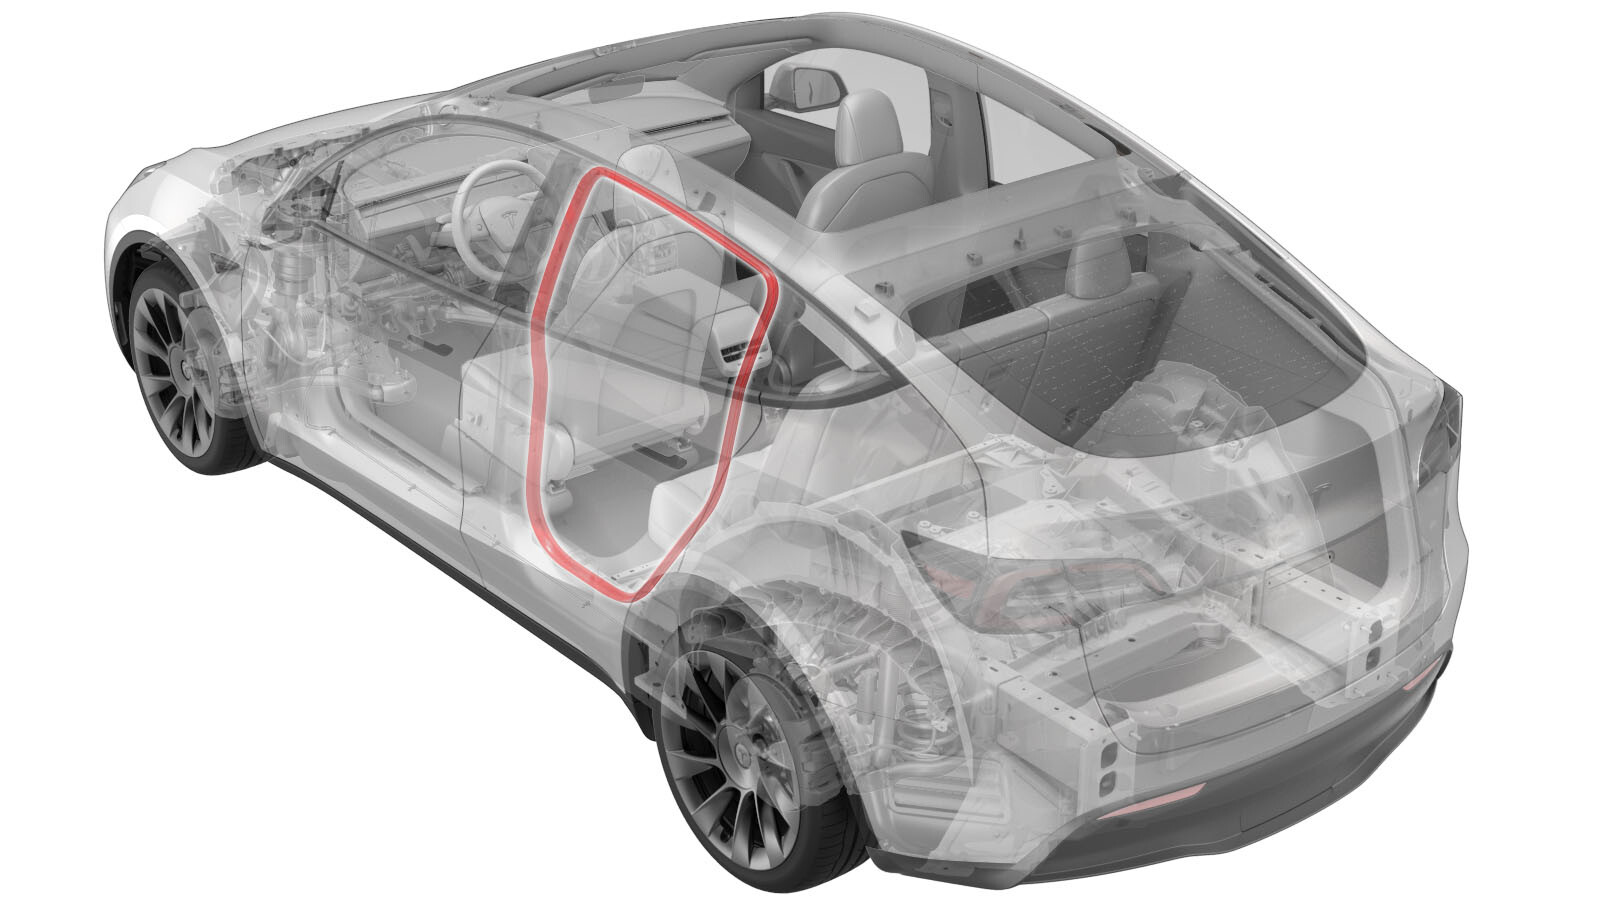
Seal - Body - Side - Rear - Primary - LH (Remove and Replace)
 Correction code
11700502
0.06
NOTE: Unless otherwise explicitly
stated in the procedure, the above correction code and FRT reflect all of the work
required to perform this procedure, including the linked procedures. Do not stack correction codes unless
explicitly told to do so.
NOTE: See Flat Rate
Times to learn more about FRTs and how they are created.
NOTE: See Personal Protection to make sure wearing proper PPE when
performing the below procedure. NOTE: See Ergonomic Precautions for safe and healthy working
practices.
Correction code
11700502
0.06
NOTE: Unless otherwise explicitly
stated in the procedure, the above correction code and FRT reflect all of the work
required to perform this procedure, including the linked procedures. Do not stack correction codes unless
explicitly told to do so.
NOTE: See Flat Rate
Times to learn more about FRTs and how they are created.
NOTE: See Personal Protection to make sure wearing proper PPE when
performing the below procedure. NOTE: See Ergonomic Precautions for safe and healthy working
practices.
- 2025-12-09: Added location of seal seam for vehicles built at Giga Berlin.
- 2024-09-24: Update rear door primary seal install with new datum.
Equipment:
- 1143801-00-A - LED UNDERHOOD LIGHT
Remove
- Open the LH rear door.
-
Pull on the LH primary rear side body seal to release it from the
body.
NoteStart in the corner closest to the B-pillar applique and pull straight down to release the upper portion of the trim first.
Install
-
Position LH rear primary
seal to LH B-pillar , and then press the seal into position working along
the bright molding.
NoteEnsure the wider side of the seal is seated towards the interior of the vehicle.
Figure 1. For vehicles built at Fremont and Austin, make sure the seam on the seal is even with the LH upper B-pillar. Figure 2. For vehicles built at Giga Shanghai, make sure the seam on the seal is even with the bottom of the LH lower B-pillar. Figure 3. For vehicles built at Giga factory Berlin, make sure the seam on the seal is even with the bottom of the LH lower C-pillar trim. -
Press the LH rear primary
body seal into the LH C-pillar, and then work downward toward the
B-pillar.
NoteIf excess material forms along the seal, release the seal and disperse in opposite directions.
-
Tuck the LH primary rear
side body seal into the bright trim molding.
NoteMake sure that the seal is fitted properly to the trim panels and the headliner.
- Pull the seal strings from the new seal.
- Close LH rear door.