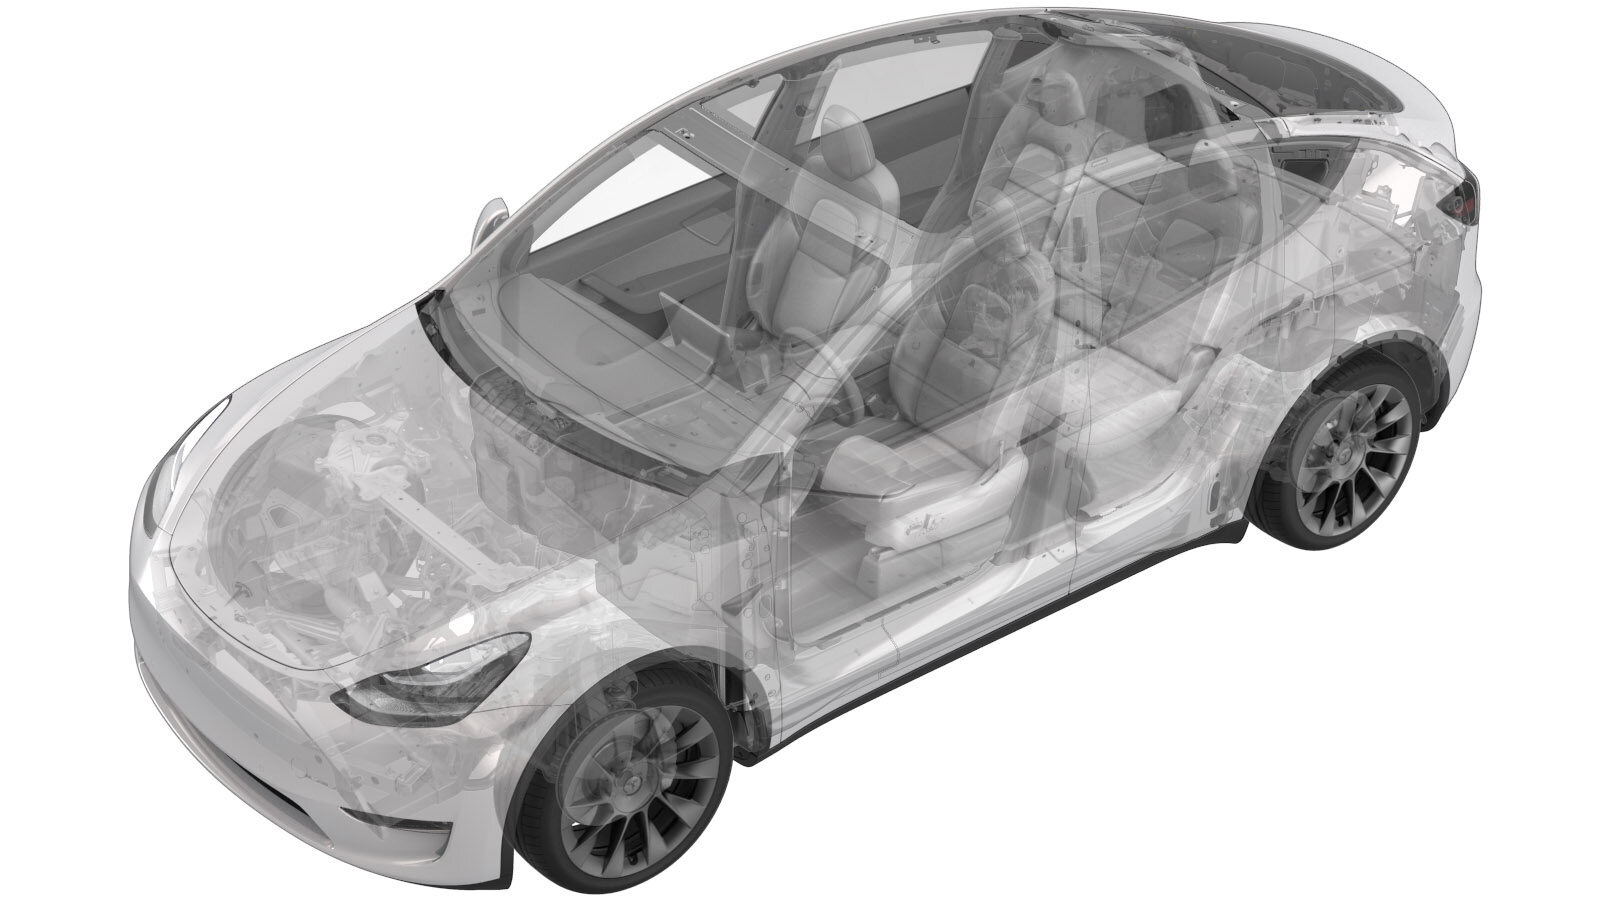
Sensor - Resistive Occupancy - 2nd Row Seat - LH (Remove and Replace)
 Correction code
20055502
0.48
NOTE: Unless otherwise explicitly
stated in the procedure, the above correction code and FRT reflect all of the work
required to perform this procedure, including the linked procedures. Do not stack correction codes unless
explicitly told to do so.
NOTE: See Flat Rate
Times to learn more about FRTs and how they are created. To provide feedback on
FRT values, email ServiceManualFeedback@tesla.com.
NOTE: See Personal Protection to make sure wearing proper PPE when
performing the below procedure. See Ergonomic Precautions for safe and healthy working practices.
- Hog Ring Pliers - 1501599-00-A
Remove
- Open all the doors and lower all the windows.
- Remove the 2nd row lower seat cushion. See Seat Cushion - Lower - 2nd Row (Remove and Replace).
-
Unhook the plastic trim retainers (x7)
that attach the 2nd row trim to the foam.
TIpUse a hook tool to pull the clip away from the frame to release it.
-
Remove the hog rings (x4) that attach
the 2nd row seat upholstery trim to the seat cushion foam.
NoteAt the rear of the seat bottom cushion, gently remove the seat bottom upholstery from the seat cushion foam Velcro and hog rings.
-
Disconnect the seat belt reminder
connector.
-
Remove the LH 2nd row seat resistive
occupancy sensor from the seat cushion foam.
CAUTIONRemove from the bottom of heating wire, and be careful not to damage the foam when removing the harness.
Install
-
Remove the protective pad on the LH
2nd row seat resistive occupancy sensor, expose the adhesive, install the sensor on the
top of the foam, and then install the seat cushion heating wire to its original
position.
-
Connect the seat belt reminder connector.
-
Install the 2nd row seat cushion
upholstery trim hog rings (x4) to the seat cushion foam.
NoteMake sure that the retaining rod on the bow ring connection trim is aligned with the retaining rod on the foam, and take extra care when using the bow ring tool.NoteUse of the following tool(s) is recommended:
- Hog Ring Pliers - 1501599-00-A
-
Firmly press both sides of 2nd row
seat cushion upholstery Velcro into the inboard channels of the seat cushion foam.
NotePull the seat bottom upholstery trim back with one hand, and then push on the Velcro from the inside with the other. Push the Velcro into the channel until it is firmly attached. Work from the rear of the seat cushion to the front.
-
Hook the plastic trim retainers (x7)
that attach the 2nd row seat cushion upholstery trim to the foam.
NoteRoll the front corner of the seat bottom cushion, and then roll the cushion foam. Fold the clip towards the cushion frame. The open end should engage with the cushion frame, if not, until the correct tension is reached, align the open end of the clip strip with the cushion frame, and then press down until the clip is completely fixed on the frame.
- Install the 2nd row lower seat cushion. See Seat Cushion - Lower - 2nd Row (Remove and Replace).
- Raise all the windows and close all the doors.