Trunk Assembly - Lower (Remove and Replace)
 Correction code
15247002
0.24
NOTE: Unless otherwise explicitly
stated in the procedure, the above correction code and FRT reflect all of the work
required to perform this procedure, including the linked procedures. Do not stack correction codes unless
explicitly told to do so.
NOTE: See Flat Rate
Times to learn more about FRTs and how they are created. To provide feedback on
FRT values, email ServiceManualFeedback@tesla.com.
NOTE: See Personal Protection to make sure wearing proper PPE when
performing the below procedure. See Ergonomic Precautions for safe and healthy working practices.
Torque Specifications
| Description | Torque Value | Recommended Tools | Reuse/Replace | Notes |
|---|---|---|---|---|
| Bolts that attach the rear diffuser to lower trunk assembly |
 4 Nm (2.9 lbs-ft) |
|
Reuse | |
| Corner bolts that attach the lower trunk assembly to the vehicle |
 30 Nm (22.1 lbs-ft) |
|
Reuse | |
| Middle bolt that attach the lower trunk assembly to the vehicle |
 10 Nm (7.4 lbs-ft) |
|
Reuse |
Remove
-
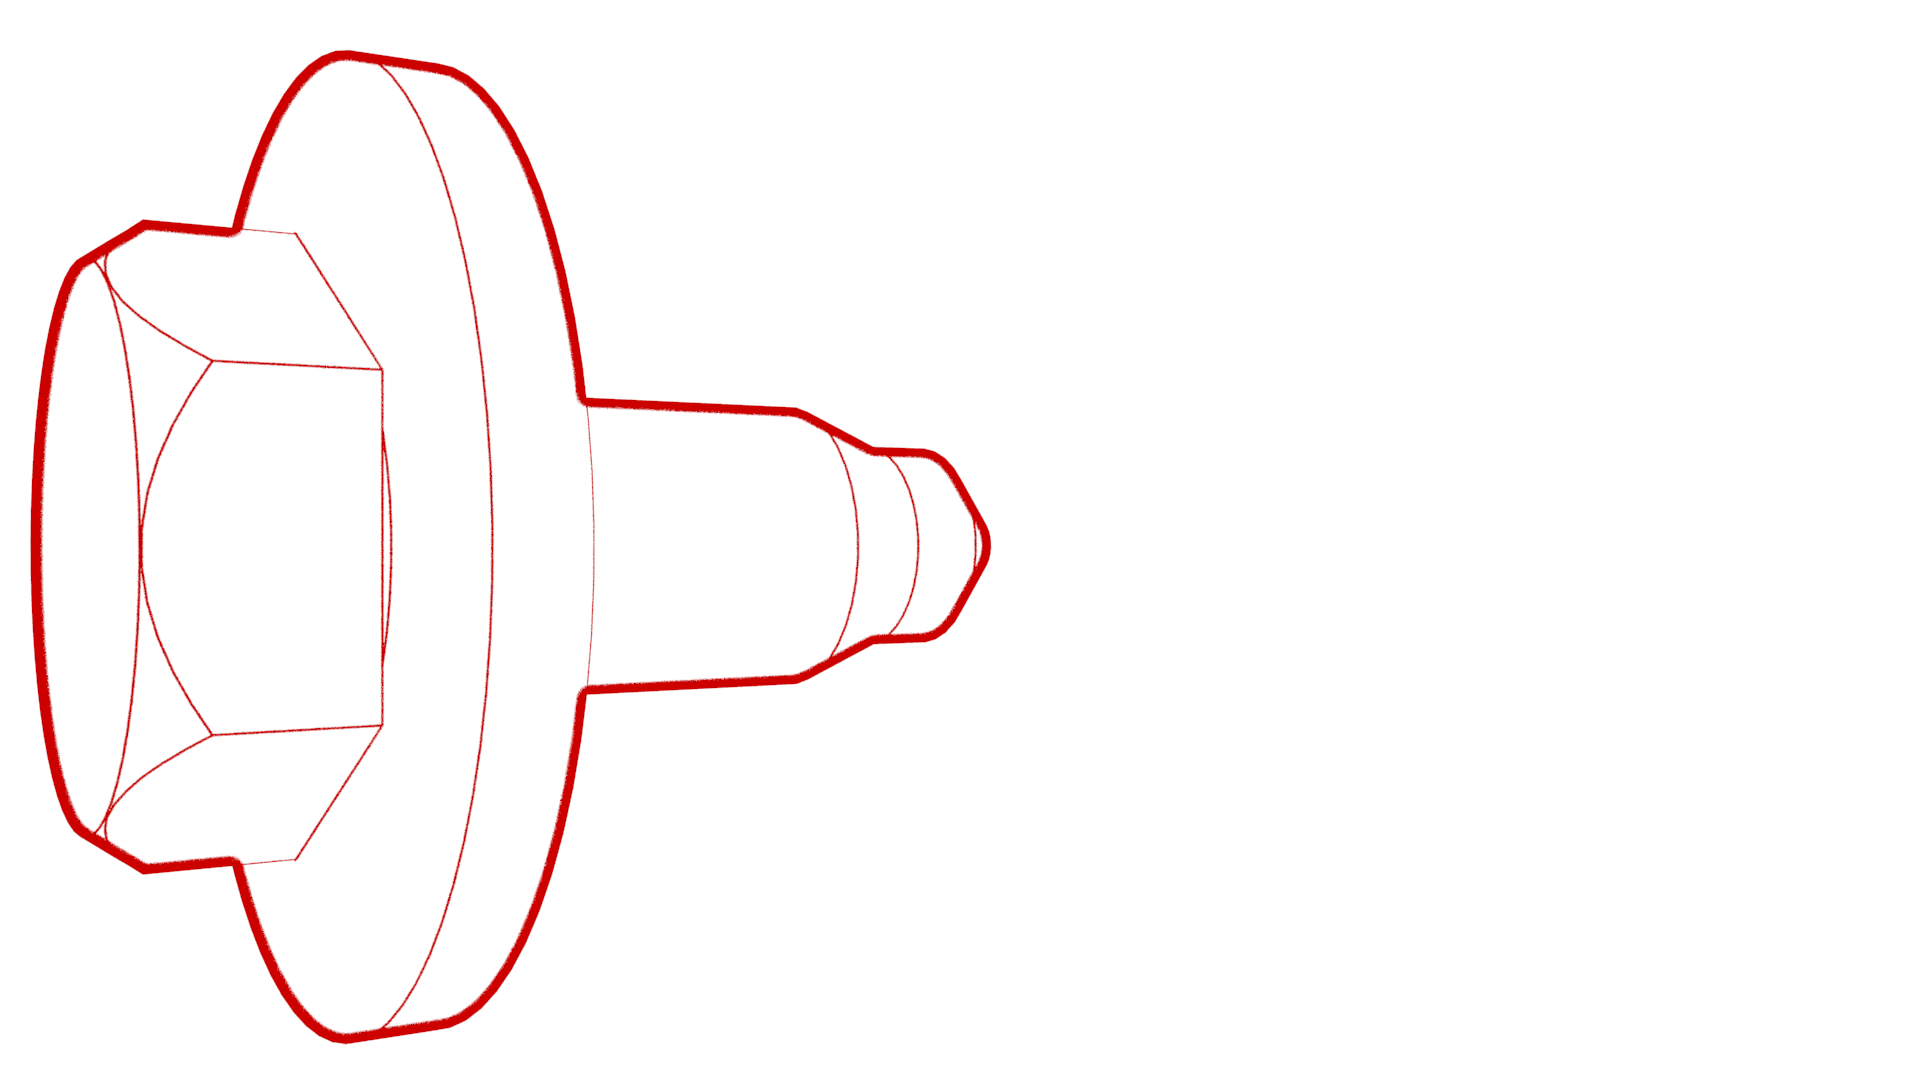
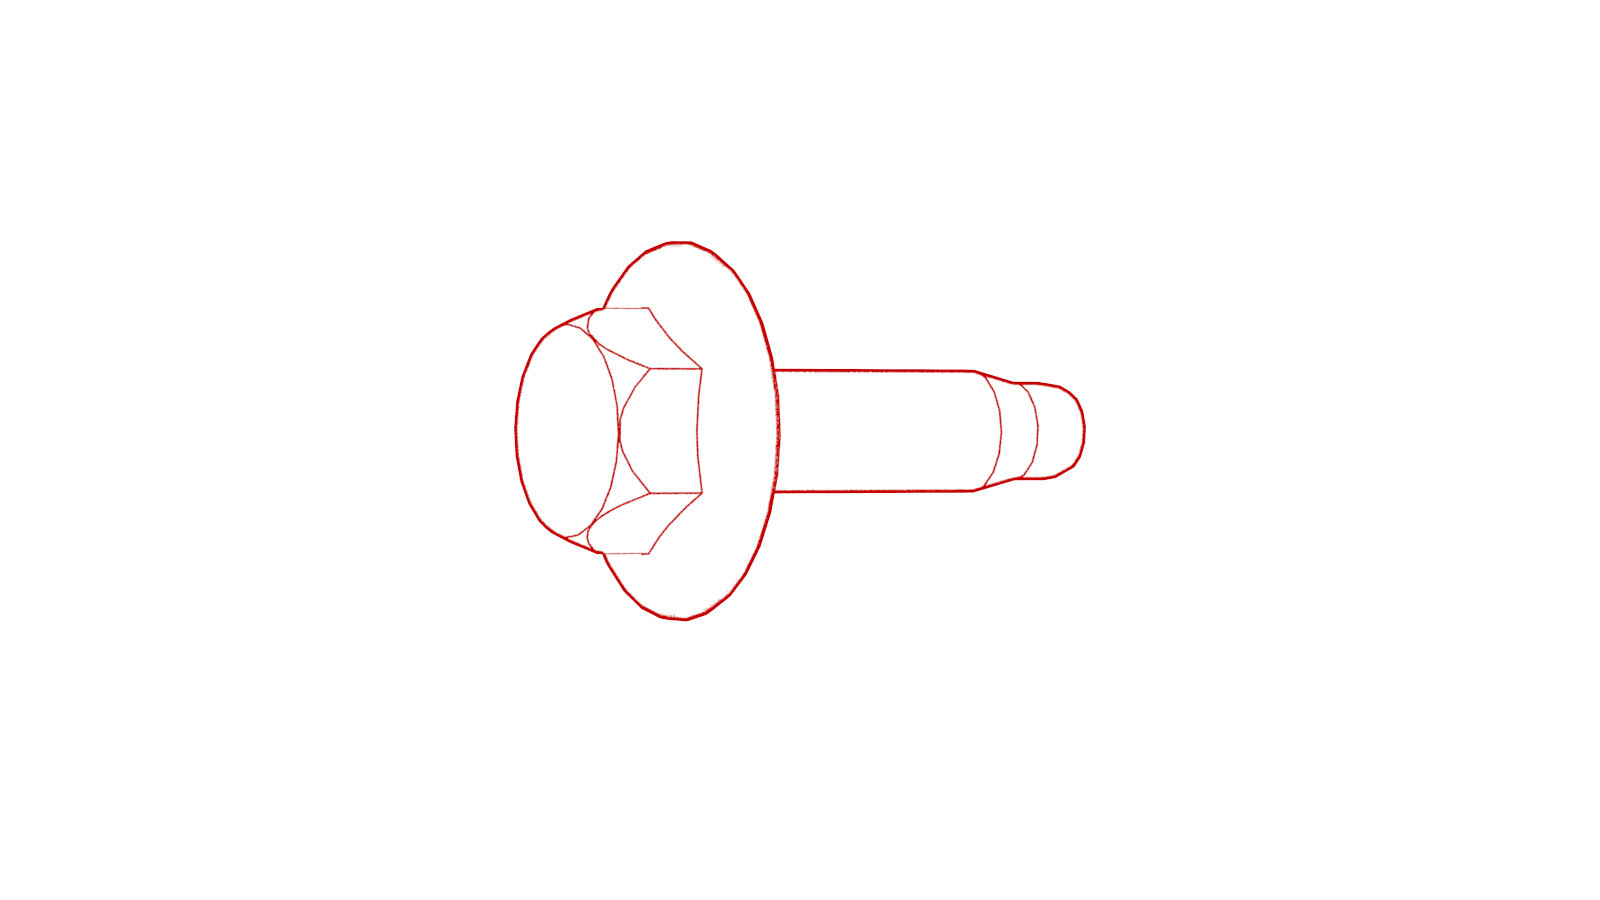
Remove the bolts that attach the rear
diffuser to lower trunk assembly.
 4 Nm (2.9 lbs-ft)TIpUse of the following tool(s) is recommended:
- 10 mm deep socket
- Remove the rear trunk carpet. See Tub - Rear Trunk (Remove and Replace).
-
Remove the corner bolts that attach
the lower trunk assembly to the vehicle.
 30 Nm (22.1 lbs-ft)TIpUse of the following tool(s) is recommended:
- 13 mm deep socket
- 4 in extension
-
Remove the middle fastener that
attaches the lower trunk assembly to the vehicle.
 10 Nm (7.4 lbs-ft)CAUTIONReplace the fastener if the rubber seal on the fastener is damaged.TIpUse of the following tool(s) is recommended:
- EP 14 socket
- 4 in extension
-
Remove the lower trunk assembly from the vehicle.
NoteFor 7-seater vehicles, start by pulling straight up, and then tilt the rear of the assembly upwards to clear the 3rd row seats before pulling the assembly outwards.
Figure 1. 7-seater
Install
Installation procedure is the reverse of removal, except for the following:
- Apply Loctite 222 onto rear diffuser bolts when installing the rear diffuser to the lower trunk assembly.