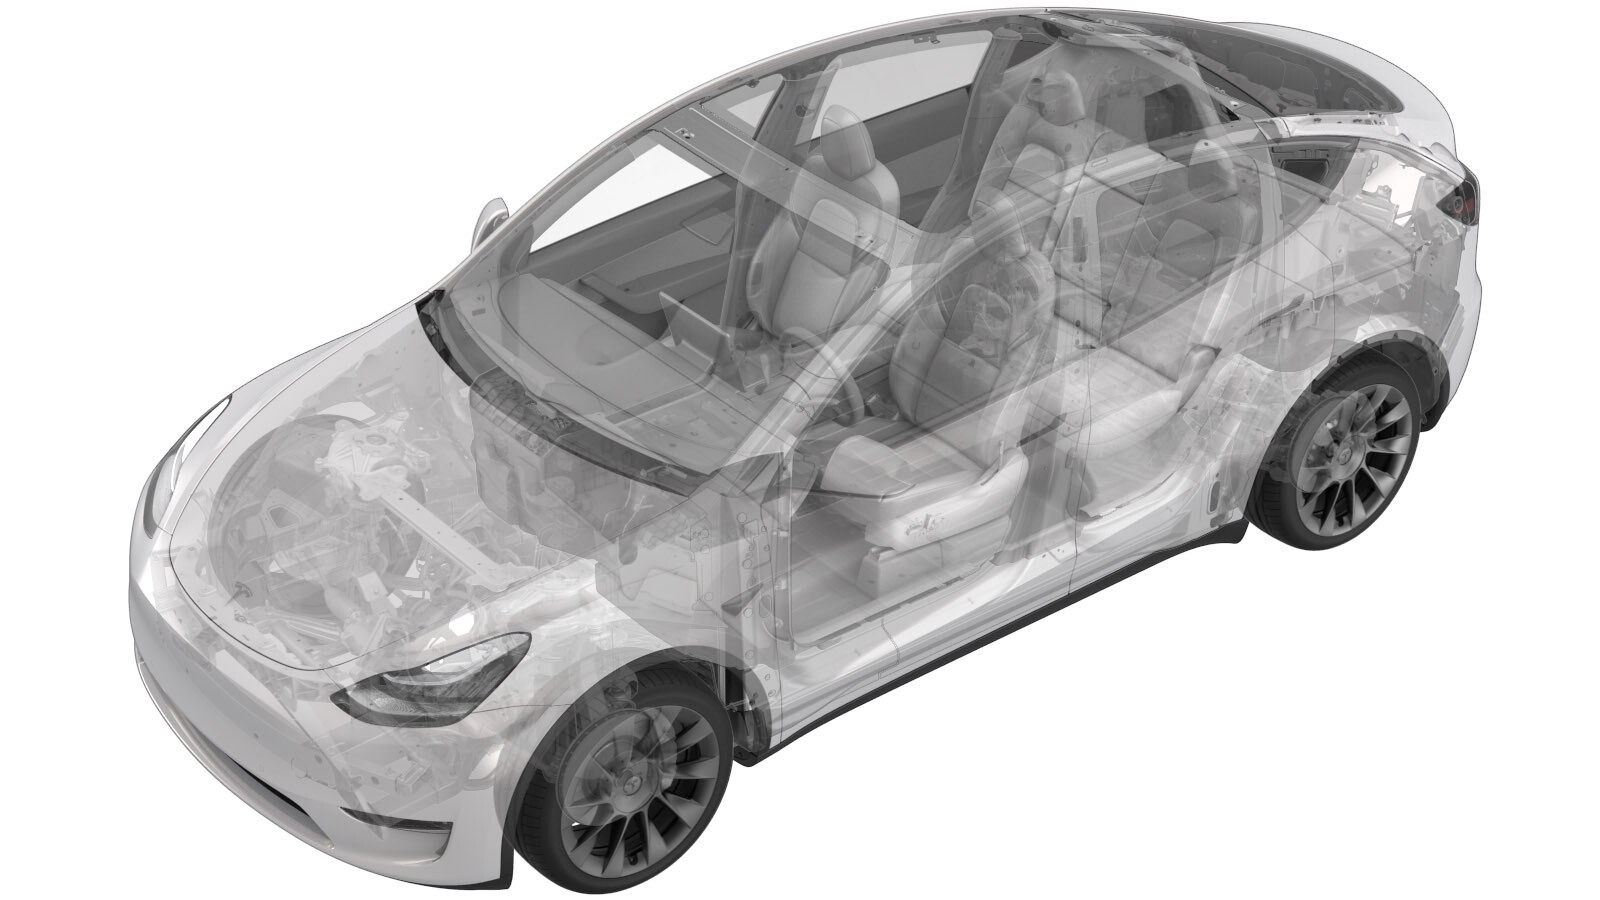
Cushion Pan - 2nd Row Seat - RH (7-Seat) (Remove and Replace)
 Correction code
13050022
0.78
NOTE: Unless otherwise explicitly
stated in the procedure, the above correction code and FRT reflect all of the work
required to perform this procedure, including the linked procedures. Do not stack correction codes unless
explicitly told to do so.
NOTE: See Flat Rate
Times to learn more about FRTs and how they are created.
NOTE: See Personal Protection to make sure wearing proper PPE when
performing the below procedure. NOTE: See Ergonomic Precautions for safe and healthy working
practices.
Correction code
13050022
0.78
NOTE: Unless otherwise explicitly
stated in the procedure, the above correction code and FRT reflect all of the work
required to perform this procedure, including the linked procedures. Do not stack correction codes unless
explicitly told to do so.
NOTE: See Flat Rate
Times to learn more about FRTs and how they are created.
NOTE: See Personal Protection to make sure wearing proper PPE when
performing the below procedure. NOTE: See Ergonomic Precautions for safe and healthy working
practices.
Remove
- Remove the RH 2nd row seat assembly. See Seat Assembly - 2nd Row - RH (7-Seat) (Remove and Replace).
-
Remove the RH 2nd row seat
toe kick cover.
-
Remove the clip that
attaches the RH 2nd row seat side shield to the cushion pan.
-
Release the clip that
attaches the RH 2nd row seat side shield to the RH 2nd row seat assembly,
and then lift the shield up to release it from the assembly.
NoteDo not pull the shield away from the assembly as there is still an electrical connector connected
-
Disconnect the RH 2nd row
seat side shield electrical connector, and then remove the shield from the
assembly.
-
Release the clips (x4) that
attach the RH 2nd row seat outer B-cover from the inner B-cover, and slide
the cover towards the rear of the seat to remove it from the assembly.
- Fold the seat to the upright position.
-
Remove the screw that
attaches the RH 2nd row seat inner B-cover to the cushion pan.
 1.5 Nm (1.1 lbs-ft)TIpUse of the following tool(s) is recommended:
- Torx T25 socket
- Flex head ratchet/flex head torque wrench
-
Release the hook that
attaches the inner B-cover to the RH 2nd row seat assembly.
-
Disconnect the LH 2nd row
seatback harness electrical connector.
-
Release the clip that
attaches the RH 2nd row seat cushion harness connector to the seat
frame.
-
Disconnect the RH 2nd row
seat RH floor latch electrical connector.
-
Disconnect the RH 2nd row
seat LH floor latch electrical connector.
-
Disconnect the RH 2nd row
seat seatbelt buckle electrical connector.
-
Release the clip that attaches the RH 2nd row seat seatbelt buckle
connector to the cushion pan.
-
Disconnect the RH 2nd row
seat seat track position sensor electrical connector.
-
Release the clips that
attach the RH 2nd row seat cushion harness to the podium.
-
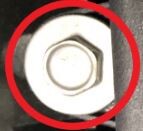
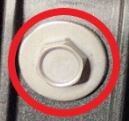
Remove the bolts that attach
the RH 2nd row seat cushion pan to the seat frame.
 2.5 Nm (1.8 lbs-ft)TIpUse of the following tool(s) is recommended:
- 10 mm deep socket
- Flex head ratchet/flex head torque wrench
-
Remove the clip that attaches the RH 2nd row seat cushion pan to the seat
frame.
-
Slightly lift the RH 2nd row
seat cushion pan upward, but do not fully remove the cushion at this
time.
-
Release the clips that attach the RH 2nd row seat floor latch actuator
cable from the RH floor latch.
-
Release the clips that attach the RH 2nd row seat floor latch actuator
cable from the LH floor latch.
-
Release the clips that
attach the RH 2nd row seat easy entry actuator cable to the RH easy entry
latch.
-
Release the clips that
attach the RH 2nd row seat easy entry actuator cable to the LH easy entry
latch.
-
Release the clips that attach the RH 2nd row seat recliner actuator cable
to the recliner release arm.
-
Remove the RH 2nd row seat cushion assembly from seat frame.
-
Disconnect the RH 2nd row
seat heat pad electrical connector.
-
Release locking tab that
attaches the RH 2nd row seat heater pad connector to the cushion pan.
-
Disconnect the RH 2nd row
seat occupancy sensor electrical connector.
-
Disconnect the RH 2nd row
seat recliner actuator electrical connector.
-
Disconnect the RH 2nd row
seat actuator switch box electrical connector.
-
Release the clips that
attach the RH 2nd row seat cushion harness to the cushion pan, and then
remove the harness from the assembly.
-
Disconnect the RH 2nd row
seat easy entry actuator electrical connector.
-
Remove the bolts that attach
the RH 2nd row seat actuator switch box to the seat assembly, and then
remove it from the assembly.
 2.5 Nm (1.8 lbs-ft)TIpUse of the following tool(s) is recommended:
- 8 mm socket
- Flex head ratchet/flex head torque wrench
- 4 in extension
-
Remove the bolts that attach
the RH 2nd row seat easy entry actuator to the cushion pan, and then remove
the actuator from the seat assembly.
 2.5 Nm (1.8 lbs-ft)TIpUse of the following tool(s) is recommended:
- 8 mm socket
- Flex head ratchet/flex head torque wrench
- 4 in extension
-
Remove the bolts that attach
the RH 2nd row seat floor latch actuator to the cushion pan.
 2.5 Nm (1.8 lbs-ft)TIpUse of the following tool(s) is recommended:
- 8 mm socket
- Flex head ratchet/flex head torque wrench
- 4 in extension
-
Remove the bolts that attach
the RH 2nd row seat recliner to the cushion pan.
 2.5 Nm (1.8 lbs-ft)TIpUse of the following tool(s) is recommended:
- 8 mm socket
- Flex head ratchet/flex head torque wrench
- 4 in extension
-
Release the holding tab that
attaches the RH 2nd row seat occupancy sensor harness to the cushion
pan.
-
Release the hooks that
attach the RH 2nd row seat cushion trim cover to the cushion pan.
Install
-
Position the RH 2nd row seat
cushion trim cover onto the cushion pan, and then fasten the hooks.
-
Fasten the holding tab that
attaches the RH 2nd row seat occupancy sensor harness to the cushion
pan.
-
Install the bolts that
attach the RH 2nd row seat recliner to the cushion pan.2.5 Nm (1.8 lbs-ft)TIpUse of the following tool(s) is recommended:
- 8 mm socket
- Flex head ratchet/flex head torque wrench
- 4 in extension
-
Install the bolts that
attach the RH 2nd row seat floor latch actuator to the cushion pan.2.5 Nm (1.8 lbs-ft)TIpUse of the following tool(s) is recommended:
- 8 mm socket
- Flex head ratchet/flex head torque wrench
- 4 in extension
-
Position the RH 2nd row seat
easy entry actuator onto the RH second row seat assembly, and then install
the bolts that attach the actuator to the assembly.2.5 Nm (1.8 lbs-ft)TIpUse of the following tool(s) is recommended:
- 8 mm socket
- Flex head ratchet/flex head torque wrench
- 4 in extension
-
Position the RH 2nd row seat
actuator switch box onto the seat assembly, and then install the bolts.2.5 Nm (1.8 lbs-ft)TIpUse of the following tool(s) is recommended:
- 8 mm socket
- Flex head ratchet/flex head torque wrench
- 4 in extension
-
Connect the RH 2nd row seat
floor latch actuator electrical connector.
-
Connect the RH 2nd row seat
easy entry actuator electrical connector.
-
Position the RH 2nd row seat
cushion harness onto the cushion pan, and then install the clips that attach
the harness to the cushion pan.
-
Connect the RH 2nd row seat
actuator switch box electrical connector.
-
Connect the RH 2nd row seat
occupancy sensor electrical connector.
-
Install the RH 2nd row seat
heater pad connector to the cushion pan.
-
Connect the RH 2nd row seat
heat pad electrical connector.
-
Remove the RH 2nd row seat
cushion assembly from seat frame.
- Position the RH 2nd row seat cushion assembly onto the seat from, but do not fully seat the cushion assembly.
-
Fasten the clips that attach
the RH 2nd row seat recliner actuator cable to the recliner release
arm.
-
Install the RH 2nd row seat
easy entry actuator cable to the LH easy entry latch.
-
Install the RH 2nd row seat
easy entry actuator cable to the RH easy entry latch.
-
Install the RH 2nd row seat
floor latch actuator cable to the LH floor latch.
-
Install the RH 2nd row seat
floor latch actuator cable from the RH floor latch.
- Push downward on the RH 2nd row seat cushion assembly to fully seat it to the seat frame.
-
Install the clip that
attaches the RH 2nd row seat cushion pan to the seat frame.
-
Install the bolts that
attach the RH 2nd row seat cushion pan to the seat frame.2.5 Nm (1.8 lbs-ft)TIpUse of the following tool(s) is recommended:
- 10 mm deep socket
- Flex head ratchet/flex head torque wrench
-
Fasten the clips that attach
the RH 2nd row seat cushion harness to the podium.
-
Connect the RH 2nd row seat
seat track position sensor electrical connector.
-
Fasten the clip that attaches the RH 2nd row seat seatbelt buckle connector
to the cushion pan.
-
Connect the RH 2nd row seat
seatbelt buckle electrical connector.
-
Connect the RH 2nd row seat
LH floor latch electrical connector.
-
Connect the RH 2nd row seat
RH floor latch electrical connector.
-
Install the clip that
attaches the RH 2nd row seat cushion harness connector to the seat
frame.
-
Connect the LH 2nd row
seatback harness electrical connector.
-
Fasten the hook that
attaches the inner B-cover to the RH 2nd row seat assembly.
-
Disconnect the RH 2nd row
seat recliner actuator electrical connector.
- Using the seat fold tool, connect the recliner actuator electrical connector into the recliner actuator, and then activate the switch to fold the RH 2nd row seat down.
- Disconnect the seat fold tool from the RH 2nd row seat.
- Connect the RH 2nd row seat recliner actuator electrical connector.
-
Position the RH 2nd row seat
outer B-cover onto the inner B-cover, and then install the clips (x4).
-
Connect the RH 2nd row seat
side shield electrical connector.
-
Position the RH 2nd row seat
side shield onto the RH 2nd row seat assembly, and then install the
clip.
-
Install the clip that
attaches the RH 2nd row seat side shield to the cushion pan.
-
Install the RH 2nd row seat
toe kick cover.
- Install the RH 2nd row seat assembly. See Seat Assembly - 2nd Row - RH (7-Seat) (Remove and Replace).