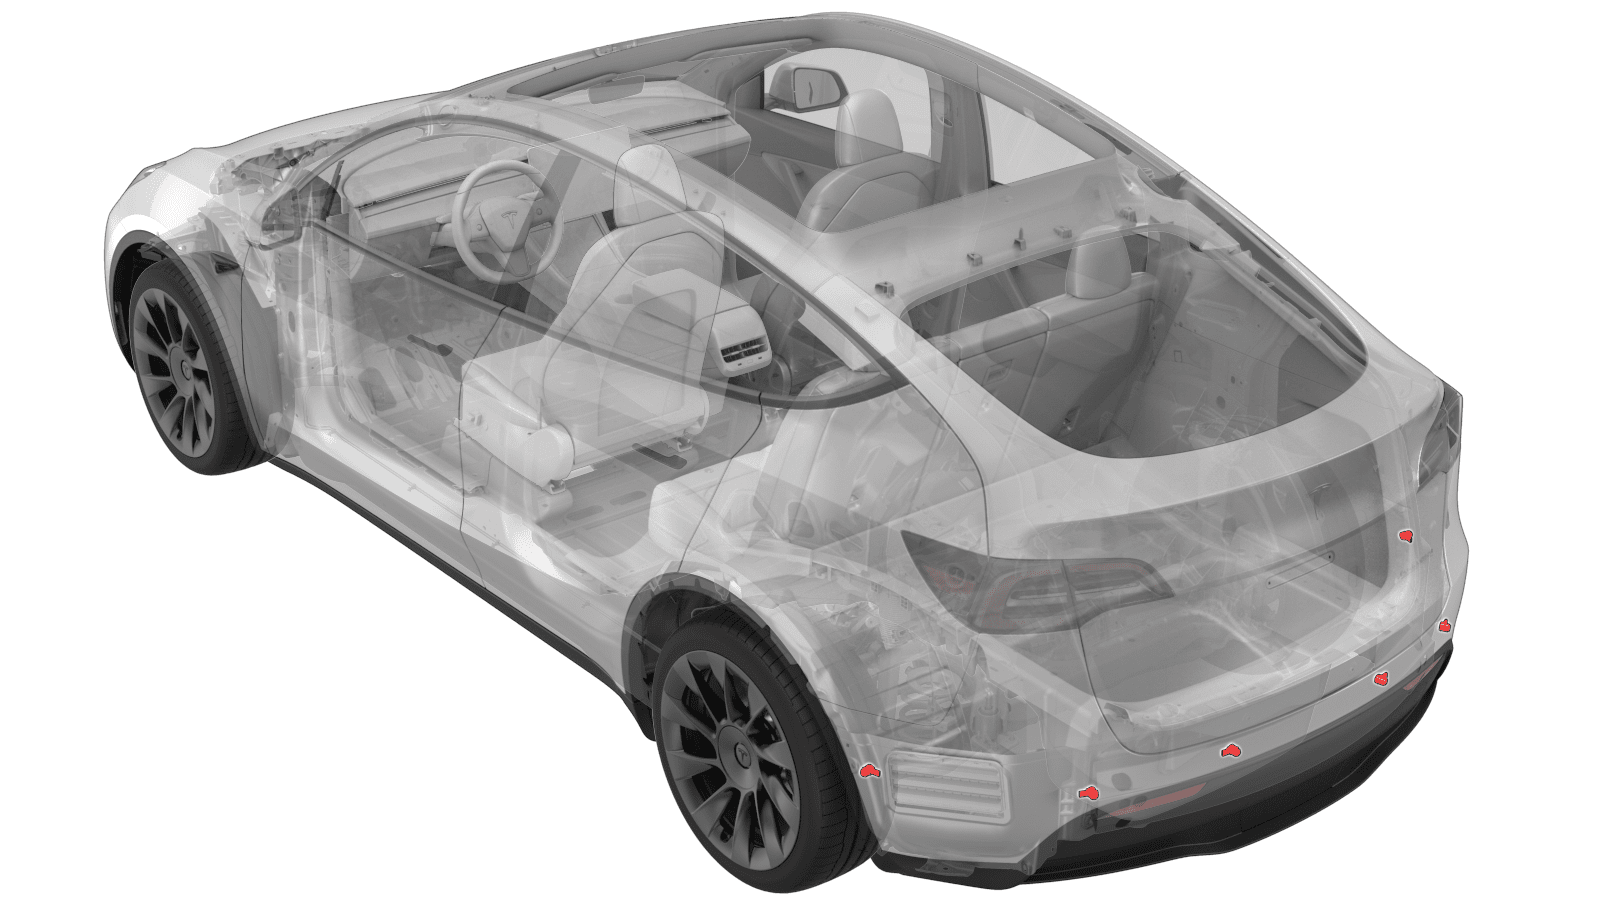
Sensor - Parking Distance - Outer - Rear (Remove and Replace)
 Correction code
17271122
0.12
NOTE: Unless otherwise explicitly
stated in the procedure, the above correction code and FRT reflect all of the work
required to perform this procedure, including the linked procedures. Do not stack correction codes unless
explicitly told to do so.
NOTE: See Flat Rate
Times to learn more about FRTs and how they are created. To provide feedback on
FRT values, email ServiceManualFeedback@tesla.com.
NOTE: See Personal Protection to make sure wearing proper PPE when
performing the below procedure. See Ergonomic Precautions for safe and healthy working practices.
Remove
- Remove the LH rear fender garnish. See Garnish - Fender - Rear - LH (Remove and Replace).
-
Remove bolt that attaches
the LH side of the rear fascia to the body.
 4 Nm (2.9 lbs-ft)TIpUse of the following tool(s) is recommended:
- 8 mm hex
- 4 in extension
- Pull the rear fascia outward to allow clearance to the rear parking sensor.
-
Disconnect the electrical harness from the rear parking distance sensor connector.
NoteDO NOT push down on the red locking tab. Pull the tab away from the connector until the connector is unlocked, and then continue pulling the main body of the connector to fully disconnect it.
-
Release the tabs that attach
the rear parking distance sensor to the rear fascia, and then remove the
sensor from the rear fascia.
Install
Installation procedure is the reverse of removal, except for the following:
Push the red locking tab towards the connector to engage the locking mechanism. DO NOT push down or pull up on the red locking tab.
Consult the parts catalog to determine the type of parking sensor installed on the vehicle. If the vehicle is equipped with Tesla USS, run the following Toolbox 3.0 routines in the order listed: