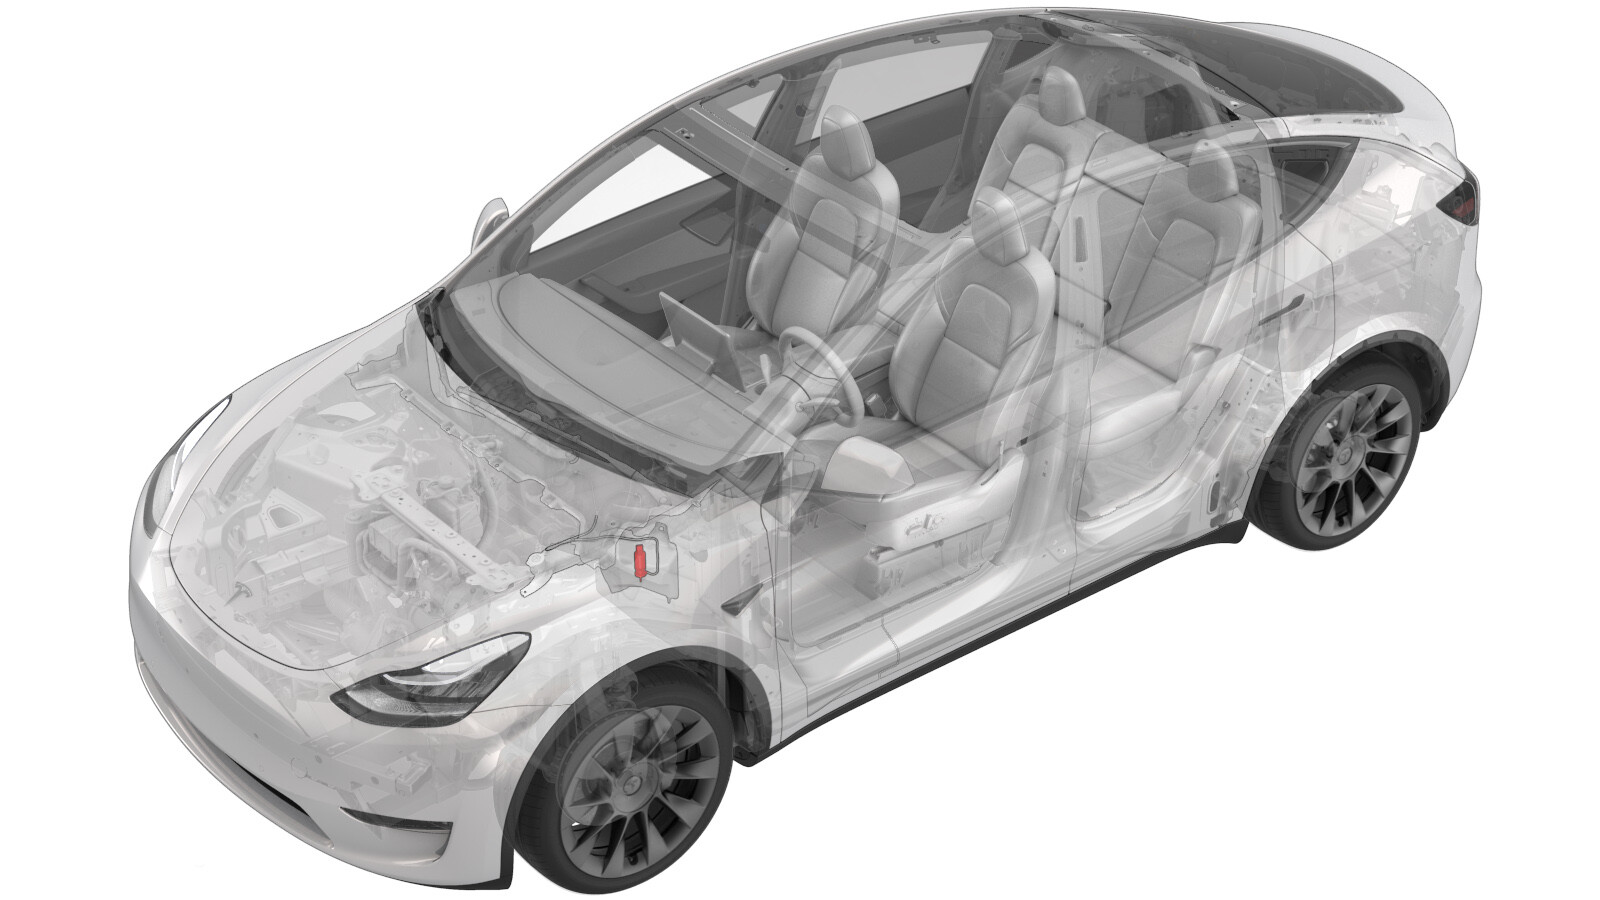
Pump - Windshield Washer (Remove and Replace)
 Correction code
17501002
0.42
NOTE: Unless otherwise explicitly
stated in the procedure, the above correction code and FRT reflect all of the work
required to perform this procedure, including the linked procedures. Do not stack correction codes unless
explicitly told to do so.
NOTE: See Flat Rate
Times to learn more about FRTs and how they are created. To provide feedback on
FRT values, email ServiceManualFeedback@tesla.com.
NOTE: See Personal Protection to make sure wearing proper PPE when
performing the below procedure. See Ergonomic Precautions for safe and healthy working practices.
Torque Specifications
| Description | Torque Value | Recommended Tools | Reuse/Replace | Notes |
|---|---|---|---|---|
| Bolt and nut that attach the water tank to the vehicle |
 3 Nm (2.2 lbs-ft) |
|
Reuse |
Remove
- Open the LH front door and fully lower the LH front window.
- Remove the rear underhood apron. See Underhood Apron - Rear (Remove and Replace).
- Remove the LH and RH wiper arms. See Wiper Arms (Remove and Replace).
- Remove the cowl screen panel. See Panel - Cowl Screen (Remove and Replace).
- Remove the windshield washer reservoir filler neck. See Filler Neck - Reservoir - Windshield Washer (LHD) (Remove and Replace).
- Remove the wiper motor. See Wiper Module (Remove and Replace).
-
Release the clip that attaches the electrical harness to the windshield washer reservoir.
-
Remove the bolt and nut that
attach the water tank to the vehicle.
TIpUse of the following tool(s) is recommended:
- 10 mm socket
-
Disconnect the washer tank level sensor.
NoteMove the washer tank forward, and then up to access the level sensor connector.
-
Disconnect the electrical
harness from the windshield washer pump connector.
NoteLift the washer reservoir assembly up, and then rotate it counterclockwise to access the washer pump at the rear of the tank.
- Remove the windshield washer reservoir assembly from the vehicle, and then recover any fluid from the reservoir.
-
Remove the washer hose from the windshield washer reservoir, and then remove the windshield washer pump from the grommet in the reservoir.
-
Inspect the grommet for damage and replace as necessary.
NoteThe new washer pump does not come with a new grommet.
Install
- Install the windshield washer hose onto the windshield washer pump.
-
Insert the tip of the windshield washer pump into the grommet in the windshield washer reservoir, install the pump into the reservoir, and then install the washer hose into the reservoir.
-
Connect the electrical harness to the windshield washer pump connector and level sensor connector.
-
Install the windshield
washer reservoir into the vehicle, and then install the bolt and nut that
attach the windshield
washer reservoir to the body.
 3 Nm (2.2 lbs-ft)TIpUse of the following tool(s) is recommended:
- 10 mm socket
-
Fasten the clip that attaches the electrical harness to the windshield washer reservoir.
- Install the wiper motor. See Wiper Module (Remove and Replace).
- Install the windshield washer reservoir filler neck. See Filler Neck - Reservoir - Windshield Washer (LHD) (Remove and Replace).
- Install the cowl screen panel. See Panel - Cowl Screen (Remove and Replace).
- Install the LH and RH wiper arms. See Wiper Arms (Remove and Replace).
- Install the rear underhood apron. See Underhood Apron - Rear (Remove and Replace).
- Fill the windshield washer reservoir with fluid.
- Verify operation of the windshield wipers and washer.