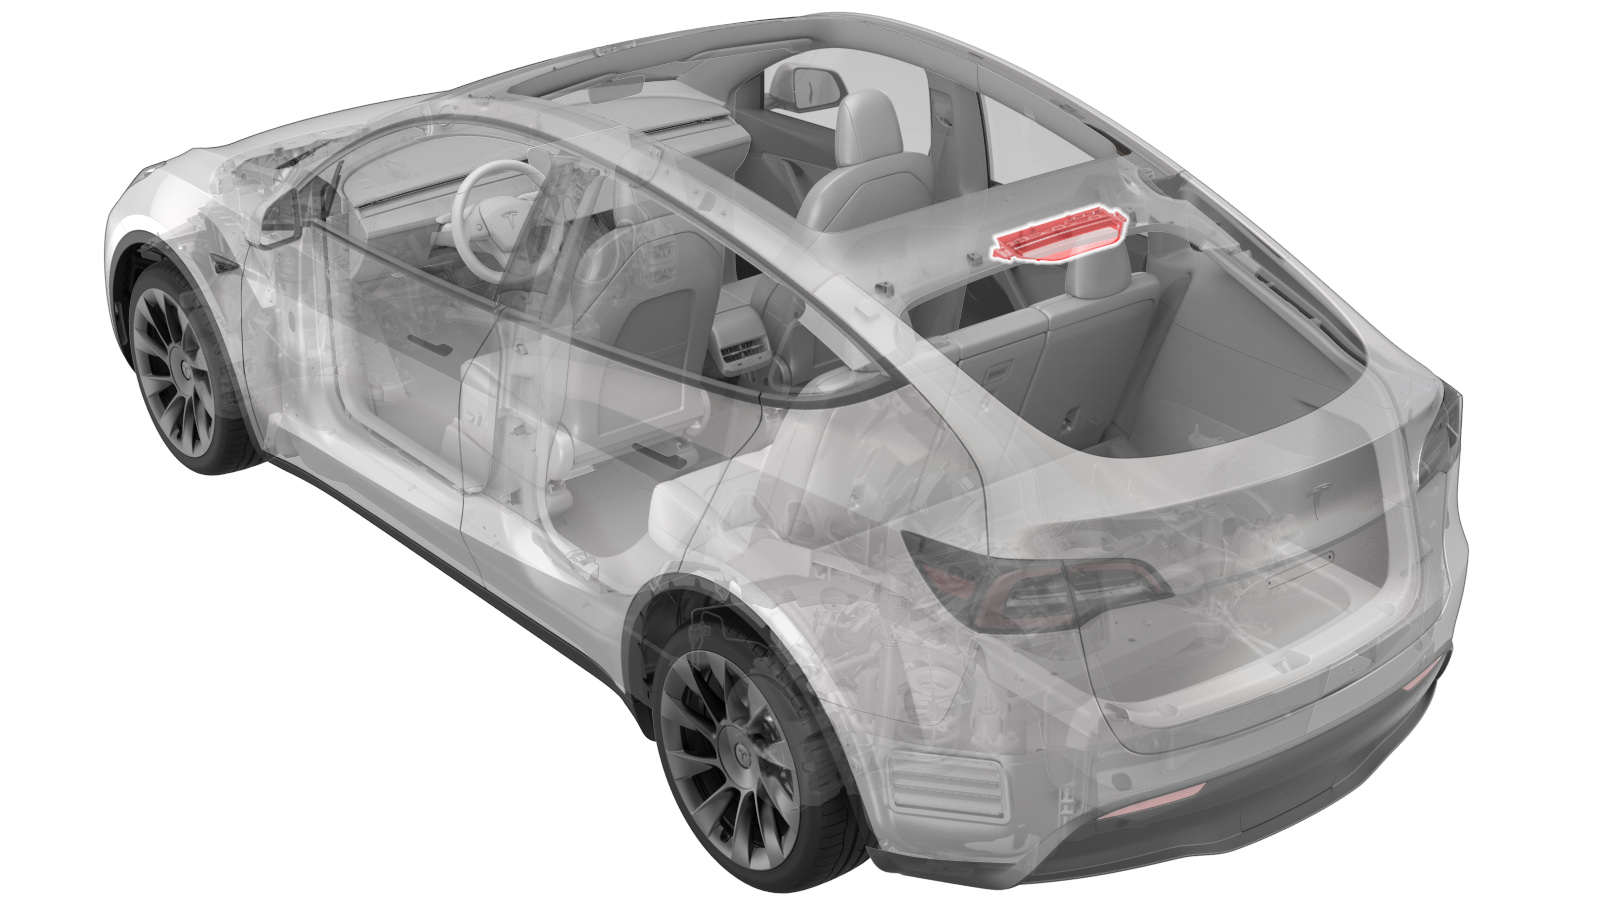
Light - Brake - Center High Mounted (Remove and Replace)
 Correction code
17402502
1.50
NOTE: Unless otherwise explicitly
stated in the procedure, the above correction code and FRT reflect all of the work
required to perform this procedure, including the linked procedures. Do not stack correction codes unless
explicitly told to do so.
NOTE: See Flat Rate
Times to learn more about FRTs and how they are created.
NOTE: See Personal Protection to make sure wearing proper PPE when
performing the below procedure. NOTE: See Ergonomic Precautions for safe and healthy working
practices.
Correction code
17402502
1.50
NOTE: Unless otherwise explicitly
stated in the procedure, the above correction code and FRT reflect all of the work
required to perform this procedure, including the linked procedures. Do not stack correction codes unless
explicitly told to do so.
NOTE: See Flat Rate
Times to learn more about FRTs and how they are created.
NOTE: See Personal Protection to make sure wearing proper PPE when
performing the below procedure. NOTE: See Ergonomic Precautions for safe and healthy working
practices.
Remove
-
Remove the backlight glass.
See Glass - Backlight (Remove and Install).
CAUTIONWhen performing this procedure, make sure not to break the H-clips at the top of the backlight glass so that the new CHMSL can be installed onto the old backlight glass later.
-
Press down the 2 clips on
the CHMSL assembly to remove it from backlight glass.
-
Remove remaining urethane
from backlight assembly using a winged scrapper set.
-
Remove the double sided tape
residue on the locators (x2) area.
TIpUse of the following tool(s) is recommended:
- Eraser Wheel
- Battery Powered Drill - 1126456-00-A
- Winged Scraper Set - 1080601-00-A
-
Remove all spacer pads
(x11).
-
Remove remaining urethane
from liftgate body using a winged scrapper set.
NoteMake sure the residual urethane is 1mm or less in thickness.
-
Clean all mating surfaces
with isopropyl alcohol (IPA) wipes.
NoteRemove any finger prints or markings that will be visible under the CHMSL.
Install
- Install locators (x2) to the backlight glass.
-
Install all spacer pads
(x11) to the backlight glass.
-
Install CHMSL assembly to
the backlight glass.
NoteSlide the CHMSL onto both side H-clips evenly until it is locked into place.
- Install the backlight glass. See Glass - Backlight (Remove and Install).