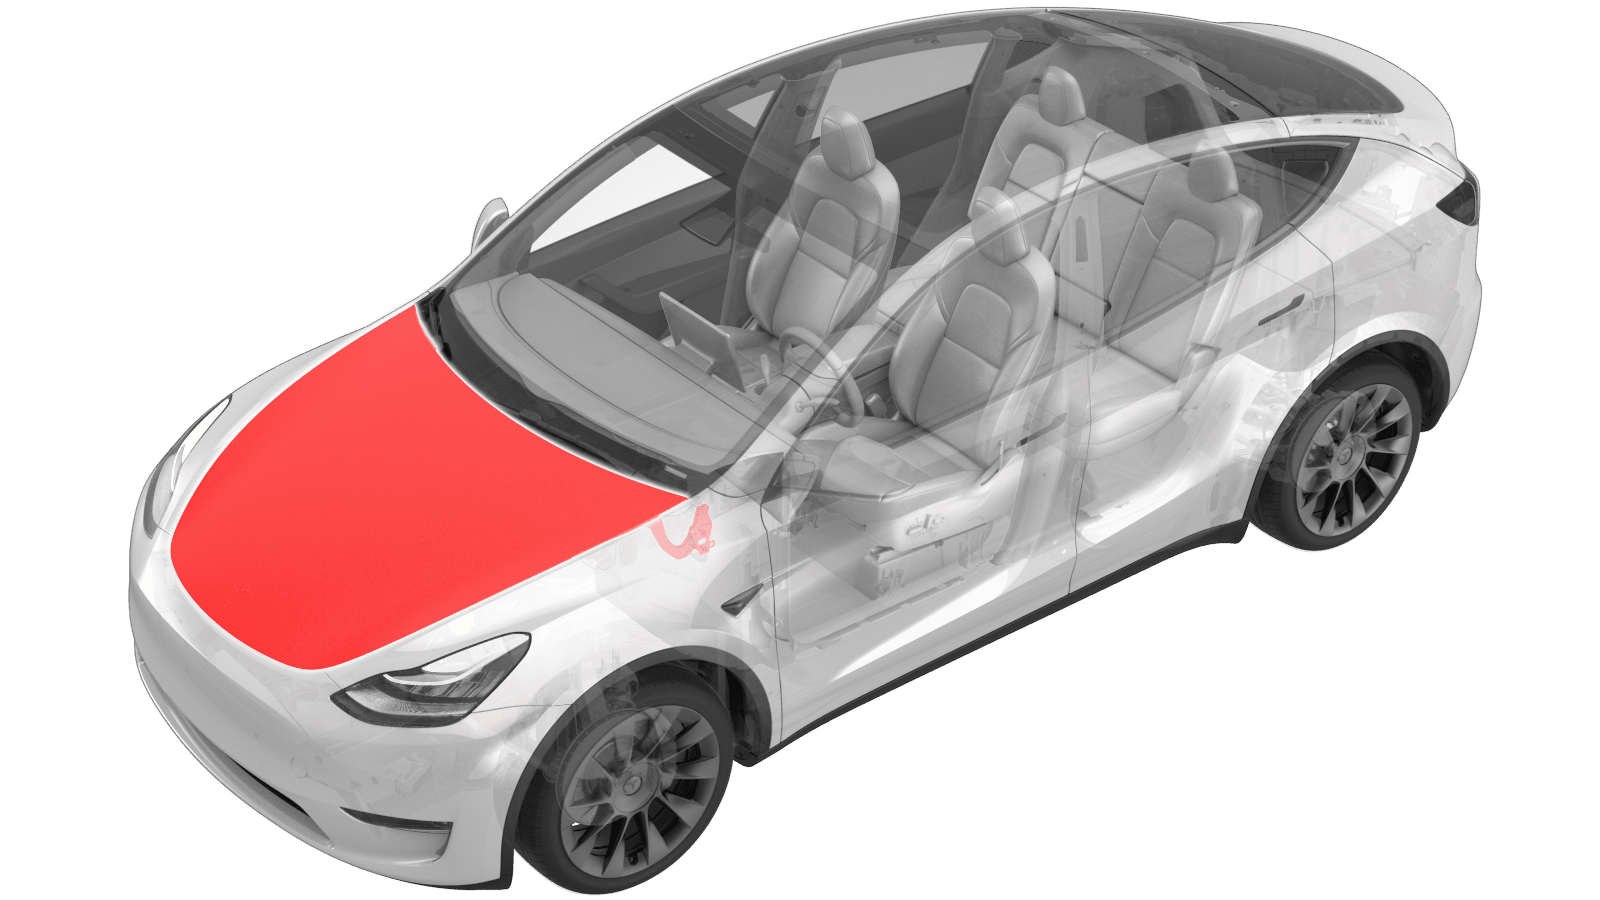
Hood (Remove and Replace)
 Correction code
10100302
0.42
NOTE: Unless otherwise explicitly
stated in the procedure, the above correction code and FRT reflect all of the work
required to perform this procedure, including the linked procedures. Do not stack correction codes unless
explicitly told to do so.
NOTE: See Flat Rate
Times to learn more about FRTs and how they are created. To provide feedback on
FRT values, email ServiceManualFeedback@tesla.com.
NOTE: See Personal Protection to make sure wearing proper PPE when
performing the below procedure. See Ergonomic Precautions for safe and healthy working practices.
Remove
- Open the LH front door and fully lower the LH front window.
- Open the hood.
- Use a telescoping hood prop to support the hood.
- Remove the hood striker. See Striker - Hood (Remove and Replace).
- Remove the hood baffle. See Baffle - Hood (Remove and Replace).
-
Remove the LH and RH hood bump stops.
Figure 1. LH shown; RH similar -
Remove the hood plugs (4x).
-
With assistance, remove the nuts that attach the hood to the RH hood
hinge.
TIpUse of the following tool(s) is recommended:
- 13 mm deep socket
- 3 in extension
- Flex head ratchet/flex head torque wrench
-
With assistance, remove the nuts that attach the hood to the LH hood hinge,
and then remove the hood from the vehicle and place on a padded
surface.
TIpUse of the following tool(s) is recommended:
- 13 mm deep socket
- 3 in extension
- Flex head ratchet/flex head torque wrench
Install
-
Install the hood plugs (4x) into the new hood.
-
Install the LH and RH hood bump stops into the new hood.
Figure 2. LH shown; RH similar - Install the hood baffle. See Baffle - Hood (Remove and Replace).
- Loosely install the hood striker. See Striker - Hood (Remove and Replace).
- With assistance, install the hood onto the vehicle and align with the hood hinges.
-
With assistance, loosely install the nuts that attach the hood to the LH
hood hinge.
-
With assistance, loosely install the nuts that attach the hood to the RH
hood hinge.
- Carefully close the hood, and then check hood fitment.
- Perform gap and flush adjustments on the hood assembly, if necessary. See Hood Alignment.
-
Open the hood, and then torque the LH and RH hinge nuts.
 15 Nm (11.1 lbs-ft)TIpUse of the following tool(s) is recommended:
- 13 mm deep socket
- 3 in extension
- Flex head ratchet/flex head torque wrench
- Torque the bolts that attach the hood striker to the new hood. See Striker - Hood (Remove and Replace).
- Clean the LH and RH hood hinge bolts and the surrounding area with isopropyl alcohol (IPA), and then let dry for at least 1 minute.
-
If necessary, apply touch up paint matching the vehicle's body color to the
LH and RH hood hinge studs/nuts.
NoteShake the touch paint before application. Allow for necessary dry time before closing the hood.
-
For China, Japan and Korea only: Install a new motor ID label on the
hood.
- Clean the front of the hood with IPA, and then install a front Tesla badge. See Tesla Badge - Front (Remove and Replace).