Wiper Module (Remove and Replace)
 Correction code
17502502
0.30
NOTE: Unless otherwise explicitly
stated in the procedure, the above correction code and FRT reflect all of the work
required to perform this procedure, including the linked procedures. Do not stack correction codes unless
explicitly told to do so.
NOTE: See Flat Rate
Times to learn more about FRTs and how they are created.
NOTE: See Personal Protection to make sure wearing proper PPE when
performing the below procedure. NOTE: See Ergonomic Precautions for safe and healthy working
practices.
Correction code
17502502
0.30
NOTE: Unless otherwise explicitly
stated in the procedure, the above correction code and FRT reflect all of the work
required to perform this procedure, including the linked procedures. Do not stack correction codes unless
explicitly told to do so.
NOTE: See Flat Rate
Times to learn more about FRTs and how they are created.
NOTE: See Personal Protection to make sure wearing proper PPE when
performing the below procedure. NOTE: See Ergonomic Precautions for safe and healthy working
practices.
- 2026-05-13: Added warning about pinch points on wiper module.
- 2023-11-29: Added software reinstall step to installation section.
- 2023-07-03: Added wiper replacement procedure to installation section.
- 2023-06-06: Removed configuration change.
Torque Specifications
| Description | Torque Value | Recommended Tools | Reuse/Replace | Notes |
|---|---|---|---|---|
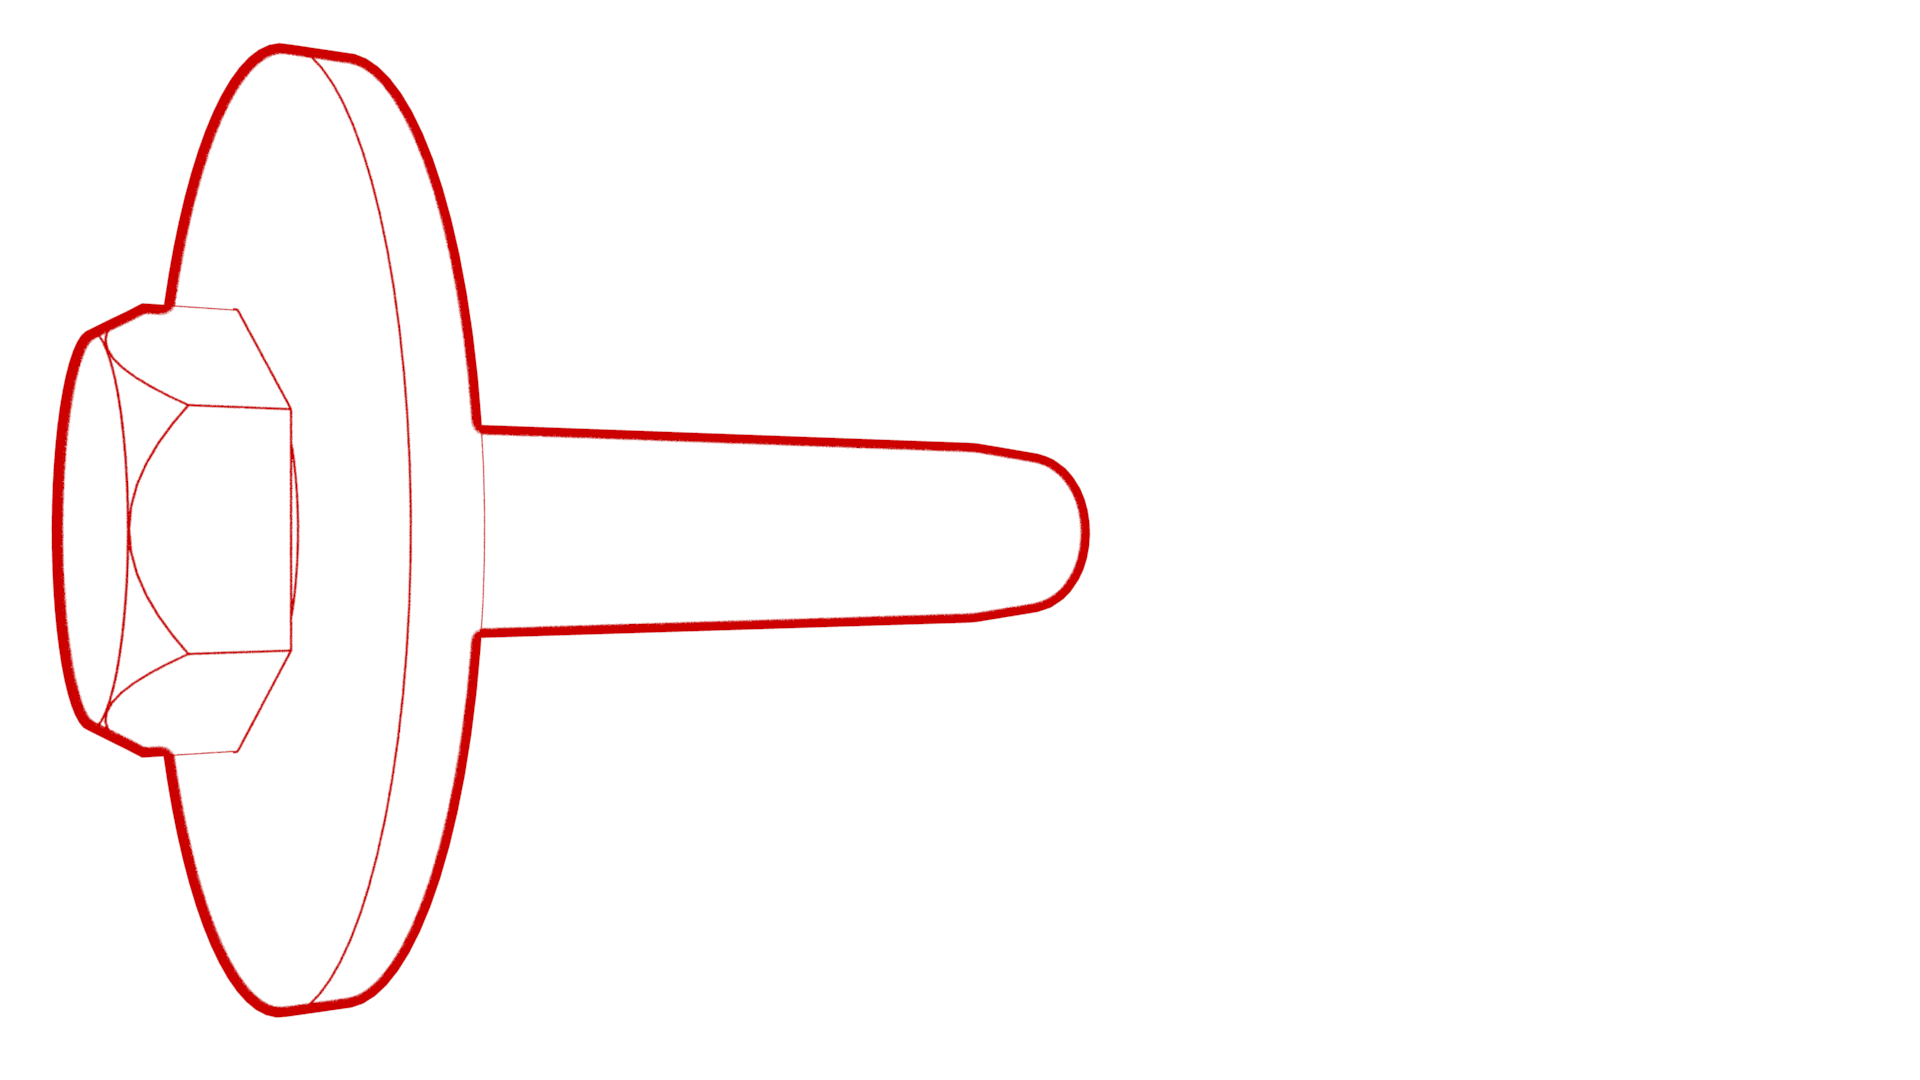
| Bolts that attach the wiper module to the vehicle |  7 Nm (5.2 lbs-ft) |
|
Reuse |
Remove
- Remove the cowl screen panel. See Panel - Cowl Screen (Remove and Replace).
-
Remove the bolts that attach the wiper module to the vehicle.
NoteUse of the following tool(s) is recommended:
- 10 mm socket
-
Carefully pull the wiper module towards the front of the vehicle to release the rubber anchor from the bracket on the bulkhead.
-
Rotate the wiper module, and then disconnect the electrical connector from the wiper module.
- Remove the wiper module from the vehicle.
Install
-
With the wiper module facing upside down, connect the electrical connector. Afterwards, rotate the wiper module towards the rear of the vehicle to ensure proper harness clearance.
WarningKeep your fingers away from any potential pinch points and moving parts while connecting and installing the wiper module. Do not attempt to test the module until it is fully installed in the vehicle.CAUTIONCheck the harness to make sure it is not routed incorrectly.
-
Carefully push the wiper module towards the rear of the vehicle so that the rubber anchor inserts into the bracket on the bulkhead.
-
Install the bolts that attach the wiper module to the vehicle.
 7 Nm (5.2 lbs-ft)NoteUse of the following tool(s) is recommended:
- 10 mm socket
- Install the cowl screen panel. See Panel - Cowl Screen (Remove and Replace).
- Enable Service Mode through the touchscreen. See Service Mode.
- Perform a software reinstall. See Software Reinstall - Touchscreen.
-
Run the Wiper Replacement
procedure: on the touch screen, touch , touch Run, and
allow the routine to complete.
- Verify the operation of the windshield washers and wipers.