Heater - Radar - Front (Remove and Replace)
 Correction code
17201702
0.84
NOTE: Unless otherwise explicitly
stated in the procedure, the above correction code and FRT reflect all of the work
required to perform this procedure, including the linked procedures. Do not stack correction codes unless
explicitly told to do so.
NOTE: See Flat Rate
Times to learn more about FRTs and how they are created.
NOTE: See Personal Protection to make sure wearing proper PPE when
performing the below procedure. NOTE: See Ergonomic Precautions for safe and healthy working
practices.
Correction code
17201702
0.84
NOTE: Unless otherwise explicitly
stated in the procedure, the above correction code and FRT reflect all of the work
required to perform this procedure, including the linked procedures. Do not stack correction codes unless
explicitly told to do so.
NOTE: See Flat Rate
Times to learn more about FRTs and how they are created.
NOTE: See Personal Protection to make sure wearing proper PPE when
performing the below procedure. NOTE: See Ergonomic Precautions for safe and healthy working
practices.
Remove
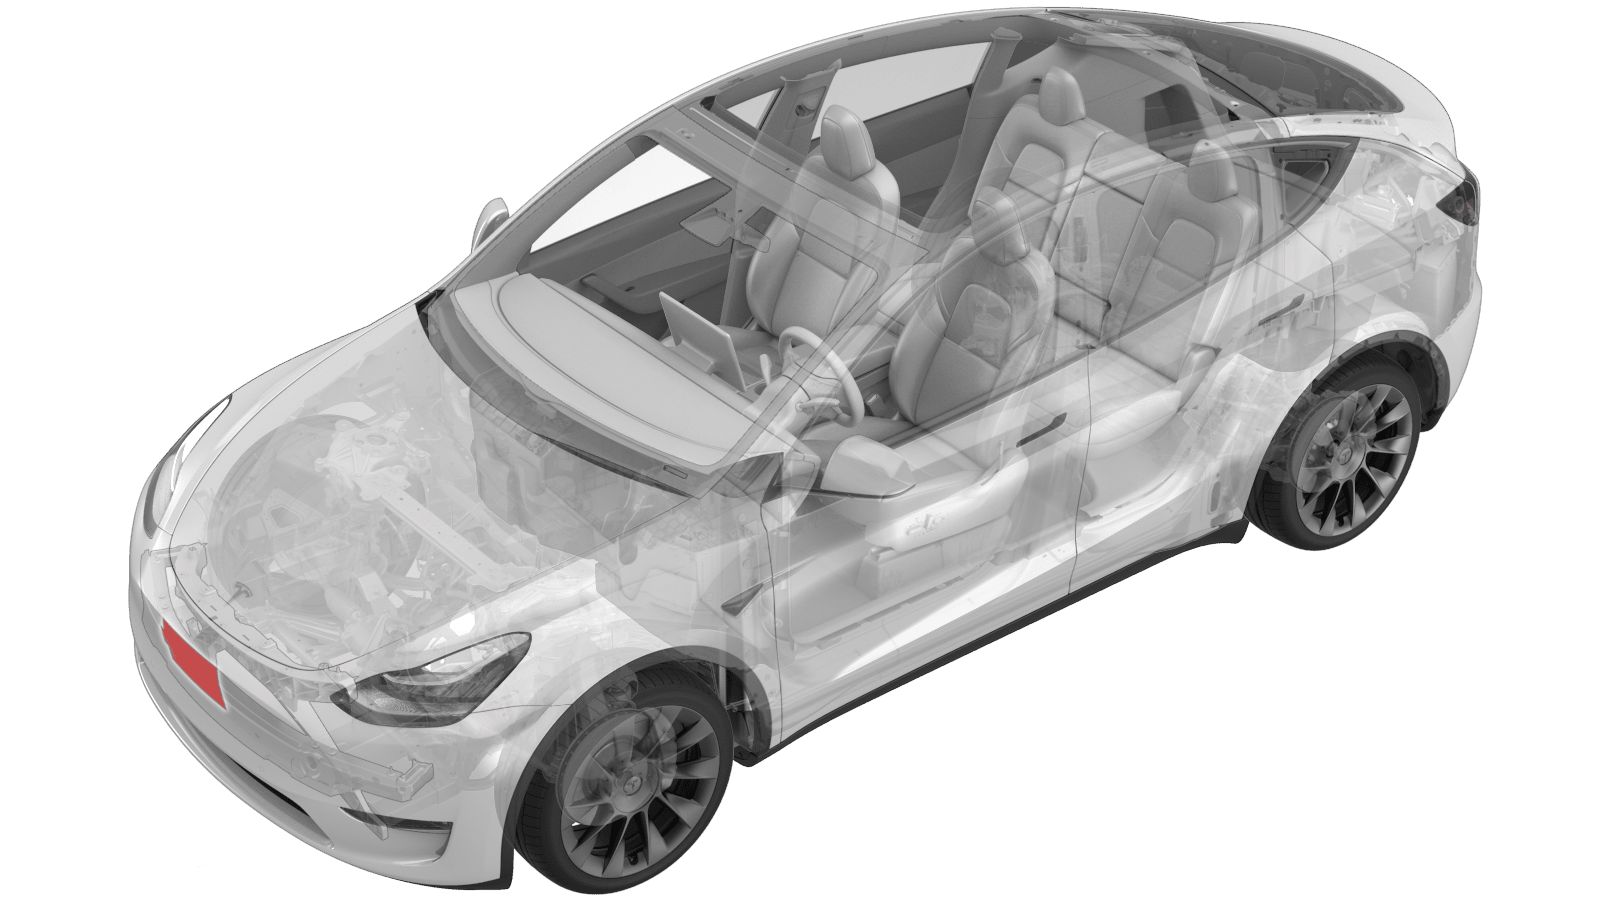
- Remove the front fascia. See Fascia - Front (Remove and Install).
-
Disconnect the electrical connectors (x2) from the radar heater.
-
Use a plastic trim tool to release the adhesive that attaches the radar heater to the inside of the front fascia. Continue peeling the radar heater until it is removed.
Install
-
Locate the scribe locations on the inside of the front fascia to determine the specific installation area.
- Clean the installation area using IPA wipes and allow to dry for 1 minute before continuining.
-
Attach the new radar heater to the front fascia, working in three segments:
CAUTIONDo not leave any creases or bubbles when installing the radar heater and make sure the radar heater is aligned with the scribe lines. Failure may result in improper or reduced performance of the radar heater.
-
Inspect the radar heater for bubbles or creases. If any bubbles exist, confirm that they are less than 10 mm in diameter.
CAUTIONIf the radar heater has a bubble 10 mm or larger, it must be removed and a new one must be installed.
-
Connect the electrical connectors (x2) to the radar heater.
- Install the front fascia. See Fascia - Front (Remove and Install).