Door - Rear - LH (Remove and Install)
 Correction code
10106501
0.36
NOTE: Unless otherwise explicitly
stated in the procedure, the above correction code and FRT reflect all of the work
required to perform this procedure, including the linked procedures. Do not stack correction codes unless
explicitly told to do so.
NOTE: See Flat Rate
Times to learn more about FRTs and how they are created. To provide feedback on
FRT values, email ServiceManualFeedback@tesla.com.
NOTE: See Personal Protection to make sure wearing proper PPE when
performing the below procedure. See Ergonomic Precautions for safe and healthy working practices.
Remove
- Remove the LH middle A-pillar trim. See Trim - A-Pillar - Middle - LH (Remove and Replace).
- Remove the LH lower A-pillar trim. See Trim - A-Pillar - Lower - LH (Remove and Replace).
-
Release the clips that
attach the LH front seat harness and guide to the body.
- Move LH front seat fully forward.
- Release the LH upper B-pillar assembly, and then move it aside.
- Remove the 2nd row lower seat cushion. See Seat Cushion - Lower - 2nd Row (Remove and Replace).
- Remove the LH lower C-pillar trim. See Trim - C-Pillar - Lower - LH (Remove and Replace).
- Remove the LH lower B-pillar trim. See Trim - B-Pillar - Lower - LH (Non-Structural Pack) (Remove and Replace).
-
Release the clips (x2),
grommet and connector for the rear LH door electrical harness seal at the
B-pillar, and release the wiring harness from the B-pillar bulkhead.
-
Pull the rubber grommet
through the inside of the LH rear door, and then remove the LH rear door
harness from the door assembly.
-
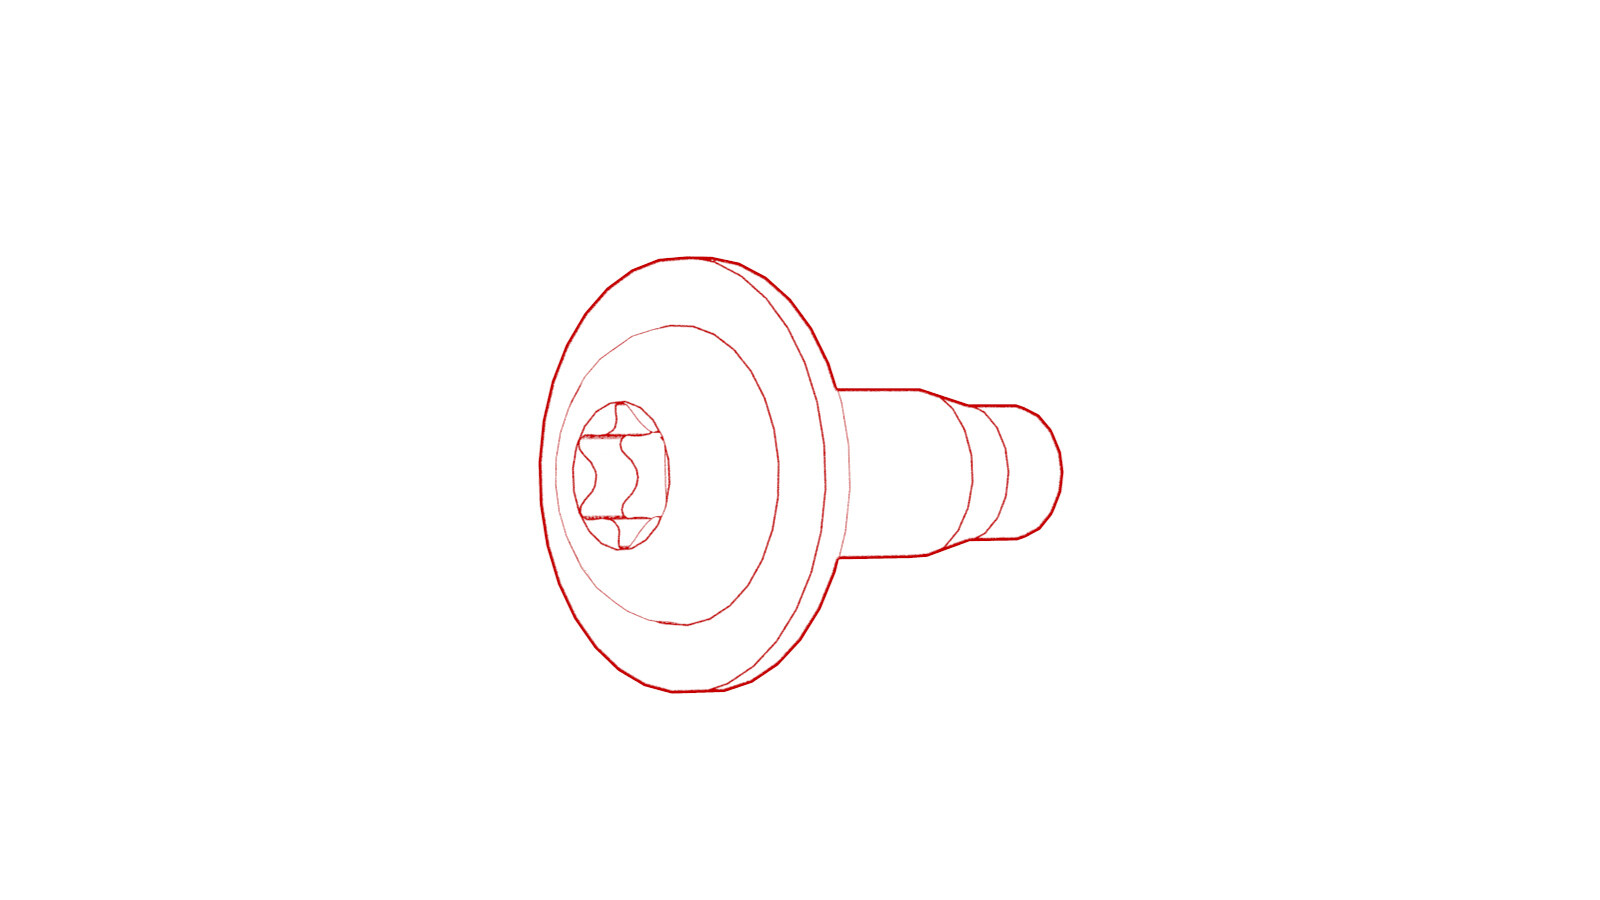
Remove the bolt that
attaches the LH rear door check strap to the body.
TIpUse of the following tool(s) is recommended:
- Torx T40 socket
- Flex head ratchet/flex head torque wrench
-
Remove the nuts that attach
the LH rear door check strap to the door, and then remove the check strap
from the assembly.
TIpUse of the following tool(s) is recommended:
- 10 mm deep socket
-
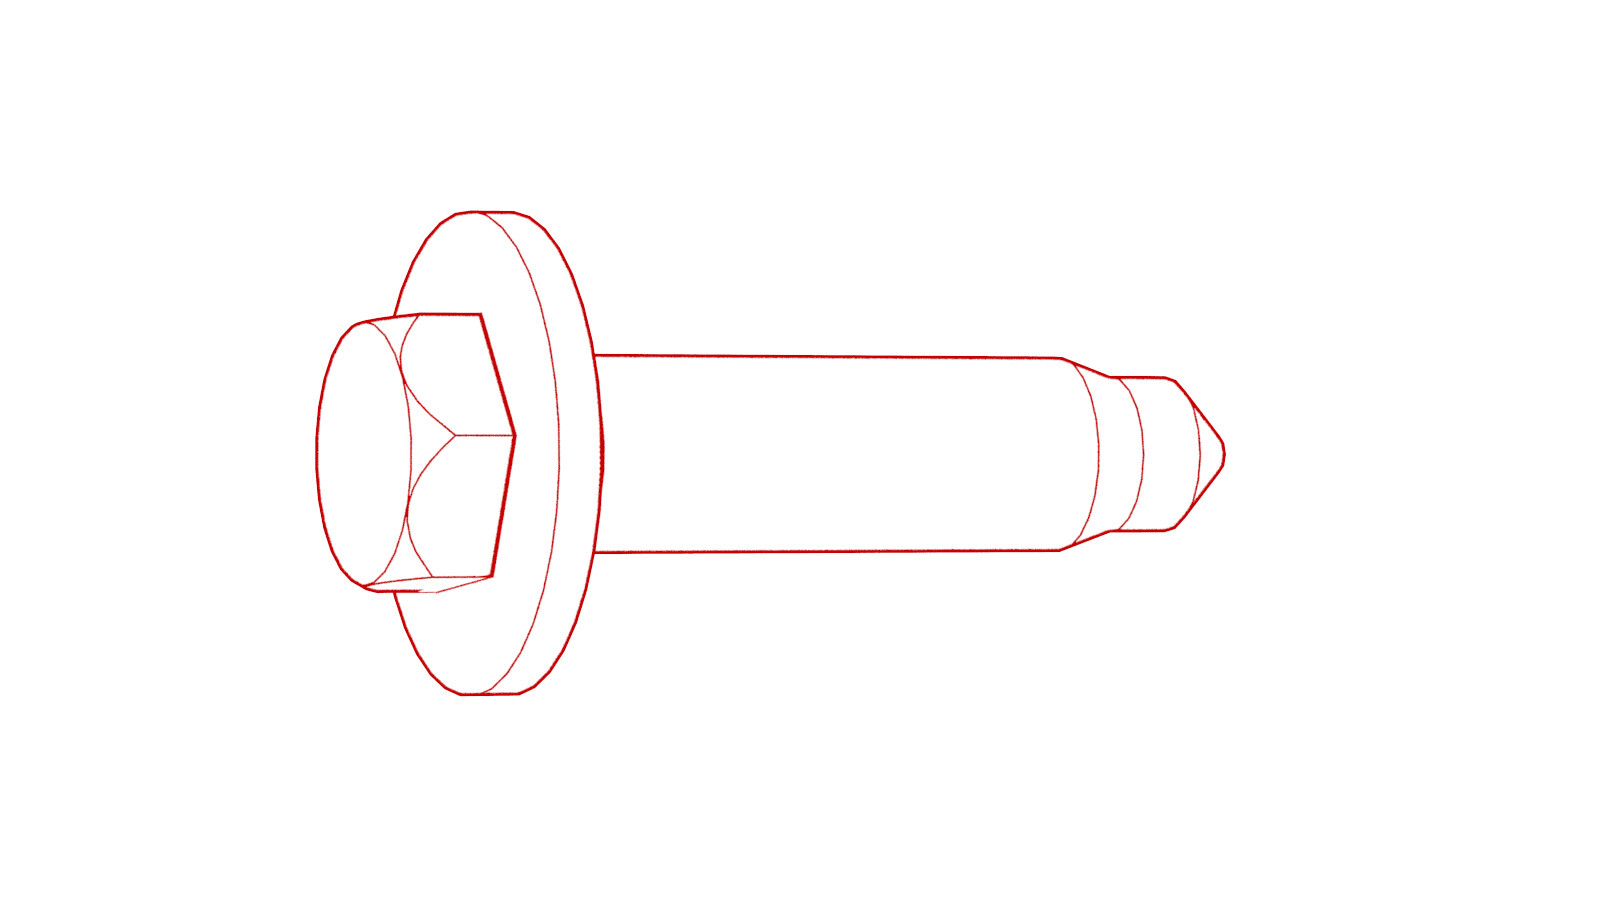
Loosen the bolts that attach
the rear LH door to the upper and lower hinges by approximately 5 mm.
TIpUse of the following tool(s) is recommended:
- 13 mm socket
- Flex head ratchet/flex head torque wrench
-
With assistance, remove the
bolt on the lower hinge, remove the bolt on the upper hinge, and then unhook
and lift the door away from the vehicle.
Install
- With assistance, position the LH rear door assembly onto the vehicle.
-
Install and hand-tighten the
upper and lower bolts that attach the rear LH door to the upper and lower
hinges.
-
Position the LH rear door
check strap onto the door assembly, and then install the nuts that attach
the door check strap to the door.
 10 Nm (7.4 lbs-ft)TIpUse of the following tool(s) is recommended:
- 10 mm deep socket
-
Install the bolt that
attaches the LH rear door check strap to the body.
 24 Nm (17.7 lbs-ft)TIpUse of the following tool(s) is recommended:
- Torx T40 socket
- Flex head ratchet/flex head torque wrench
-
Position the LH rear door
harness into the door assembly, and then install the rubber grommet into the
inside of the LH rear door.
-
Install the clips (x2),
grommet and connector for the rear LH door electrical harness seal to the
B-pillar.
NotePress the harness connector into the body connector until an audible click is heard.
- Install the LH lower B-pillar trim. See Trim - B-Pillar - Lower - LH (Non-Structural Pack) (Remove and Replace).
- Install the LH lower C-pillar trim. See Trim - C-Pillar - Lower - LH (Remove and Replace).
- Install the 2nd row lower seat cushion. See Seat Cushion - Lower - 2nd Row (Remove and Replace).
- Install the LH upper B-pillar assembly. See Trim - B-Pillar - Upper - LH (Remove and Replace).
- Move LH front seat to its original position.
-
Install the clips that
attach the LH front seat harness and guide to the body.
- Install the LH lower A-pillar trim. See Trim - A-Pillar - Lower - LH (Remove and Replace).
- Install the LH middle A-pillar trim. See Trim - A-Pillar - Middle - LH (Remove and Replace).
- Close the LH rear door and check for gap and flushness. Adjust as necessary.
-
Open the LH rear door and
torque the bolts that attach the door assembly to the upper and lower
hinges.
 49 Nm (36.1 lbs-ft)TIpUse of the following tool(s) is recommended:
- 13 mm socket
- Flex head ratchet/flex head torque wrench
- Calibrate the LH rear window. See Window Regulator (Recalibrate).