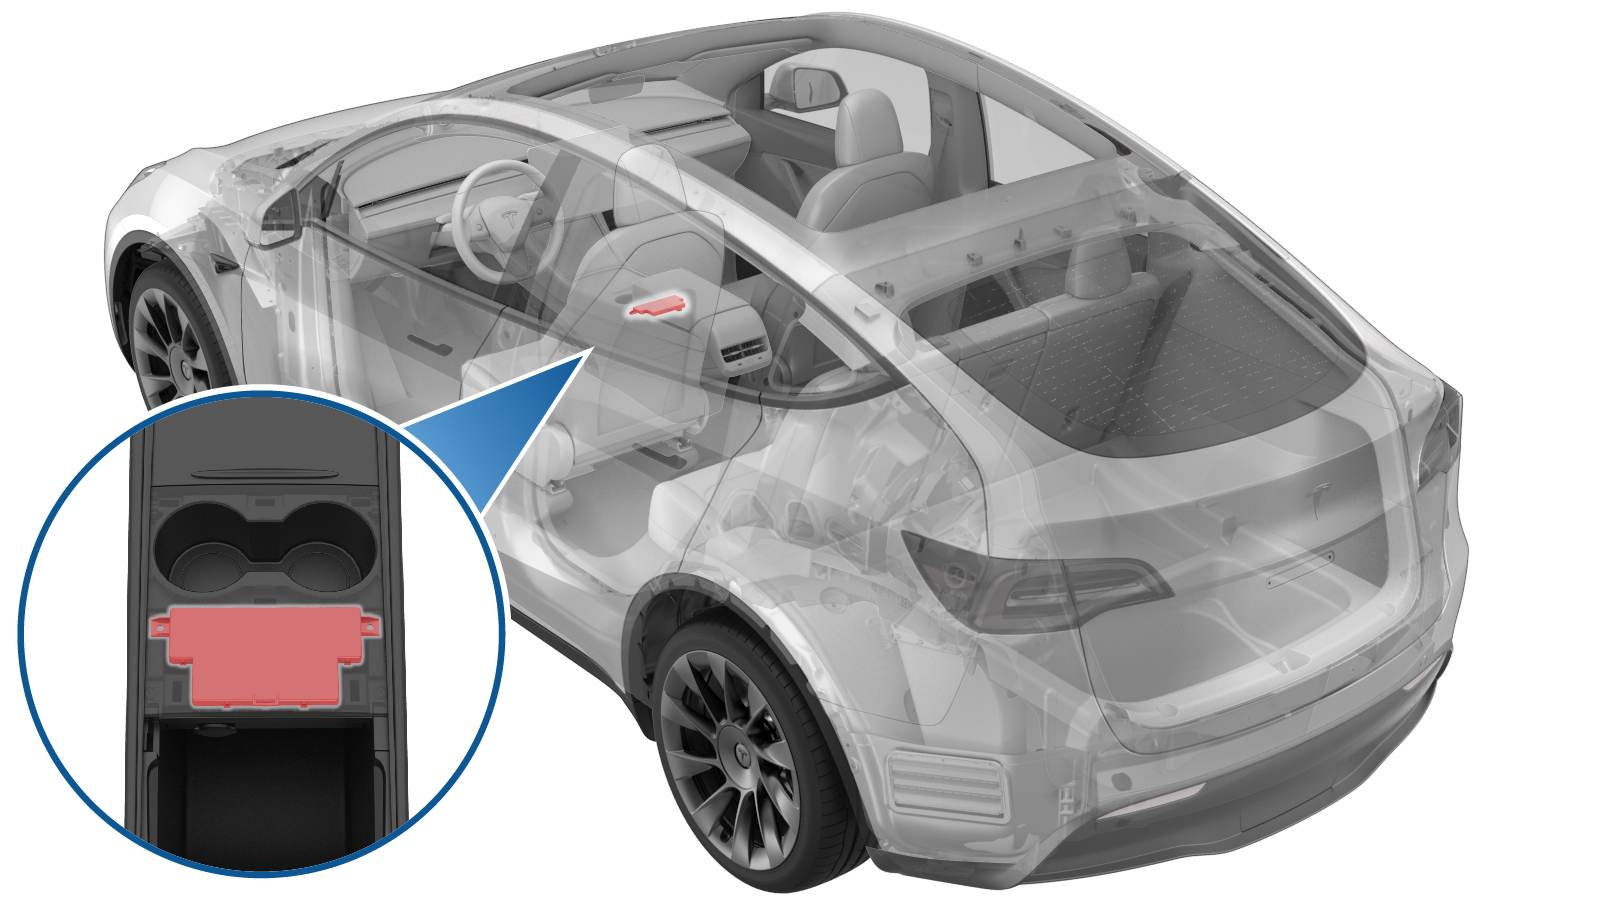
Module - Body Controller - Security (2nd Generation) (Remove and Replace)
 Correction code
17454012
0.48
NOTE: Unless otherwise explicitly
stated in the procedure, the above correction code and FRT reflect all of the work
required to perform this procedure, including the linked procedures. Do not stack correction codes unless
explicitly told to do so.
NOTE: See Flat Rate
Times to learn more about FRTs and how they are created.
NOTE: See Personal Protection to make sure wearing proper PPE when
performing the below procedure. NOTE: See Ergonomic Precautions for safe and healthy working
practices.
Correction code
17454012
0.48
NOTE: Unless otherwise explicitly
stated in the procedure, the above correction code and FRT reflect all of the work
required to perform this procedure, including the linked procedures. Do not stack correction codes unless
explicitly told to do so.
NOTE: See Flat Rate
Times to learn more about FRTs and how they are created.
NOTE: See Personal Protection to make sure wearing proper PPE when
performing the below procedure. NOTE: See Ergonomic Precautions for safe and healthy working
practices.
- 2025-04-16: Added key pairing routine.
- 2025-03-10: Updated post-replacement routines.
- 2024-01-17: Added step for ODIN routine to be run for vehicles running certain firmware versions.
- 2023-11-20: Updated security controller configuration steps.
- 2023-10-24: Updated post-replacement Toolbox routines.
- 2023-07-21: Added Note about security-related toolbox actions.
Torque Specifications
| Description | Torque Value | Recommended Tools | Reuse/Replace | Notes |
|---|---|---|---|---|
| Screws (x2) that attach the security body controller module to the cup holder decor panel |
 1.6 Nm (1.2 lbs-ft) |
|
Reuse |
Remove
- Open the front doors and lower the front windows.
- Move the front seats to their lowest and rearmost positions.
- Remove the rear underhood apron. See Underhood Apron - Rear (Remove and Replace).
- Disconnect the 12V/LV power. See 12V/LV Power (Disconnect and Connect).
- Remove the center console brightwork (2.0). See Brightwork - Center Console (2.0) (Remove and Replace).
-
Release the clips (x6) that
attach the cup holder decor to the center console assembly, and then
disconnect the security controller electrical connector.
-
Remove the screws (x2) that attach the security controller to the cup holder decor, and then remove the security controller from the decor.
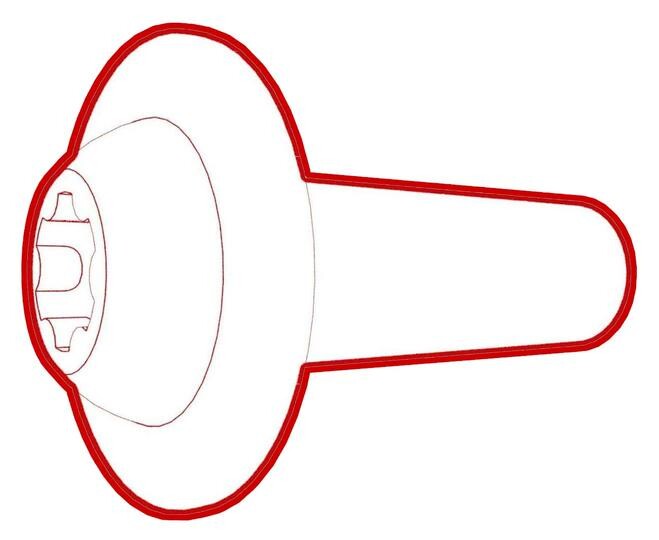
TIpUse of the following tool(s) is recommended:
- Wiha ¼ in bit holder adapter
- Torx T20 socket
- Wiha TorqueVario-S 0.8 Nm - 2.0 Nm screwdriver (installation only)
Install
-
Position the security controller onto the center console cup holder decor, and then install the screws (x2) that attach the security controller to the cup holder decor.
 1.6 Nm (1.2 lbs-ft)TIpUse of the following tool(s) is recommended:
- Wiha ¼ in bit holder adapter
- Torx T20 socket
- Wiha TorqueVario-S 0.8 Nm - 2.0 Nm screwdriver (installation only)
-
Connect the security controller electrical connector, and then install the
clips (x6) that attach the cup holder decor to the center console
assembly.
- Install the center console brightwork (2.0). See Brightwork - Center Console (2.0) (Remove and Replace).
- Connect the 12V/LV power. See 12V/LV Power (Disconnect and Connect).
- Install the rear underhood apron. See Underhood Apron - Rear (Remove and Replace).
- Move the front seats back to their original positions.
-
Perform the following
routine using Service Mode or Toolbox (see 0005 - Service Modes):
UPDATE_CAN-REDEPLOYvia Service Mode Plus:
- Drive Inverter Replacement ➜ Drive Inverter DIRE1L Replacement ➜ CAN Redeploy
- Drive Inverter Replacement ➜ Drive Inverter DIRE1R Replacement ➜ CAN Redeploy
- Drive Inverter Replacement ➜ Drive Inverter DIRE2 Replacement ➜ CAN Redeploy
- Drive Inverter ➜ Front Drive Inverter Replacement ➜ CAN Redeploy
- Drive Inverter ➜ Rear Drive Inverter Replacement ➜ CAN Redeploy
- Drive Inverter ➜ Rear Left Drive Inverter Replacement ➜ CAN Redeploy
- Drive Inverter ➜ Rear Right Drive Inverter Replacement ➜ CAN Redeploy
- Drive Unit ➜ Front Drive Unit Replacement ➜ CAN Redeploy
- Drive Unit ➜ Rear Drive Unit Replacement ➜ CAN Redeploy
- Thermal ➜ HVAC ➜ CAN Redeploy
- chassis ➜ DPB Post Replacement ➜ CAN Redeploy
- chassis ➜ ESP Post Replacement ➜ CAN Redeploy
- chassis ➜ IDB Post Replacement ➜ CAN Redeploy
- chassis ➜ RCU Post Replacement ➜ CAN Redeploy
- chassis ➜ ESP Replacement Panel ➜ CAN Redeploy
- chassis ➜ IBST Replacement Panel ➜ CAN Redeploy
NoteOnce the firmware redeploy is completed, verify on the center display whether the release notes are present. If the redeploy fails, you may receive an error message on the UI. - Perform the following routine using Service Mode or Toolbox (see 0005 - Service Modes): PROC_VCSEC_X_POST-REPLACEMENT-PROCEDUREvia Service Mode:Low Voltage ➜ Keys ➜ VCSEC Post Replacementvia Service Mode Plus:low-voltage ➜ VCSEC Post Replacement ➜ VCSEC Post Replacement Procedurevia Toolbox:(link)
- Perform the following routine using Service Mode or Toolbox (see 0005 - Service Modes): PROC_VCSEC_C_PAIR-NFC-CARD-V2via Service Mode:Low Voltage ➜ Keys ➜ Pair Keyvia Toolbox:(link)
- Place the NFC card(s) on the NFC card reader in the center console.
- Input the number of keys to be paired to the vehicle, click Run Network, and allow the routine to complete.
- Check the function of the programmed NFC keys.
- Inform the customer that the new security body controller will not recognize any previously paired phone key. The customer must delete and re-pair their phone key to the vehicle, if they were previously using this feature. Instructions are available in the Owners Manual, and at the DIY web pages.