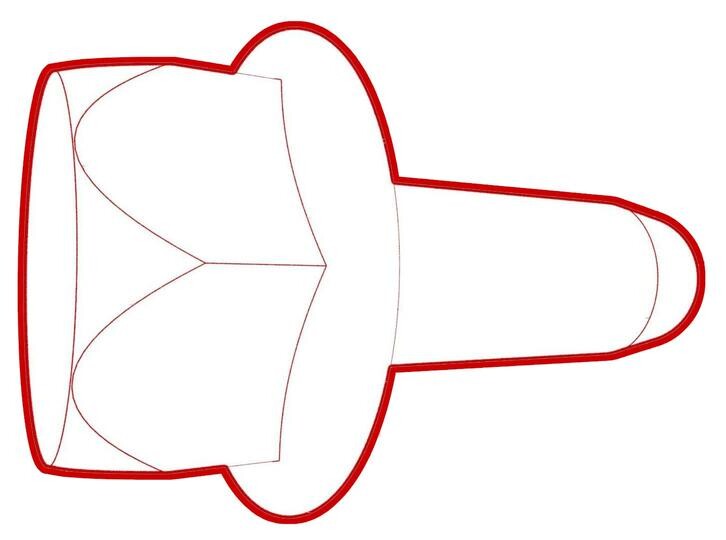
Link - Fore - Upper - Rear - LH (Remove and Replace)
 Correction code
31031402
0.42
NOTE: Unless otherwise explicitly
stated in the procedure, the above correction code and FRT reflect all of the work
required to perform this procedure, including the linked procedures. Do not stack correction codes unless
explicitly told to do so.
NOTE: See Flat Rate
Times to learn more about FRTs and how they are created. To provide feedback on
FRT values, email ServiceManualFeedback@tesla.com.
NOTE: See Personal Protection to make sure wearing proper PPE when
performing the below procedure. See Ergonomic Precautions for safe and healthy working practices.
- 2023-10-25: Updated torque figure for rear upper fore link to knuckle and subframe from 76 Nm to 84 Nm.
- 1135103-00-A Tool, Spring Compressor, Hook, Model 3
Remove
- Inspect the vehicle for abnormal tire wear that might indicate the need for a wheel alignment. Note any findings.
- Raise and support the vehicle. See Raise Vehicle - 2 Post Lift.
- Remove the LH rear wheel. See Wheel Assembly (Remove and Install).
-
Remove clips (x2) from the
wheel liner, and then move the wheel liner aside for better access.
- Remove the LH rear suspension cover. See Cover - Rear Suspension - LH (Remove and Replace).
-
Remove the bolt and nut that attach
the LH rear upper fore link to the knuckle.
 84 Nm (61.9 lbs-ft)TIpUse of the following tool(s) is recommended:
- 18mm socket
- 18mm combination wrench 12pt
- 3 in extension
-
Remove the bolt and nut that attach
the LH rear upper fore link to the subframe.
 84 Nm (61.9 lbs-ft)TIpUse of the following tool(s) is recommended:
- 18mm socket
- 18mm combination wrench 12pt
- Flex head ratchet
NoteTurn the bolt a few times to feed the end out while maneuvering the upper fore link to allow just enough space to remove the link from the rear subframe. Refer to the video above. -
Remove the LH rear upper
fore link from the vehicle.
Install
-
Install LH rear upper fore
link to subframe and hand tighten nut and bolt.
NoteTorque at later step.CAUTIONDo not force the bolt into position. Turn the bolt a few times to align while maneuvering the link. Refer to the video above.
-
Install nut and bolt
securing LH rear upper fore link to knuckle.
NoteTorque at later step.
-
Install the spring
compressor onto the LH rear coil spring.
-
Remove the bolt that
attaches the LH rear brake rotor to the hub, but do not remove the rotor
from the assembly.
TIpUse of the following tool(s) is recommended:
- 10 mm socket
- 2 in extension
- Ratchet/torque wrench
-
Install the hub jack adapter
onto the LH rear hub and hand-tighten the lug nuts.
-
Use an underhoist stand to
support the hub jack adapter.
-
Use the rear ride height
torque gauge to verify that the suspension is set within ride height
specification.
NoteYou may need to adjust the support stand or spring compressor tool slightly.
-
Measure the distance between
the bottom of the quarter panel to the center of the rear axle to make sure
that the rear suspension is set to ride height: The distance should measure
427 mm.
-
Torque the bolt and nut that attach
the LH rear upper fore link to the subframe.
 84 Nm (61.9 lbs-ft)TIpUse of the following tool(s) is recommended:
- 18mm socket
- 18mm combination wrench 12pt
- Flex head ratchet
-
Torque the bolt and nut that attach
the LH rear upper fore link to the knuckle.
 84 Nm (61.9 lbs-ft)TIpUse of the following tool(s) is recommended:
- 18mm socket
- 18mm combination wrench 12pt
- 3 in extension
-
Remove the hub jack adapter onto the LH rear hub.
-
Install the bolt that
attaches the LH rear brake rotor to the LH rear hub.
 5 Nm (3.7 lbs-ft)TIpUse of the following tool(s) is recommended:
- 10 mm socket
- 2 in extension
- Ratchet/torque wrench
-
Install the clips that
attach the wheel arc liner to the body.
Note2x clips.
-
Remove the spring compressor onto the LH rear coil spring.
- Install the LH rear suspension cover. See Cover - Rear Suspension - LH (Remove and Replace).
- Install the LH rear wheel. See Wheel Assembly (Remove and Install).
- Refer to the Alignment Requirement tables to determine whether an EPAS alignment check (EC) or four wheel alignment check (AC) is necessary. If performed, add the alignment check/adjust correction code as a separate activity to the SV. See Alignment Requirement - Suspension.