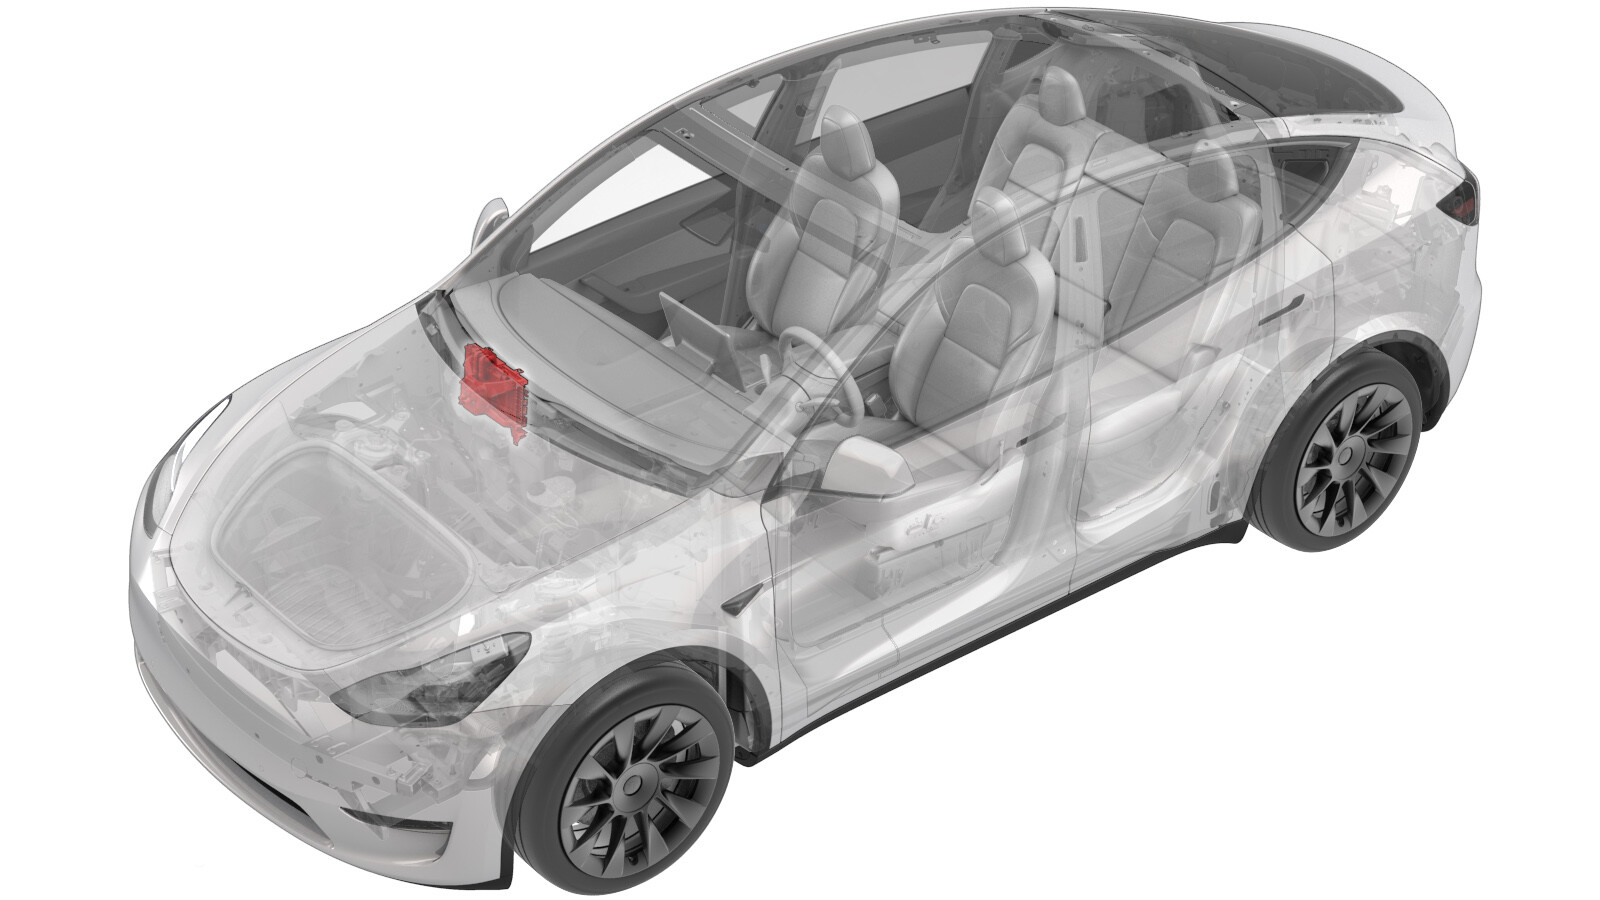
Car Computer (Info-Ryzen) (Remove and Install)
 Correction code
21151011
1.26
NOTE: Unless otherwise explicitly
stated in the procedure, the above correction code and FRT reflect all of the work
required to perform this procedure, including the linked procedures. Do not stack correction codes unless
explicitly told to do so.
NOTE: See Flat Rate
Times to learn more about FRTs and how they are created. To provide feedback on
FRT values, email ServiceManualFeedback@tesla.com.
NOTE: See Personal Protection to make sure wearing proper PPE when
performing the below procedure. See Ergonomic Precautions for safe and healthy working practices.
- 2025-05-13: Removed step for Cooling Systam (Vacuum Refill) as it is not needed.
- 2023-10-11: Added 18300400 Cooling System (Vacuum Refill).
Equipment:
- 1119171-00-A Plug,Car Computer Fluid Port
- 1135762-00-A Kit, Svc Plug, Cooling Hose, Model 3
Remove
- Open all doors and lower all windows.
- Move both front seats backward.
- Disconnect the LV power. See 12V/LV Power (Disconnect and Connect)
- Remove the HEPA duct. See Duct - HEPA (Remove and Replace).
- Place absorbent material below the car computer coolant inlet and outlet to collect any spilled coolant.
-
Loosen the spring clips (x2) from the
coolant hoses, and then release the hoses from the car computer.
-
Install the car computer fluid port
plug to the inlet and outlet of the car computer.
-
Block the coolant hoses with the
coolant hose plugs (x2).
NoteNo need to engage spring clips.
-
Remove and discard the nyloc nuts (x6)
that attach the car computer to the bulkhead.
- Remove the RH front floor mat.
- Remove the glove box. See Glove Box - Without Knee Airbags (Remove and Replace) or Glove Box - With Knee Airbags (Remove and Replace).
- Remove the RH center console side panel carpet. See Side Panel - Center Console - LH (Remove and Replace)
-
Remove the clip that attaches the RH
front cabin carpet to the body, and then fold the RH front cabin carpet backwards.
- Remove the RH footwell duct. See Duct - Footwell - RH (Remove and Replace).
- Remove the RH air wave duct. See Duct - Air Wave - RH (Remove and Replace).
-
Remove the bolt that attaches the
ground strap to the car computer.
-
Disconnect the connectors (4x) on the
front of the car computer.
-
Release the harness connectors (x7) on
the LH side of the car computer.
-
Release the harness guide clip.
- Slide the car computer inward to allow access to the connectors and harness clips.
- Remove the clips (x4) that attach the drip guard to the car computer.
-
Pull the tab on the LH side of the computer and lift the drip guard.
-
Release the harness clips (x2) from
the top of the car computer.
-
Release the connectors (x8) from the
RH side of the car computer, and then remove the computer from the vehicle.
CAUTIONAvoid spilling coolant on the electrical connectors.CAUTIONTake care not to damage the passenger airbag harness and connectors during removal.
Install
-
Put the car computer in the vehicle
and connect the RH side connectors (x8).
-
Attach the harness with the harness
clips (x2) to the top of the car computer.
- Align the coolant pipe clips (x4) over the coolant pipes and lower the drip guard onto the car computer.
-
Slide the car computer into position
on the bulkhead.
CAUTIONAvoid spilling coolant on the electrical connectors.CAUTIONTake care not to damage the passenger airbag harness and connectors during installation.
-
Attach the harness guide clip.
-
Connect the LH side connectors (x7) to
the car computer.
-
Connect the front side connectors (x4)
to the car computer.
-
Install the bolt that attaches the
ground cable to the car computer (torque 4 Nm).
-
Install the nyloc nuts (x6) that
attach the car computer to the bulkhead (torque 7 Nm).
- Remove the car computer fluid port plug from the car computer.
- Remove the plugs (x2) from the car computer coolant hoses.
-
Attach the hoses to the car computer
coolant inlet and outlet, and then engage the spring clips (x2).
-
Fill the coolant reservoir to the base
of the filler neck as indicated.
- Remove the absorbent material from below the car computer coolant inlet and outlet.
-
Fold the RH front main cabin carpet
back to its original position, and then install the clip that attaches the RH front
cabin carpet to the body.
- Install the fresh air intake duct. See Duct - HEPA (Remove and Replace).
- Install the RH air wave duct. See Duct - Air Wave - RH (Remove and Replace).
- Install the RH footwell air duct. See Duct - Footwell - RH (Remove and Replace).
- Install the RH center console side panel carpet. See Side Panel - Center Console - LH (Remove and Replace)
- Install the glove box, footwell cover and decor trim. See Glove Box - Without Knee Airbags (Remove and Replace) or Glove Box - With Knee Airbags (Remove and Replace).
- Connect the LV power. See 12V/LV Power (Disconnect and Connect)
- Install the RH front floor mat.
- Move the front seats to their original position.
- Raise all windows and close all doors.