2025-11-20
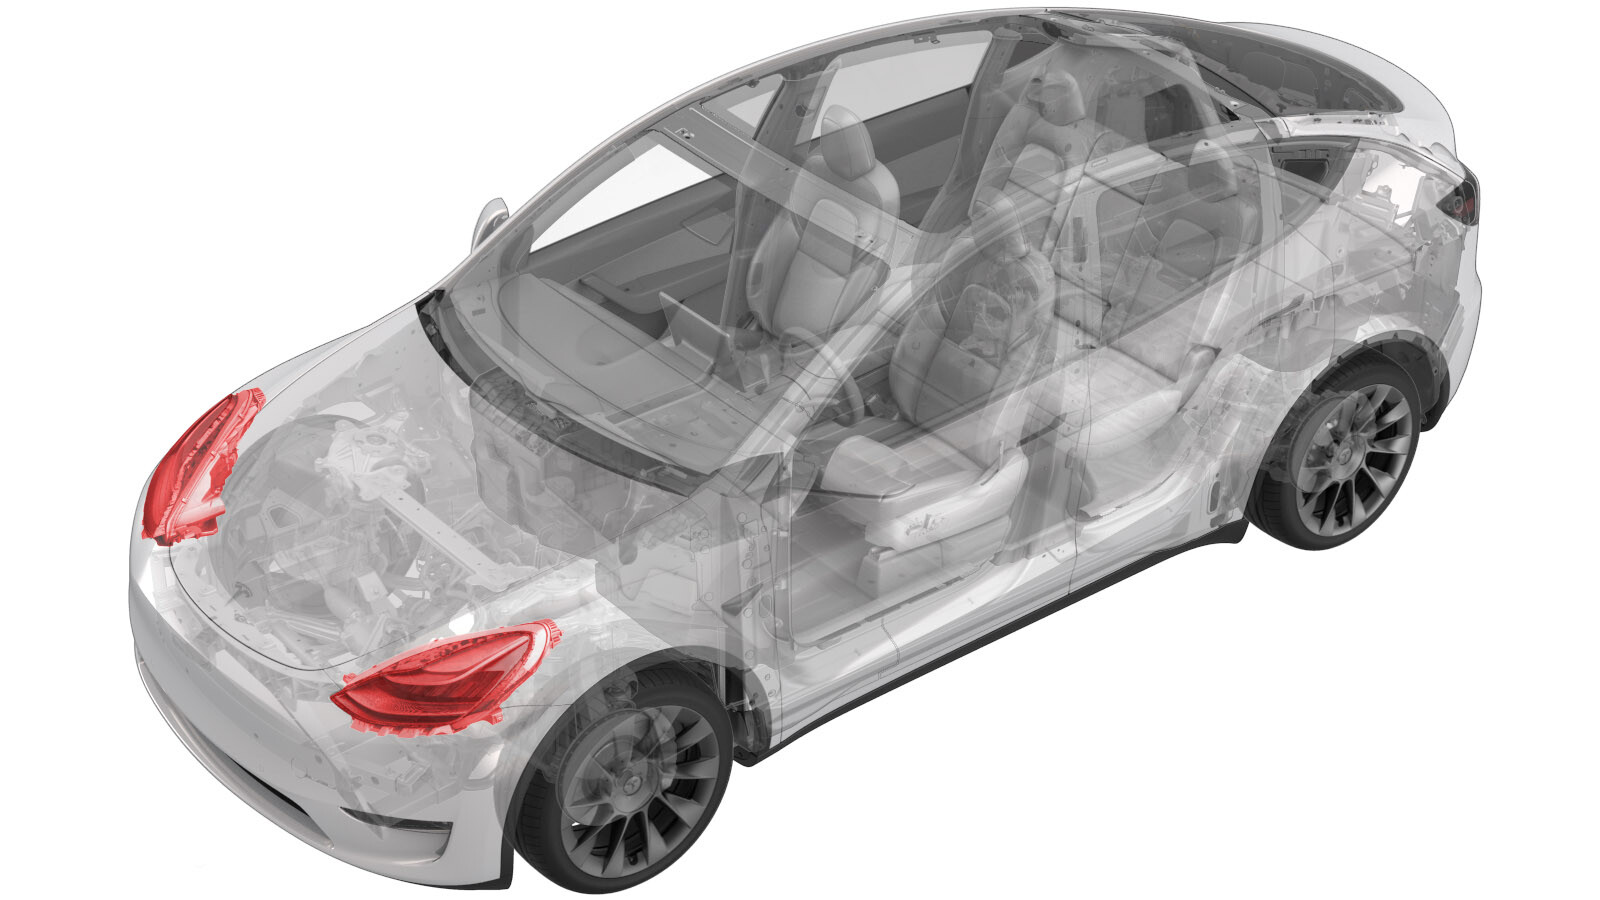
Headlights (Check Aiming) (Inspection)
 Correction code
17130100119
0.18
NOTE: Unless otherwise explicitly stated in the procedure, the correction code and FRT listed above reflect all of the work required to perform this procedure, including the linked procedures. Do not stack correction codes unless explicitly told to do so.
NOTE: See Flat Rate Times to learn more about FRTs and how they are created.
NOTE: See Personal Protection to make sure you
are wearing proper PPE when performing the procedure below.
NOTE: See Ergonomic Precautions for safe and healthy working practices.
Correction code
17130100119
0.18
NOTE: Unless otherwise explicitly stated in the procedure, the correction code and FRT listed above reflect all of the work required to perform this procedure, including the linked procedures. Do not stack correction codes unless explicitly told to do so.
NOTE: See Flat Rate Times to learn more about FRTs and how they are created.
NOTE: See Personal Protection to make sure you
are wearing proper PPE when performing the procedure below.
NOTE: See Ergonomic Precautions for safe and healthy working practices.
- 2025-10-08: Updated procedure and added data for Model Y.
- 2025-08-08: Released new procedure.
Special tools required for this procedure:
| Supplier | Part Number | Description |
| Tesla | 1133367-00-A | Beissbarth Headlight Tester, Model 815 |
Identify Headlight Type
Headlight Inclination
Check Headlights Aiming
CAUTION
When checking the aiming
of the headlights, do not set the
vehicle to the "Adjust Headlights" mode through the touchscreen. The "Adjust
Headlights" mode creates a non-standard headlight beam pattern that should not be used for
checking the aiming of the headlights.
- Park the vehicle on a flat and level surface.
- Make sure that the tire pressures are set to specification.
- Open the hood.
- Power on the headlight tester.
-
Position the headlight aimer in front
of the LH headlight.
NoteDistance approx. 30 cm from the surface of the headlight lens. Adjust height as necessary to match the center point of the headlight at approximately (81 cm). Make sure that the headlight aimer is on a surface, level with the vehicle.
-
Use the knobs on the base of the
headlight aimer to adjust the tester level.
-
Position the headlight aimer
perpendicular to the vehicle.
NoteUse visor/laser to line up the tester perpendicular to the axis between the hood strut furthest fender bolts. If the headlight aimer can move between the RH and LH headlights while maintaining the same laser angle projected onto the hood struts, it is set correctly (perpendicular) to the vehicle.
-
Initiate test on the headlight aimer:
select .
-
Select the vehicle model on the
headlight aimer:
- If headlight type is ECE or SAE, set Vehicle to Car
- If headlight type is Global, set Vehicle to Tesla 3
-
Select
Headlight (LHD or RHD option) on the headlight aimer:
- For LHD vehicles, select Headlight and adjust to EU Asym using the + / - buttons
- For RHD vehicles, select Headlight and adjust to UK using the + / - buttons
NoteConfirm that the button to the right of "Headlight" is set to -. These settings are for inspection only. Do not use these for adjustment. -
Select the headlight type on the
headlight aimer.
NoteSelect Light and adjust to Bi-LED using the +/- buttons.
-
Select
Inclination on the headlight aimer.
NoteSelect Inclinat and adjust to -1.0 % using the +/- button.NoteMake sure the inclination value corresponds to your country's tolerance.
-
Select Height
on the headlight aimer.
NoteSelect Height and adjust to approximately 81 cm as indicated on the aligner marker on the aligner post, using the +/- button, and then select OK.
-
Adjust the headlight aimer to the LH
headlight marking.
NoteTurn on the laser aimer to adjust the tester horizontal and vertical position to the LH headlight marking. Set to apprximately 81 cm height on the post. A piece of paper can aid in finding the center point. Turn off the laser aimer before proceeding to the next step.
-
Check the headlight beam aiming.
NoteSelect which light to be checked. Specification: -1 to -1.5 degrees vertical, 0 to 2 degrees horizontal.
-
Note the headlight aiming values in
SCA.
NoteNote down the Headlight "V" and "H" values in internal notes in SCA. State which headlight side the values are for (LH or RH).
-
Select the Save icon to record the
results.
-
Position headlight aimer in front of
the RH headlight.
NotePosition at approx. 30 cm distance from the surface of the headlight lens.
-
Adjust the headlight aimer to the RH
headlight marking.
Turn on the laser aimer to adjust the tester horizontal and vertical position to the LH headlight marking. Set to approximately 81 cm height on the post. A piece of paper can aid in finding the center point. Turn off the laser aimer before proceeding to the next step.
-
Check the headlight beam aiming.
NoteSelect which light to be checked. Specification: -1 to -1.5 degrees vertical, 0 to 2 degrees horizontal.
-
Note the headlight aiming values in
SCA.
NoteNote down the Headlight "V" and "H" values in internal notes in SCA. State which headlight side the values are for (LH or RH).
-
Select the Save icon to record the
results.
-
Select the save icon again to view the
test results.
- If the headlight aiming values are out of specification, adjust the headlights. See one of the following sections: