Ground Strap - Front Drive Unit (Remove and Replace)
Correction code 39011002 0.60 NOTE: Unless otherwise explicitly stated in the procedure, the above correction code and FRT reflect all of the work required to perform this procedure, including the linked procedures. Do not stack correction codes unless explicitly told to do so. NOTE: See Flat Rate Times to learn more about FRTs and how they are created. NOTE: See Personal Protection to make sure wearing proper PPE when performing the below procedure. NOTE: See Ergonomic Precautions for safe and healthy working practices.
Remove
- Raise and support the vehicle. See Raise Vehicle - 2 Post Lift.
- Remove the 2nd row lower seat cushion. See Seat Cushion - Lower - 2nd Row (Remove and Replace).
- Remove the rear underhood apron. See Underhood Apron - Rear (Remove and Replace).
- Remove the underhood storage unit. See Underhood Storage Unit (Remove and Replace).
- Disconnect 12V power. See 12V/LV Power (Disconnect and Connect).
- Perform the vehicle electrical isolation procedure. See Vehicle HV Disablement Procedure.
- Fully raise the vehicle.
- Remove the front aero shield panel. See Panel - Aero Shield - Front (Non-Structural Pack) (Remove and Replace).
-
Remove the bolt that attaches the front drive unit HV harness to the front drive unit.
 10 Nm (7.4 lbs-ft)NoteUse of the following tool(s) is recommended:
- 10 mm socket
-
Slide the red release tab to unlock the front drive unit HV harness connector.
-
Slowly unlatch the release handle on the front drive unit HV harness connector, and then disconnect the connector from the front drive unit.
CAUTIONDo not apply excessive force to the handle; doing so could damage the connector alignment tabs.
-
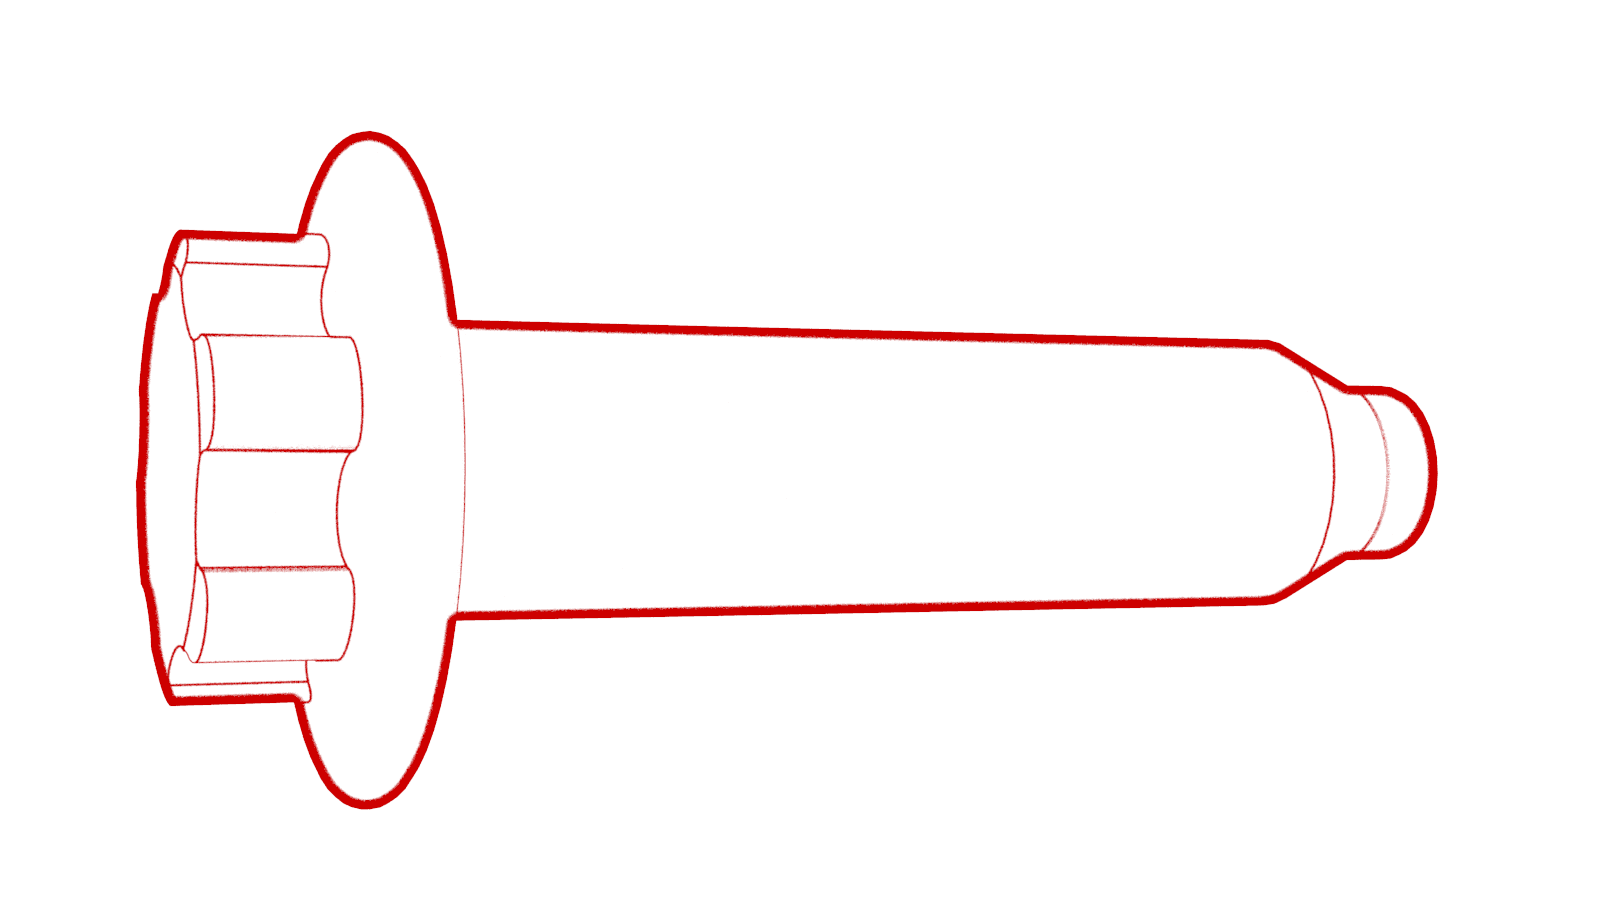
Remove the bolt that attaches the front drive unit ground strap to the front drive unit.
 6 Nm (4.4 lbs-ft)NoteUse of the following tool(s) is recommended:
- 10 mm socket
-
Release the clip that attaches the front drive unit ground strap to the front drive unit.
-
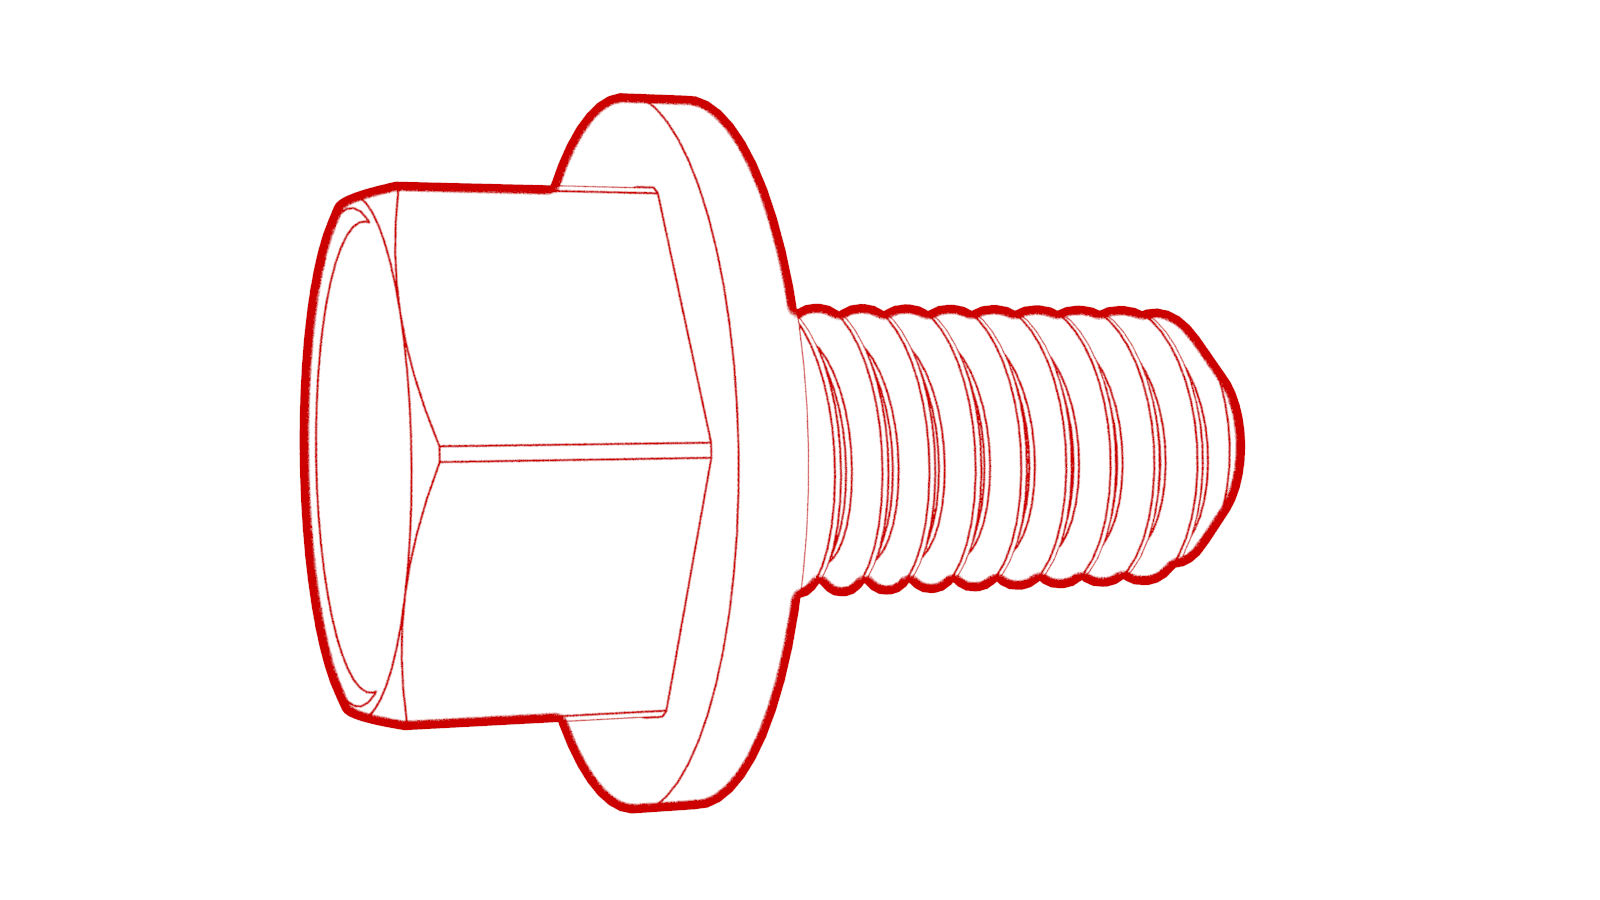
Remove the bolt that attaches the front drive unit ground strap to the HV battery, and then remove the ground strap from the vehicle.10 Nm (7.4 lbs-ft)NoteUse of the following tool(s) is recommended:
- 10 mm socket
Install
Installation procedure is the reverse of removal, except for the following:
- Use the front drive unit HV harness connector special tool when reinstalling the front drive unit HV harness connector.
- When installing the front drive unit HV harness connector, slowly latch the release handle while pressing the front drive unit HV harness connector into the front drive unit.NoteThe front drive unit alignment teeth and HV harness connector alignment teeth should be interlocked.
- The vehicle electrical isolation procedure does not need to be performed during installation.