Passthrough - DCDC - 12V (Cable Type) (Remove and Replace)
Correction code 16306052 1.38 NOTE: Unless otherwise explicitly stated in the procedure, the above correction code and FRT reflect all of the work required to perform this procedure, including the linked procedures. Do not stack correction codes unless explicitly told to do so. NOTE: See Flat Rate Times to learn more about FRTs and how they are created. NOTE: See Personal Protection to make sure wearing proper PPE when performing the below procedure. NOTE: See Ergonomic Precautions for safe and healthy working practices.
Equipment:
- 1059330-00-B Skt, 1/4in Dr, 5-Lobe Torx Plus External
- 1076927-00-A Resistance meter, microohm, Hioki RM 3548
Remove
- Disconnect 12V power. See 12V/LV Power (Disconnect and Connect).
- Remove the ancillary bay cover. See Cover - Ancillary Bay (Remove and Install).
- Remove the pyrotechnic battery disconnect. See Pyrotechnic Battery Disconnect (Remove and Replace).
-
Raise the high voltage controller to the vertical position.
-
Raise the locking tab on the
12V DCDC passthrough connector, and then remove the connector from the power
conversion system.
-
Remove the bolts that attaches the DCDC ground busbar to the body.
-
Remove and discard the nut that attaches the DCDC ground busbar to the HV battery, and remove the DCDC ground busbar from the vehicle.
 15 Nm (11.1 lbs-ft)
 -
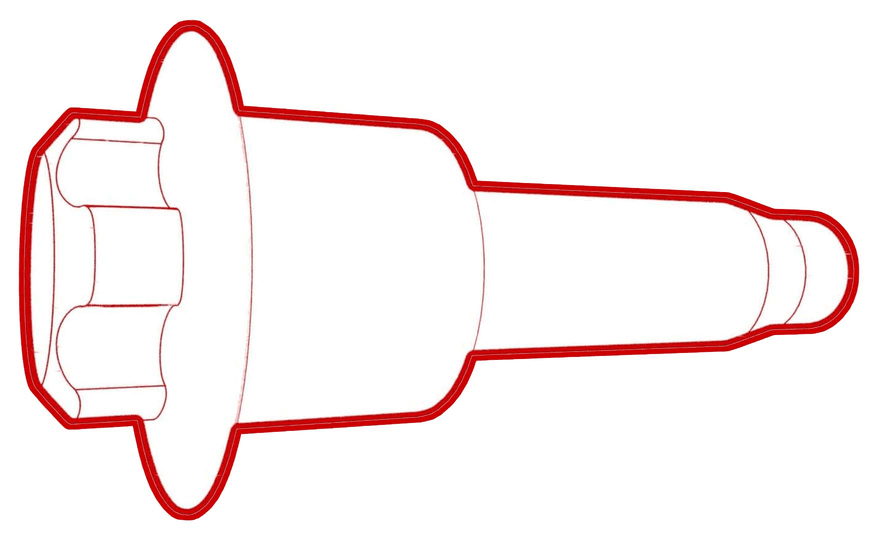
Remove the bolts that attach
the 12V DCDC passthrough to the ancillary bay, and then remove the 12V DCDC
passthrough from the ancillary bay.
Install
- Perform a zero adjust of the Hioki resistance meter in preparation to measure resistances later in this procedure. See Resistance Meter (Zero Adjust).
-
Install the 12V DCDC passthrough into the ancillary bay, install the bolts that attach the 12V DCDC passthrough to the ancillary bay, and then mark the bolts with a paint pen after they are torqued.
 10 Nm (7.4 lbs-ft)
 -
Install the bolt that attaches the DCDC ground busbar to the body, and then mark the bolt with a paint pen after it is torqued.
 20 Nm (14.7 lbs-ft)
 -
Install the DCDC ground busbar to the DCDC passthrough, install a new nut to attach the DCDC ground busbar to the DCDC passthrough, and then mark the nut with a paint pen after it is torqued.15 Nm (11.1 lbs-ft)
-
Firmly connect the DCDC passthrough connector to the power conversion
system, and then lower the locking tab.
-
Lower the high voltage controller to the horizontal position.
- Measure the voltage across the pyrotechnic battery disconnect mount points, and then install the pyrotechnic battery disconnect. See Pyrotechnic Battery Disconnect (Remove and Replace).
-
Install the ancillary bay cover. See Cover - Ancillary Bay (Remove and Install).
NotePerform an ancillary bay air leak test when instructed to do so.
- Connect 12V/LV power. See 12V/LV Power (Disconnect and Connect).