Panel - Door Trim - Front - LH (Remove and Replace)
 Correction code
15130202
0.18
NOTE: Unless otherwise explicitly
stated in the procedure, the above correction code and FRT reflect all of the work
required to perform this procedure, including the linked procedures. Do not stack correction codes unless
explicitly told to do so.
NOTE: See Flat Rate
Times to learn more about FRTs and how they are created. To provide feedback on
FRT values, email ServiceManualFeedback@tesla.com.
NOTE: See Personal Protection to make sure wearing proper PPE when
performing the below procedure. See Ergonomic Precautions for safe and healthy working practices.
- 2024-01-23: Updated the removal order.
Torque Specifications
| Description | Torque Value | Recommended Tools | Reuse/Replace | Notes |
|---|---|---|---|---|
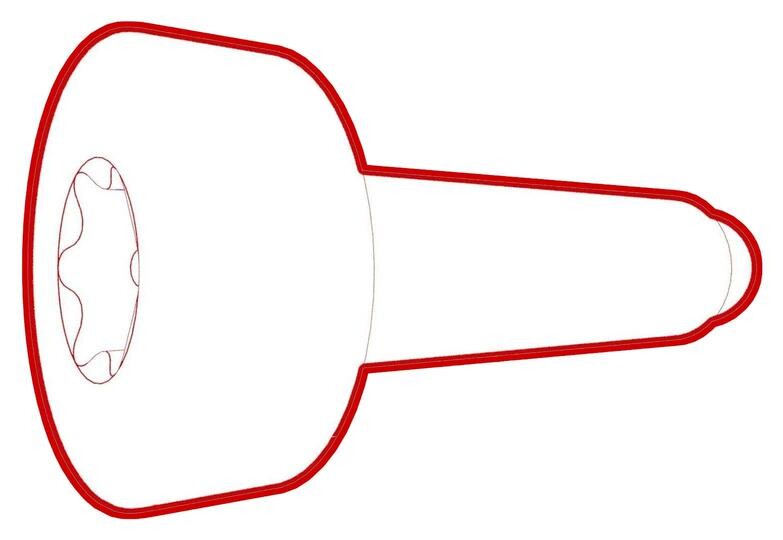
| Front door trim panel to front door screws |
 6 Nm (4.4 lbs-ft) |
|
Reuse |
CAUTION Use ONLY the following
fastener PN(s):
|
Remove
- Open the front LH door, and fully lower the window.
- Remove the front LH door tweeter. See Tweeter - Front Door - LH (Remove and Replace).
-
Remove the LH front door puddle light. See Puddle Light - Front Door - LH (Remove and Replace).
-
Release the clips that attach the reflector to the rear edge of the LH front door trim panel, and then remove the reflector from the trim panel.
-
Remove the screws that attach the trim panel to the door.
Figure 1. Rear Figure 2. Middle Figure 3. Front -
Pull out on the trim panel from the puddle light opening to release the clips that attach the trim panel to the door.
CAUTIONDo not remove the trim panel from the door at this time.
Figure 4. Trim Panel Clip Locations Figure 5. Door Clip Locations - Continue to pull and release all of the clips around the edge of the trim panel, working from the bottom up.
-
Raise the trim panel up to unhook it from the door.
CAUTIONDo not pull the trim panel far away from the door as the panel is still attached by connectors and cables.
- Lift the NVH pad to access the working area.
-
Remove the manual release cable collar from the trim panel, and pivot the collar down to a vertical orientation.
-
Slide the cable barrel end out of the release lever, and remove the cable from the trim panel.
-
Disconnect the electrical
harness from the connectors, and then release the clips and hooks that attach the electrical
harness to the trim panel.
Figure 6. Trim panel connectors Figure 7. Clips and hooks that attach the electrical harness to the trim panel -
Remove the panel from the
door.
-
Check the LH front door for any remaining push clip retainers, and if present, remove them from the door.
Figure 8. Lower rear corner of door shown; check the entire door for push clip retainers
Install
- Inspect the condition of the LH front door and the LH front door trim panel. Replace any broken clips and repair any damage.
- Bring the trim panel to the door, and rest it on the door edge.
-
Install the clips and hooks that attach the door electrical harness to the
trim panel.
-
Connect the electrical harness to the LH front door trim panel
connectors.
-
Position the manual release cable in a vertical orientation, and slide the cable barrel end into the release lever.
-
Pivot the manual release cable collar to a horizontal orientation, and press the collar into the trim panel.
NoteMake sure the manual release cable is routed underneath the door harness.
-
Lift the trim panel, compress the LH front door inner belt seal slightly, and then hook the three trim panel tabs into the top edge of the door.
- Move the electrical harness connector for the puddle lamp out the hole in the bottom of the trim panel.
- Install the LH front door puddle lamp. See Puddle Light - Front Door - LH (Remove and Replace).
- Make sure that the puddle lamp and map pocket ambient light illuminate when connected.
- Fasten the clips that attach the trim panel to the door.
- Make sure that the trim panel fits tightly, and that there are no gaps from misaligned or bent clips.
-
Install the screws that attach the trim panel to the door.
 6 Nm (4.4 lbs-ft)CAUTIONUse ONLY the following fastener PN(s):
- 1526998-99-A or later. Confirm bolt size of M6-1.0x28 before installing.
CAUTIONMake sure that all fasteners are properly torqued and not cross-threaded.TIpUse of the following tool(s) is recommended:- Torx T30 socket
- 4 in extension
- ¼ in std ratchet
- ¼ in torque wrench (installation only)
Figure 9. Rear Figure 10. Middle Figure 11. Front - Install the reflector to the rear edge of the trim panel.
- Install the front LH door tweeter. See Tweeter - Front Door - LH (Remove and Replace).
- Close the door and verify the operation of the manual door release lever, that the door latch releases smoothly and easily.
- Raise the window and close the door.