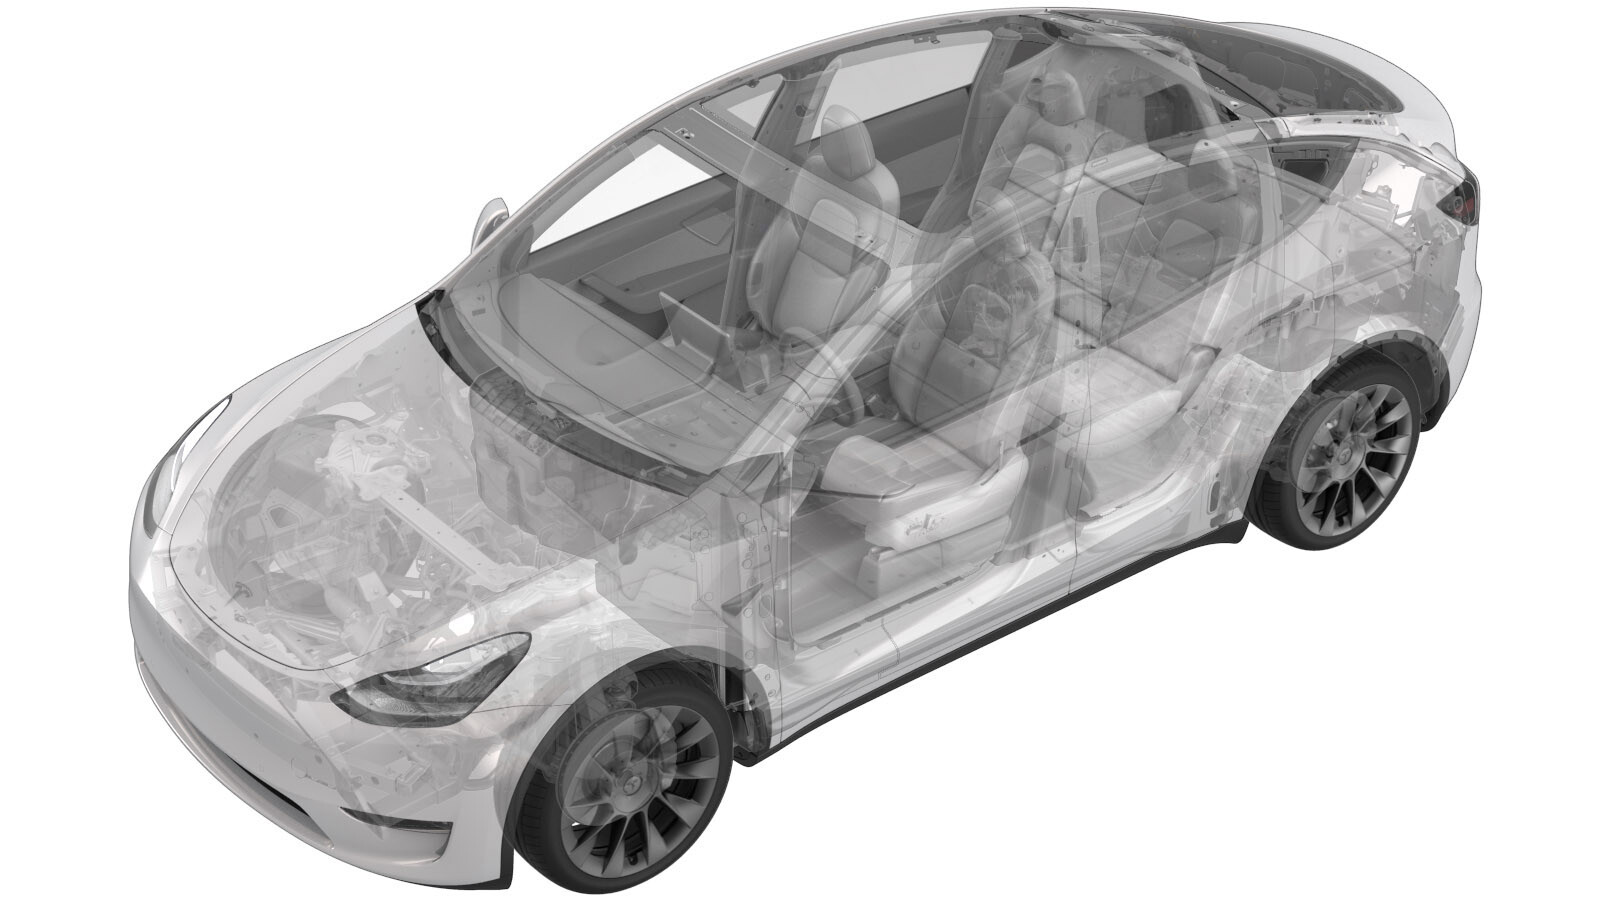
Reflex Lens - Rear - RH (Remove and Replace)
 Correction code
17404502
0.06
NOTE: Unless otherwise explicitly
stated in the procedure, the above correction code and FRT reflect all of the work
required to perform this procedure, including the linked procedures. Do not stack correction codes unless
explicitly told to do so.
NOTE: See Flat Rate
Times to learn more about FRTs and how they are created. To provide feedback on
FRT values, email ServiceManualFeedback@tesla.com.
NOTE: See Personal Protection to make sure wearing proper PPE when
performing the below procedure. See Ergonomic Precautions for safe and healthy working practices.
- 2026-01-26: Added photo and tips for safer removal.
- 2025-07-24: Added caution and image for reflex lens lower lip.
Remove
- Apply masking around the RH rear reflex lens.
-
Use a plastic trim tool to
pry and release the clips that attach the RH rear reflex lens to the body,
and then remove the RH rear reflex lens from the vehicle.
CAUTIONPry gently to avoid breaking the clips.TIpPartially release the upper right clip first, then release the rest of the clips.TIpUse your other hand to support the lens and prevent it from coming out too far before all clips have been released.
Install
-
Position the bottom of the
RH rear reflex lens into the vehicle, and then fasten the clips that attach
the lens to the body.
CAUTIONMake sure to insert the bottom of the lens into position first. The lower lip may break if forced when not in position.NoteCarefully and firmly press the RH rear reflex lens to fully seat the clips once the lower portion is in position.
Figure 1. Lower lip - Remove the masking tape from the body.
- Make sure that the RH rear reflex lens to body gap and flush are within specifications.