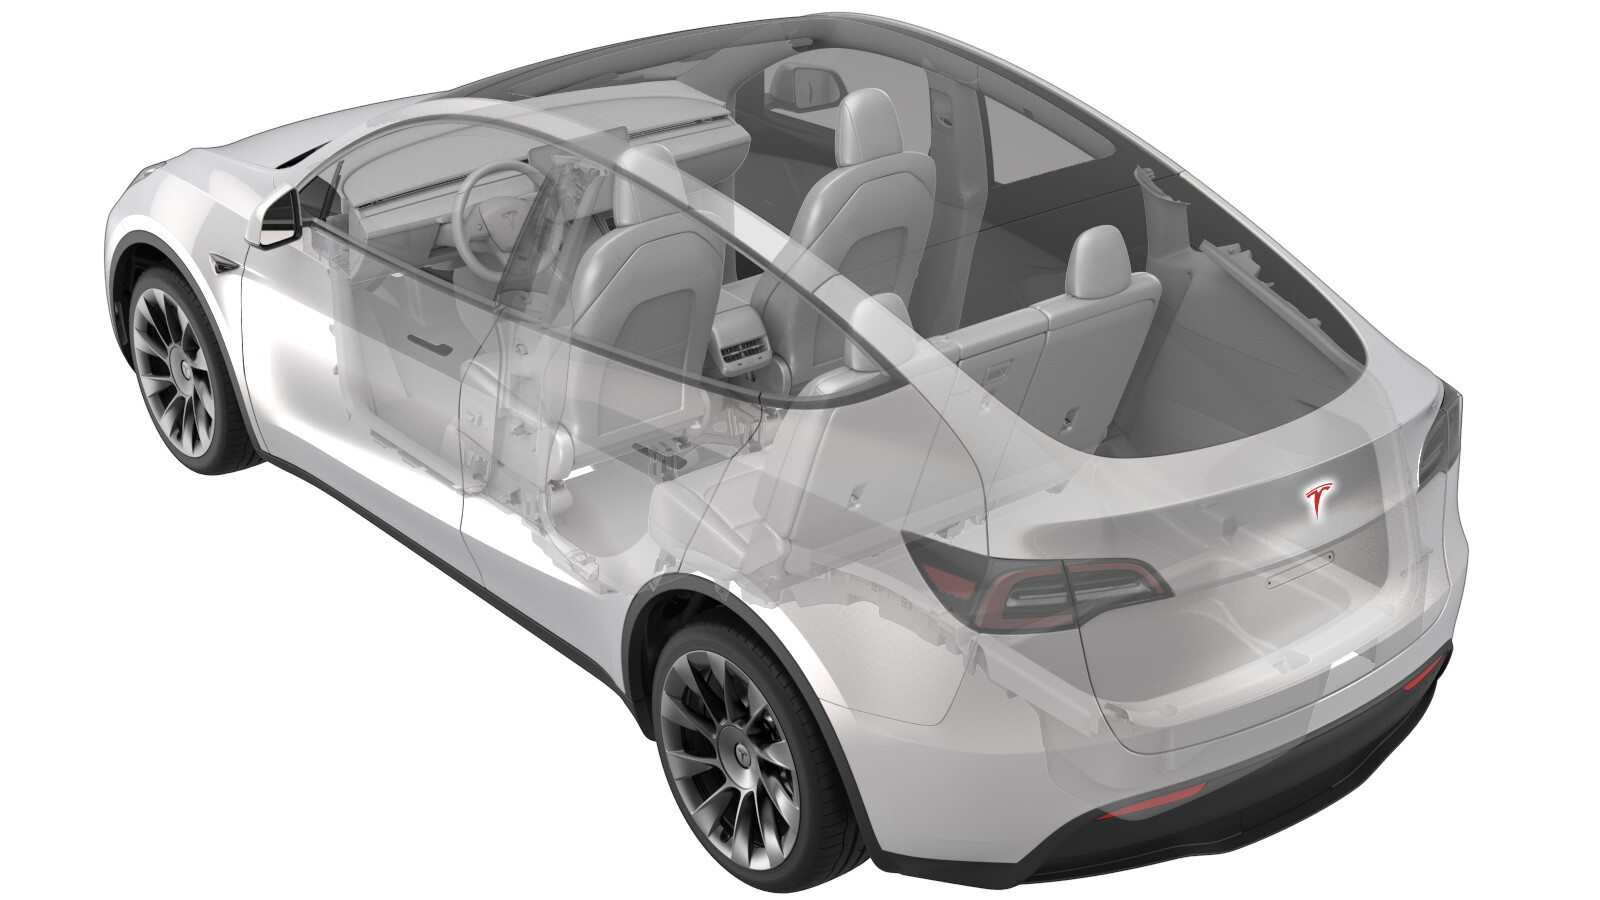
Tesla Badge - Rear (Remove and Replace)
 Correction code
12050702
0.18
NOTE: Unless otherwise explicitly
stated in the procedure, the above correction code and FRT reflect all of the work
required to perform this procedure, including the linked procedures. Do not stack correction codes unless
explicitly told to do so.
NOTE: See Flat Rate
Times to learn more about FRTs and how they are created. To provide feedback on
FRT values, email ServiceManualFeedback@tesla.com.
NOTE: See Personal Protection to make sure wearing proper PPE when
performing the below procedure. See Ergonomic Precautions for safe and healthy working practices.
- 2024-08-29: Added a note to remind that the rear badge is not reusable due to the positioning problem.
Equipment:
- 1453028-00-A Kit, Badge Removal
- 1593940-00-A Fixture, Rear Badge, Model Y
Remove
- Prepare the badge removal tool with approximately 60 centimeters of monofilament line.
- Raise the trunk lid, and position the badge removal tool so that the monofilament line cuts under a corner of the rear Tesla badge.
-
Move the badge removal tool
in a sawing motion to separate the rear Tesla badge from the trunk
lid.
-
Use IPA wipes to clean all adhesive residue and debris from the trunk lid surface.
NoteRemove the alignment pins from the hood before removing the adhesive.
Install
- Open the trunk lid partially to accommodate the rear badge fixture.
-
Install the rear badge fixture over the rear-view camera and onto the trunk lid, and then attach the fixture in place with tape.
NoteMake sure the bottom tab is aligned against the left side of the backup camera. Use the jig window to align the edge of the liftgate with the edge of the jig.
- Peel the adhesive backing from the trunk badge, align the alignment holes on the badge protective film to the alignment pins on the jig, and then press the badge to the trunk.
- Remove the protective film from the badge, and then remove the fixture from the trunk lid.
- Replace the protective film over the badge, use a pressure roller to wet-out the badge, and then remove the protective film.
-
Use an IPA wipe to clean the badge and any remaining debris.
NoteMake sure that all edges of the badge are securely affixed to the trunk lid surface.
- Close the trunk lid.