Armrest - 2nd Row (Remove and Replace)
 Correction code
13058002
0.18
NOTE: Unless otherwise explicitly
stated in the procedure, the above correction code and FRT reflect all of the work
required to perform this procedure, including the linked procedures. Do not stack correction codes unless
explicitly told to do so.
NOTE: See Flat Rate
Times to learn more about FRTs and how they are created.
NOTE: See Personal Protection to make sure wearing proper PPE when
performing the below procedure. NOTE: See Ergonomic Precautions for safe and healthy working
practices.
Correction code
13058002
0.18
NOTE: Unless otherwise explicitly
stated in the procedure, the above correction code and FRT reflect all of the work
required to perform this procedure, including the linked procedures. Do not stack correction codes unless
explicitly told to do so.
NOTE: See Flat Rate
Times to learn more about FRTs and how they are created.
NOTE: See Personal Protection to make sure wearing proper PPE when
performing the below procedure. NOTE: See Ergonomic Precautions for safe and healthy working
practices.
Torque Specifications
| Description | Torque Value | Recommended Tools | Reuse/Replace | Notes |
|---|---|---|---|---|
| Screw that attaches the LH armrest cover panel to the center 2nd row seat frame |
 2.5 Nm (1.8 lbs-ft) |
|
Reuse | |
| Center 2nd row armrest lobe bolts |
12 Nm (8.8 lbs-ft) |
|
Reuse |
Remove
- Open all four doors and fully lower all windows.
- Move the front seats fully forward.
- Fold down the center 2nd row seatback assembly.
- Remove the center 2nd row headrest. See Headrest - 2nd Row - Center (Remove and Replace).
- Remove the center 2nd row backrest switch. See Backrest Switch – Seat Back – 2nd Row – Center (Remove and Replace).
-
Use a trim tool to release
the clips that attach the center back panel to the seat, working from the
bottom of the seat towards the top, and then remove the panel from seat
assembly.
-
Remove the screw that attaches the LH armrest cover panel to the center 2nd
row seat frame, and then pry the cover outwards and towards the top of the
seat frame to remove it. Repeat this step for the RH armrest cover
panel.
TIpUse of the following tool(s) is recommended:
- Torx T20 socket
-
Remove the LH and RH armrest lobe bolts.
TIpUse of the following tool(s) is recommended:
- 10 mm socket
LH shown; RH similar
-
Using a small flat head
screwdriver, close the center 2nd row seatback latch.
- Raise the center 2nd row seatback to the upright position.
-
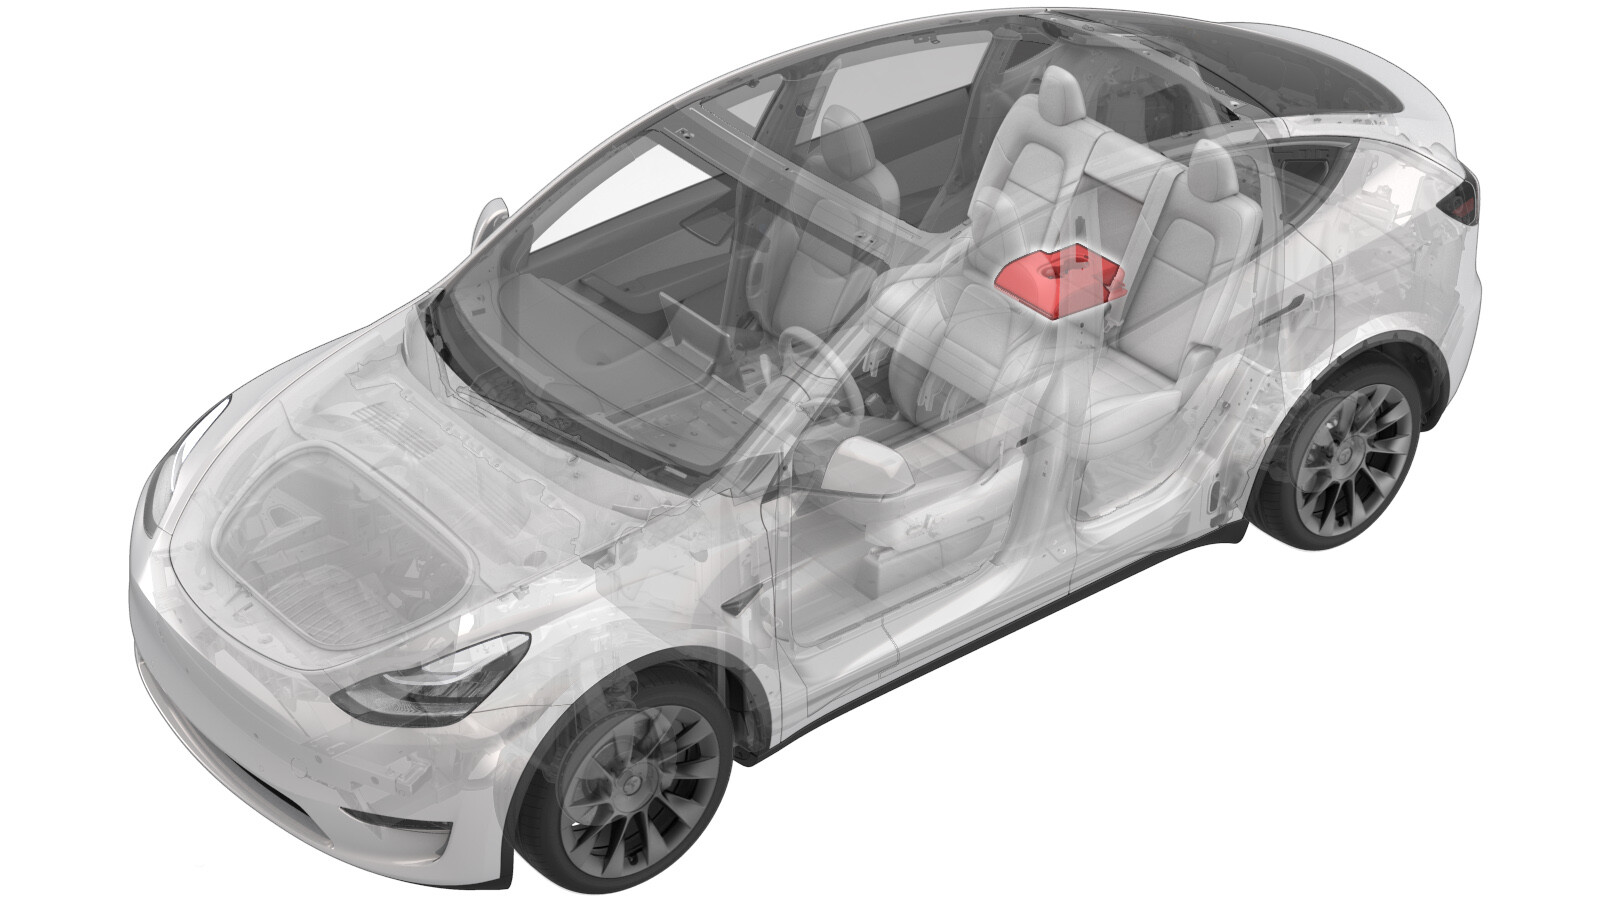
Pull the 2nd row armrest away from the center 2nd row seatback.
Install
-
Install the 2nd row armrest onto the center 2nd row seatback.
- Fold down the center 2nd row seatback assembly.
-
Install the LH and RH armrest lobe bolts.12 Nm (8.8 lbs-ft)TIpUse of the following tool(s) is recommended:
- 10 mm socket
LH shown; RH similar
-
Install the LH armrest cover panel onto the 2nd row seat frame, and then
install the bolts that attaches the panel to the seat frame. Repeat this
step for the RH armrest cover panel.2.5 Nm (1.8 lbs-ft)TIpUse of the following tool(s) is recommended:
- Torx T20 socket
-
Engage the hooks that attach the top of the center 2nd row seatback panel
to the seat frame, and then engage the clips (x5) that attach the lower
portion of the backpanel to the seat frame.
- Install the center 2nd row backrest switch. See Backrest Switch – Seat Back – 2nd Row – Center (Remove and Replace).
- Release the center 2nd row seatback latch.
- Install the center 2nd row seatback headrest.
- Raise the center 2nd row seatback to the upright position.
- Move the front seats to their original positions.
- Raise all the windows and close all the doors.