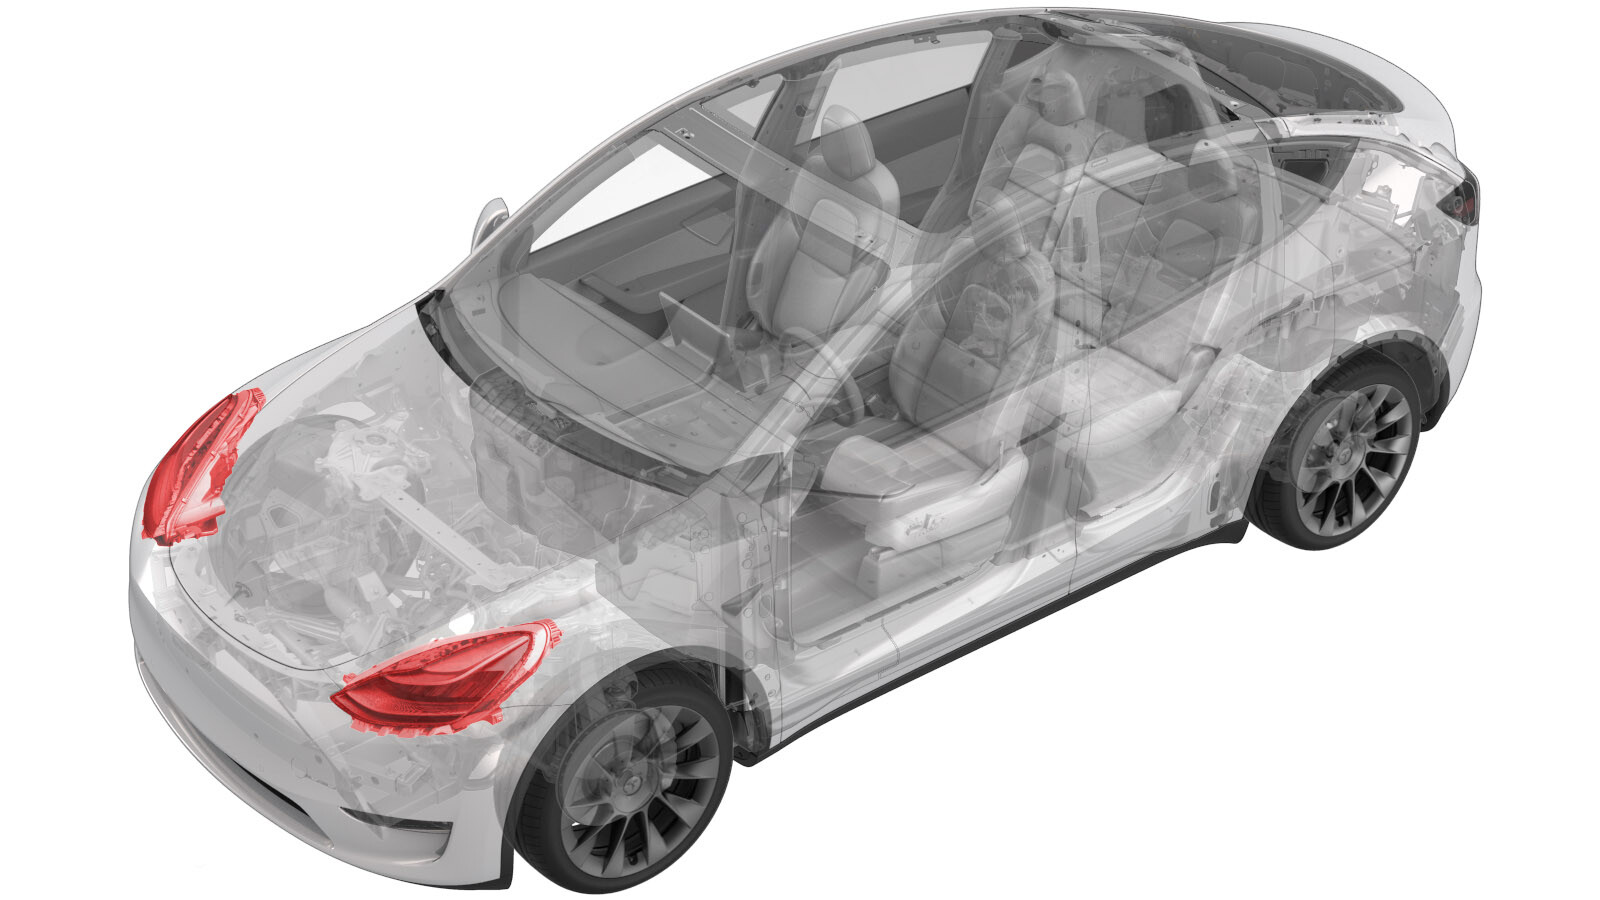
Headlight - LH (Remove and Replace)
 Correction code
17400102
0.60
NOTE: Unless otherwise explicitly
stated in the procedure, the above correction code and FRT reflect all of the work
required to perform this procedure, including the linked procedures. Do not stack correction codes unless
explicitly told to do so.
NOTE: See Flat Rate
Times to learn more about FRTs and how they are created. To provide feedback on
FRT values, email ServiceManualFeedback@tesla.com.
NOTE: See Personal Protection to make sure wearing proper PPE when
performing the below procedure. See Ergonomic Precautions for safe and healthy working practices.
- 2025-04-10: Changed the steps of removing the front fascia to releasing the LH side of the front fascia.
Torque Specifications
| Description | Torque Value | Recommended Tools | Reuse/Replace | Notes |
|---|---|---|---|---|
| Screws that attach the headlight to the body |
 5.9 Nm (4.4 lbs-ft) |
|
Reuse |
Remove
- Enable Service Mode. See Service Mode.
- Remove the underhood storage unit. See Underhood Storage Unit (Remove and Replace).
- With an assistant, release the LH side of the front fascia. See Fascia - Front (Remove and Install).
-
Disconnect the electrical
connector from the LH headlight.
NoteIf the connector has a red locking tab: DO NOT push down on the red locking tab. Pull the tab away from the connector until the connector is unlocked, and then continue pulling the main body of the connector to fully disconnect it.
-
Remove the screw(s) that
attach the LH headlight to the body.
NoteThe headlight might not be equipped with a lower fastener.TIpUse of the following tool(s) is recommended:
- Torx T30 socket
- Remove the headlight from the vehicle.
Install
-
Position the LH headlight
onto the body, and then insert the alignment stud into
the correct position.
CAUTIONDo not damage the headlight during installation.
-
Install the fasteners that
attach the LH headlight to the body.
 5.9 Nm (4.4 lbs-ft)NoteThe headlight might not be equipped with a lower fastener.TIpUse of the following tool(s) is recommended:
- Torx T30 socket
-
Connect the electrical
connector for the LH headlight.
-
Install the front fascia.
See Fascia - Front (Remove and Install).
NoteAfter connecting the front fascia electrical connections, pause the procedure to initiate a software reinstall.
-
Perform a software reinstall concurrently with the rest of the steps in
this procedure. See Software Reinstall - Touchscreen.
NoteAfter initiating the software reinstall, continue the front fascia installation.
- Install the underhood storage unit. See Underhood Storage Unit (Remove and Replace).
-
Adjust the headlights:
- Headlights - Adjust - Global (Tool Method)
- Headlights - Adjust - Global (Wall Method)
- Headlights - Adjust - NA (Tool Method)
- Headlights - Adjust - NA (Wall Method)