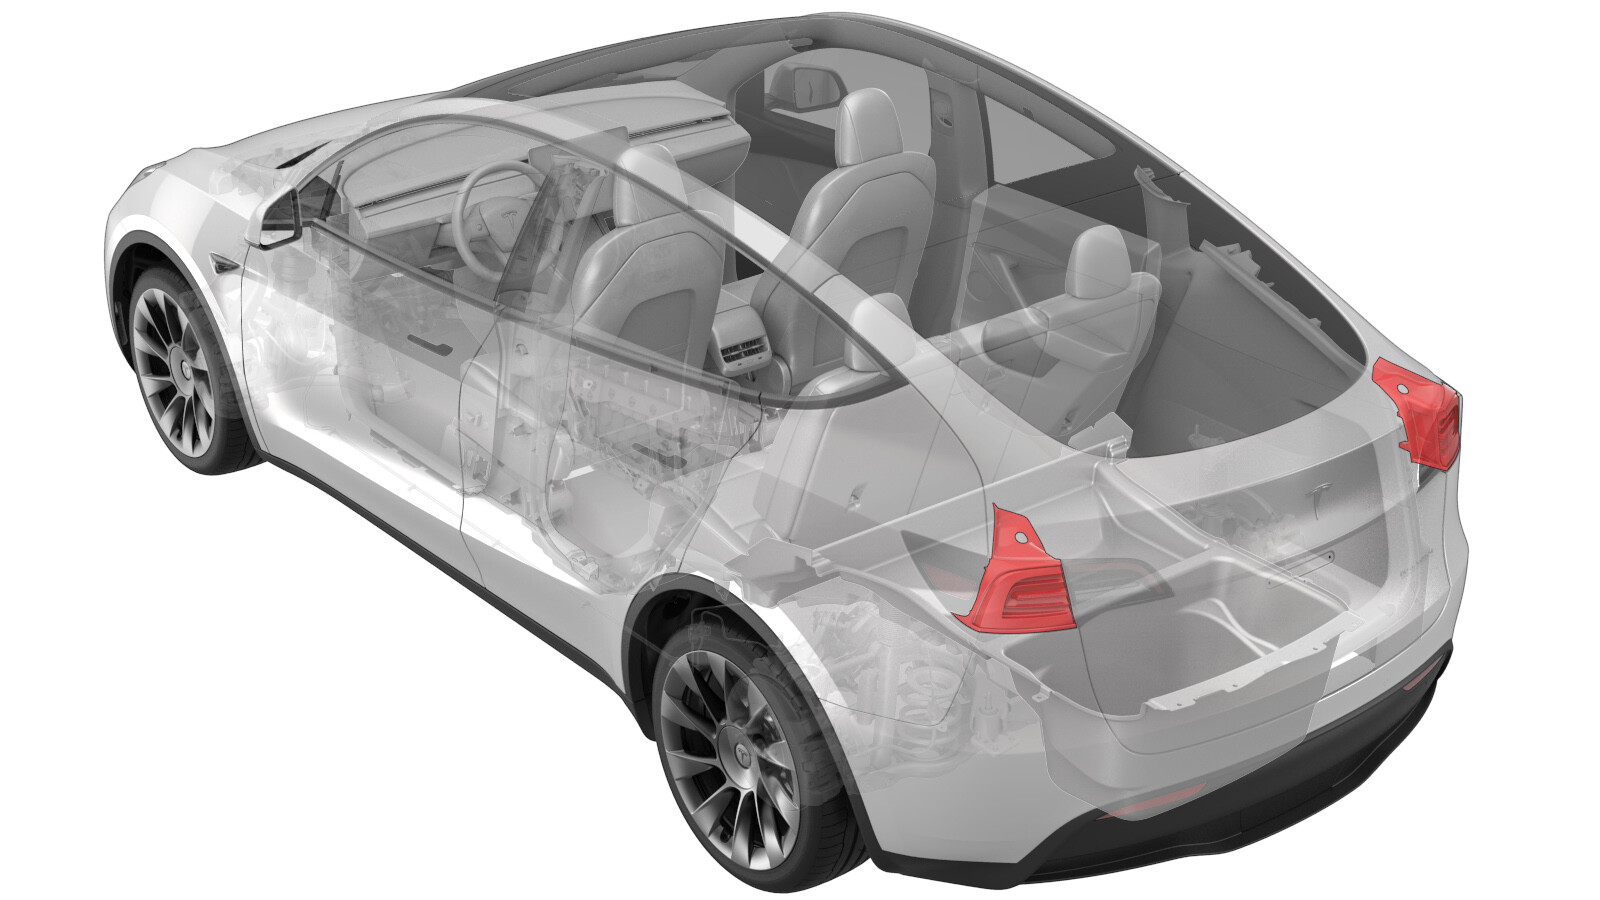
Taillight - LH (Remove and Replace)
 Correction code
17402002
0.30
NOTE: Unless otherwise explicitly
stated in the procedure, the above correction code and FRT reflect all of the work
required to perform this procedure, including the linked procedures. Do not stack correction codes unless
explicitly told to do so.
NOTE: See Flat Rate
Times to learn more about FRTs and how they are created.
NOTE: See Personal Protection to make sure wearing proper PPE when
performing the below procedure. NOTE: See Ergonomic Precautions for safe and healthy working
practices.
Correction code
17402002
0.30
NOTE: Unless otherwise explicitly
stated in the procedure, the above correction code and FRT reflect all of the work
required to perform this procedure, including the linked procedures. Do not stack correction codes unless
explicitly told to do so.
NOTE: See Flat Rate
Times to learn more about FRTs and how they are created.
NOTE: See Personal Protection to make sure wearing proper PPE when
performing the below procedure. NOTE: See Ergonomic Precautions for safe and healthy working
practices.
- 2025-11-06: Added images for mounting bolt and electrical connector gaskets.
Remove
- Open the LH rear door.
-
Release the portion of the LH rear door seal that overlaps the LH lower c-pillar trim.
-
Fold down the LH 2nd row 60 seatback.
NoteProtect the seat back upholstery if necessary.
- Remove the rear trunk load floor. See Trunk Load Floor - Rear (Remove and Replace).
- Remove the front trunk load floor. See Trunk Load Floor - Front (Remove and Replace).
- Remove the trunk sill trim. See Trim - Sill - Trunk (Remove and Replace).
- Remove the LH trunk load floor bracket. See Bracket - Trunk Load Floor - LH (Remove and Replace).
- Remove the LH trunk pocket bracket. See Bracket - Trunk Pocket - LH (Remove and Replace).
- Remove the LH trunk side trim. See Trim - Side - Trunk - LH (Remove and Replace).
-
Pull up on the LH liftgate bump stop to remove it from the assembly.
-
Release the connector lock, and then disconnect the electrical harness from the taillight connector.
CAUTIONDO NOT push down on the red locking tab. Pull the tab away from the connector until the connector is unlocked, and then continue pulling the main body of the connector to fully disconnect it.CAUTIONIf the taillight must be replaced because of water ingress, place a shop towel under the taillight connector to prevent damage to other electrical components.
-
Remove the nuts that attach the taillight to the vehicle.
TIpUse of the following tool(s) is recommended:
- 8 mm 12-point deep socket
-
Remove the LH taillight assembly from the vehicle.
Install
-
Install the gaskets around each
taillight mounting bolt (x2) and the taillight electrical connector (x1).
-
Position the LH taillight studs into the grommets, and then install the taillight onto the body.
-
Install the nuts (x2) that attach the taillight to the vehicle.
 3.2 Nm (2.4 lbs-ft)TIpUse of the following tool(s) is recommended:
- 8 mm 12-point deep socket
-
Connect the electrical harness to the taillight connector, and then engage the connector lock.
CAUTIONIf the connector has a red locking tab: Push the red locking tab into the connector to engage the connector lock.
- Align the LH liftgate bump stop onto the taillight assembly, and then press down on the bump stop to install it to the assembly.
- Install the LH trunk side trim. See GUID-6E5F19EE-348A-4512-A3A7-D5094875E651.html.
- Install the LH trunk pocket bracket. See Bracket - Trunk Pocket - LH (Remove and Replace).
- Install the LH load floor bracket. See Bracket - Trunk Load Floor - LH (Remove and Replace).
- Install the trunk sill trim. See Trim - Sill - Trunk (Remove and Replace)
- Install the front trunk load floor. See Trunk Load Floor - Front (Remove and Replace).
- Install the rear trunk load floor. See Trunk Load Floor - Rear (Remove and Replace).
- Close the liftgate.
-
Reseat the portion of the LH rear door seal that overlaps the LH lower c-pillar trim.
- Close the LH rear door.
- Connect a laptop with Toolbox 3 to the vehicle. See Toolbox (Connect and Disconnect).
-
In Toolbox, perform one of the following according to the taillight that was replaced.
-
LH Taillight - Click the Actions tab, type "VCLEFT" in the search field, click on TEST-RESET_VCLEFTvia Service Mode Plus:
- Chassis ➜ SCCM ➜ Reset VCLeft
- Low Voltage ➜ Power Distribution ➜ Reset VCLEFT
- Mid Voltage ➜ Power Distribution ➜ Reset VCLEFT
-
RH Taillight - Click the Actions tab, type "VCRIGHT" in the search field, click on TEST-RESET_VCRIGHTvia Service Mode Plus:
- Low Voltage ➜ Power Distribution ➜ Reset VCRIGHT
- Mid Voltage ➜ Power Distribution ➜ Reset VCRIGHT
-
LH Taillight - Click the Actions tab, type "VCLEFT" in the search field, click on TEST-RESET_VCLEFTvia Service Mode Plus:
- Disconnect the laptop with Toolbox 3 from the vehicle. See Toolbox (Connect and Disconnect).