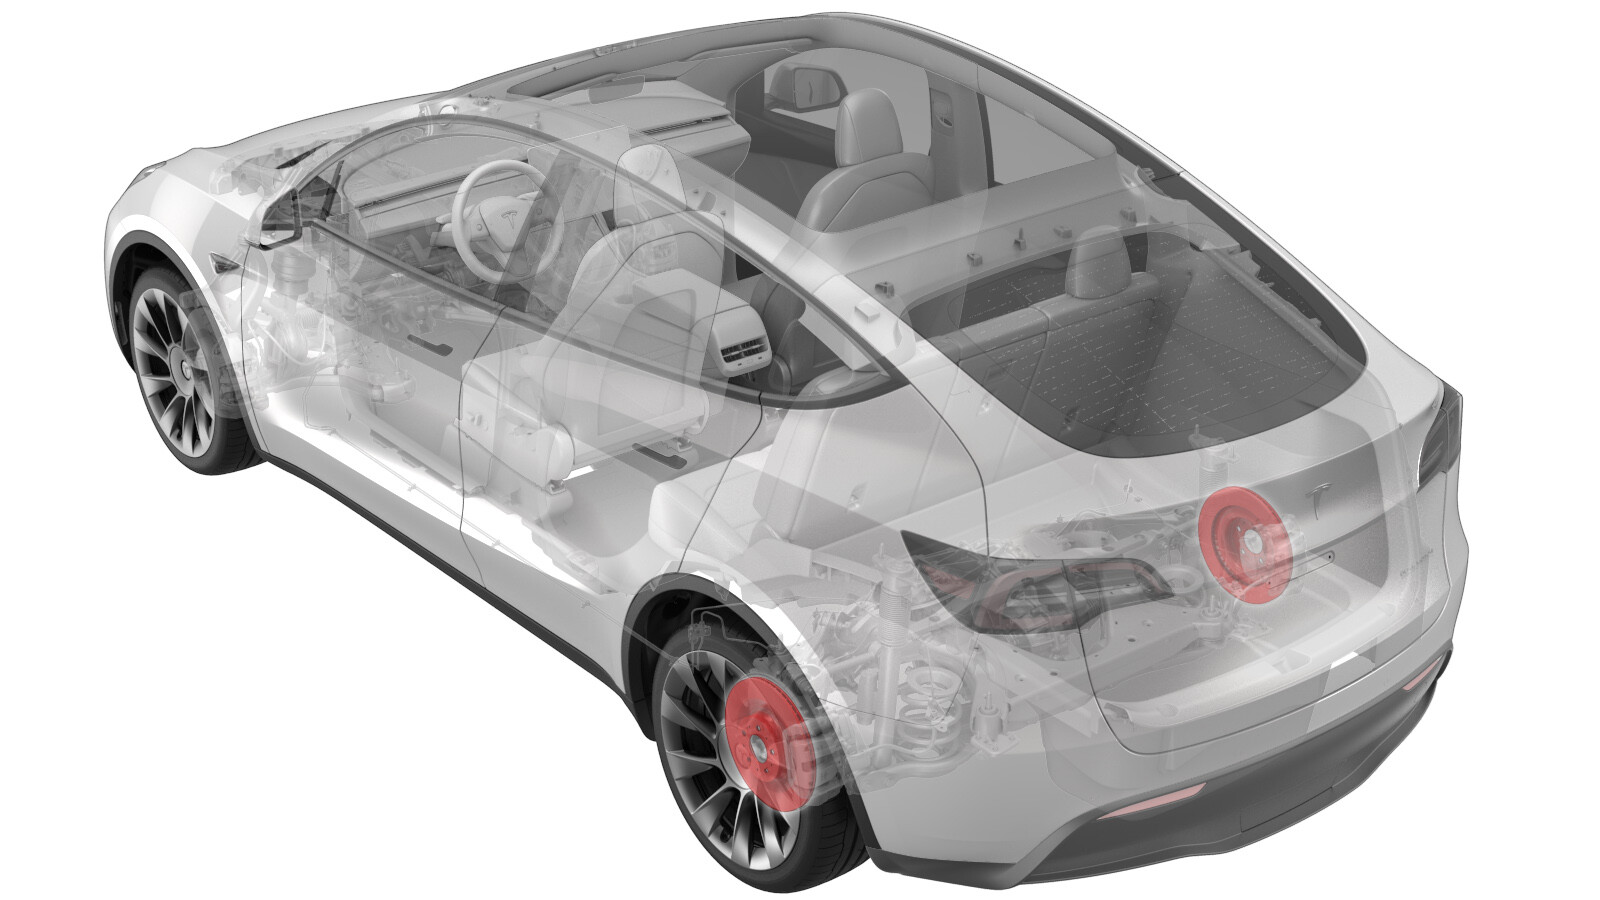
Brake Rotor - Rear - LH (Remove and Replace)
 Correction code
33010202
0.30
NOTE: Unless otherwise explicitly
stated in the procedure, the above correction code and FRT reflect all of the work
required to perform this procedure, including the linked procedures. Do not stack correction codes unless
explicitly told to do so.
NOTE: See Flat Rate
Times to learn more about FRTs and how they are created.
NOTE: See Personal Protection to make sure wearing proper PPE when
performing the below procedure. NOTE: See Ergonomic Precautions for safe and healthy working
practices.
Correction code
33010202
0.30
NOTE: Unless otherwise explicitly
stated in the procedure, the above correction code and FRT reflect all of the work
required to perform this procedure, including the linked procedures. Do not stack correction codes unless
explicitly told to do so.
NOTE: See Flat Rate
Times to learn more about FRTs and how they are created.
NOTE: See Personal Protection to make sure wearing proper PPE when
performing the below procedure. NOTE: See Ergonomic Precautions for safe and healthy working
practices.
- 2026-02-19: Added a warning.
- 2025-05-08: Updated brake pad burnishing step to be performed after rotor replacement.
- 2024-05-28: Updated references and cautions.
- 2023-11-22: Added extra information for single rotor replacement.
- 2023-06-15: Added a step to use caliper spreader to manually push piston back into caliper and added a note to reminder that correction code 33013000 should be added separately for brake pad burnishing.
- 2023-06-15: Added the whole procedure video as an overview for supplemental purposes only.
Equipment:
- 1109954-00-A Brake Caliper Spreader
Torque Specifications
| Description | Torque Value | Recommended Tools | Reuse/Replace | Notes |
|---|---|---|---|---|
| LH rear caliper to the LH rear knuckle |
 83 Nm (61.2 lbs-ft) |
|
Replace | |
| Brake rotor to the hub |
5 Nm (3.7 lbs-ft) |
|
Reuse |
Remove
- Raise the vehicle and remove the LH rear wheel. See Wheel Assembly (Remove and Install).
- Place the vehicle into EPB Service Mode. See Parking Brake - Caliper - Rear - LH (Release).
-
Remove and discard the bolts that attach the LH rear caliper to the LH rear knuckle, remove the caliper from the knuckle, and allow the caliper to hang from an S-hook.83 Nm (61.2 lbs-ft)TIpUse of the following tool(s) is recommended:
- External Torx E18
-
Use the caliper spreader tool to push the caliper piston to the fully open position.
NoteThis allows for more clearance when new brake pads are installed.NoteMake sure the upper cut of the piston is placed in the middle of the two tabs.
-
Remove the bolt that attaches the brake rotor to the hub, and then remove the brake rotor from the hub.5 Nm (3.7 lbs-ft)NoteEarly production vehicles may not be equipped with a bolt that attaches the brake rotor to the hub.TIpUse of the following tool(s) is recommended:
- 10 mm socket
Install
Installation procedure is the reverse of removal, except for the following:
-
Replace all patchbolts.
WarningDuring installation of the brake caliper, make sure that the flexible brake hose is not twisted and can bend forward. The flexible brake hose must not make contact with the wheel arch liner when the vehicle is lowered.
- Put the vehicle into Park to exit EPB Service Mode and engage the parking brake.
-
Press the brake pedal at least 5 times to seat the pads against the rotor.
WarningAlways check that the brake pads are seated correctly before driving the vehicle.
-
Burnish the brakes. See Brake Pads - Burnishing.
NoteDuring vehicle driving, make sure that proper brake pedal feel and performance is achieved.NoteAdd the correction code for brake pad burnishing 33013000 as a separate correction within the same activity to the Service Visit.