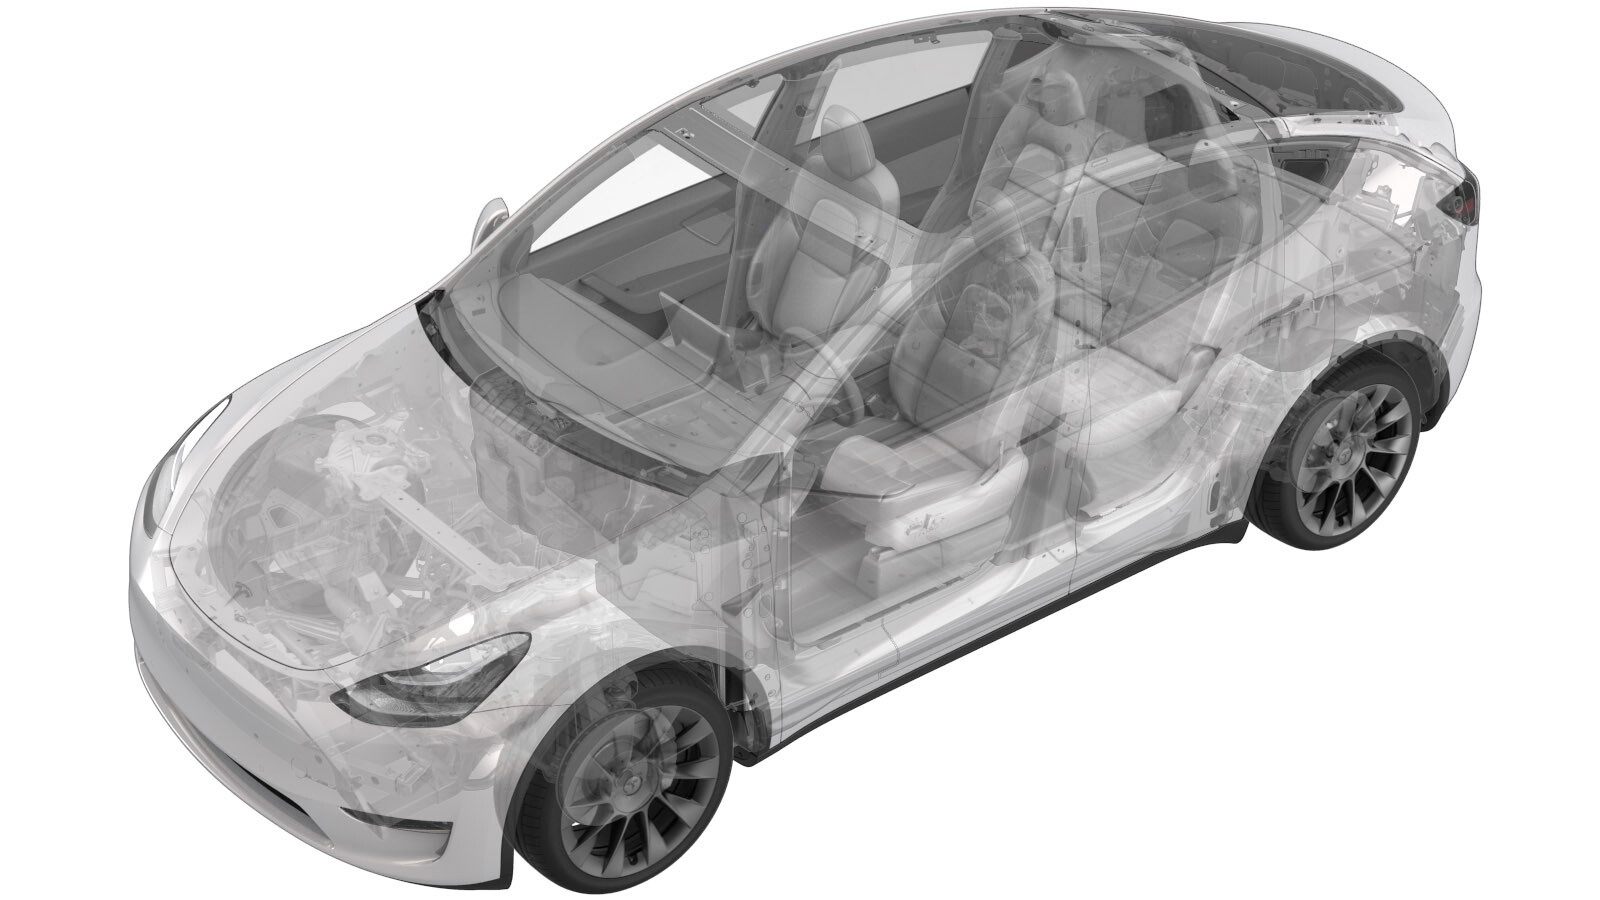
Liftgate Assembly (Remove and Replace)
 Correction code
10107002
2.52
NOTE: Unless otherwise explicitly
stated in the procedure, the above correction code and FRT reflect all of the work
required to perform this procedure, including the linked procedures. Do not stack correction codes unless
explicitly told to do so.
NOTE: See Flat Rate
Times to learn more about FRTs and how they are created.
NOTE: See Personal Protection to make sure wearing proper PPE when
performing the below procedure. NOTE: See Ergonomic Precautions for safe and healthy working
practices.
Correction code
10107002
2.52
NOTE: Unless otherwise explicitly
stated in the procedure, the above correction code and FRT reflect all of the work
required to perform this procedure, including the linked procedures. Do not stack correction codes unless
explicitly told to do so.
NOTE: See Flat Rate
Times to learn more about FRTs and how they are created.
NOTE: See Personal Protection to make sure wearing proper PPE when
performing the below procedure. NOTE: See Ergonomic Precautions for safe and healthy working
practices.
- 2026-03-04: Added Clear Camera Calibration routine and added steps for the trunk exterior release switch.
- 2024-10-23: Added a reminder for technicians to install all badges that are equipped with the working vehicle.
- 2023-08-23: Updated note on self-tapping harness bolt for more clarity.
Torque Specifications
| Description | Torque Value | Recommended Tools | Reuse/Replace | Notes |
|---|---|---|---|---|
| Bolts that attach the liftgate ball stud bracket to the liftgate |
 11 Nm (8.1 lbs-ft) |
|
Reuse | |
| Bolt that attaches the liftgate harness ground strap to the liftgate |
8 Nm (5.9 lbs-ft) |
|
Note Inspect the bolt:
if it is a standard bolt (1447438-00-A), it can be reused. If it is
a self-tapping tri-lobular bolt (1128269-00-A), discard and replace
with the standard bolt. |
|
| Bolts that attach the liftgate to the vehicle |
32 Nm (23.6 lbs-ft) |
|
Reuse | |
| Screw that attaches the antenna filter electrical connector to the liftgate |
2 Nm (1.5 lbs-ft) |
|
Reuse | |
| Bolt that attaches the RH FM amplifier to the liftgate |
4 Nm (2.9 lbs-ft) |
|
Reuse | |
| Bolts that attach the radio tuner to the liftgate |
8 Nm (5.9 lbs-ft) |
|
Reuse | |
| Screws that attach the license plate bracket to the liftgate |
1.2 Nm (.9 lbs-ft) |
|
Reuse |
Remove
- Remove the rear license plate.
-
Remove the screws that attach the license plate bracket to the liftgate, and then remove the bracket from the assembly.
TIpUse of the following tool(s) is recommended:
- PH2 Phillips screwdriver
- Open the liftgate.
- Open the LH front door and fully lower the LH front window.
- Remove the liftgate upper trim. See Trim - Upper - Liftgate (Remove and Replace).
- Remove the liftgate lower trim. See Trim - Liftgate - Lower (Remove and Replace).
-
Remove the LH and RH bump stops from the lower liftgate.
NoteNote the number of turns to remove each bumpstop.
-
Remove the LH and RH liftgate bumpstop and jamb nut from the liftgate.
Figure 1. LH shown, RH similar - Remove the trunk liftgate latch. See Latch - Liftgate (Remove and Replace).
- Remove the LH and RH license plate lights. See Light - License Plate (Remove and Replace).
- Remove the trunk exterior release switch. See Switch and Camera Assembly - Exterior Release - Liftgate (Remove and Replace).
-
Disconnect the radio tuner electrical connectors.
-
Remove the bolts that attach the radio tuner to the liftgate, and then remove the radio tuner from the liftgate.
TIpUse of the following tool(s) is recommended:
- 10 mm deep socket
- Remove the LH and RH rear fog/reverse lights. See Light - Fog / Reverse - Rear - LH (Remove and Replace).
-
Remove the LH and RH tail lamp plugs.
Figure 2. LH shown, RH similar -
Disconnect the electrical
connectors (x2) from the LH FM antenna amplifier.
-
Remove the bolt that attaches the LH FM amplifier to the liftgate, and then remove the amplifier from the liftgate.
TIpUse of the following tool(s) is recommended:
- 10 mm deep socket
- Repeat steps 16and 17 for the RH FM amplifier.
-
Disconnect the LH antenna filter electrical connector from the liftgate glass.
-
Remove screw that attaches the LH antenna filter electrical connector to the liftgate, and then remove the antenna from the liftgate.
TIpUse of the following tool(s) is recommended:
- Torx T30 socket
- Repeat steps 19 and 20 for the RH antenna filter.
-
Disconnect the CHMSL electrical connector.
-
Release the clips that attach the LH liftgate side trim bracket to the liftgate, and then remove the bracket from the liftgate.
- Cut the zip ties on the RH liftgate side trim bracket.
- Release the clips that attach the RH liftgate side trim bracket to the liftgate, and then remove the bracket from the liftgate.
-
Remove the bolt that attaches the liftgate harness ground strap to the liftgate, and then remove the ground strap from the vehicle.
NoteInspect the bolt: if it is a standard bolt (1447438-00-A), it can be reused. If it is a self-tapping tri-lobular bolt (1128269-00-A), discard and replace with the standard bolt.TIpUse of the following tool(s) is recommended:
- 10 mm deep socket
-
Release the clips that attach the liftgate harness to the liftgate.
-
Release the grommet from the liftgate, and then feed the harness through the access hole to remove it from the liftgate.
- Remove the backlight glass. See Glass - Backlight (Remove and Replace).
- Support the liftgate with a telescoping hood prop.
- Place a shop towel on the LH and RH side trunk jamb.
-
Release the liftgate power strut upper ball stud that is attached to the liftgate, and then lay the strut down on the door jamb.
-
Release the liftgate strut assist upper ball stud that is attached to the liftgate, and then lay the strut down on the door jamb.
-
With assistance, remove the bolts that attach the liftgate to the vehicle, and then place the liftgate on a stand.
TIpUse of the following tool(s) is recommended:
- 13 mm combination wrench
-
Remove the bolts that attach the LH liftgate ball stud bracket to the liftgate, and then remove the bracket from the liftgate. Repeat this step for the RH liftgate ball stud bracket.
TIpUse of the following tool(s) is recommended:
- Torx T25 socket
Install
-
Install the bolts that attach the LH liftgate ball stud bracket to the liftgate. Repeat this step for the RH liftgate ball stud bracket.11 Nm (8.1 lbs-ft)TIpUse of the following tool(s) is recommended:
- Torx T25 socket
-
With assistance, position the liftgate onto the vehicle, and then install the bolts that attach the liftgate to the vehicle. Do not tighten the bolts at this time.
TIpUse of the following tool(s) is recommended:
- 13 mm socket
CAUTIONMake sure that the hinges do not come into contact with the glass to prevent damage. -
Install the liftgate power strut upper ball stud to the liftgate.
-
Install the liftgate strut assist upper ball stud to the liftgate.
- Remove the liftgate support from the vehicle.
-
Route the liftgate harness through the access hole, and then install the grommet into the liftgate assembly.
-
Install the clips that attach the liftgate harness to the liftgate.
-
Install the bolt that attaches the liftgate harness ground strap to the liftgate.8 Nm (5.9 lbs-ft)NoteInspect the bolt: if it is a standard bolt (1447438-00-A), it can be reused. If it is a self-tapping tri-lobular bolt (1128269-00-A), discard and replace with the standard bolt.TIpUse of the following tool(s) is recommended:
- 10 mm deep socket
- Install the liftgate latch. See Latch - Liftgate (Remove and Replace).
- Close the liftgate to check gap/flush, and perform adjustments as necessary.
-
Tighten the bolts that attach the liftgate to the vehicle.32 Nm (23.6 lbs-ft)TIpUse of the following tool(s) is recommended:
- 13 mm socket
-
Install the backlight glass. See Glass - Backlight (Remove and Replace).
NoteDo not connect any connectors or install liftgate trim at this time.
-
Install the clips that attach the RH liftgate side trim bracket to the liftgate.
Figure 3. LH shown, RH similar - Install zip ties on the RH liftgate side trim bracket.
- Install the clips that attach the LH liftgate side trim bracket to the liftgate.
-
Connect the CHMSL electrical connector.
-
Install the screw that attaches the RH antenna filter electrical connector to the liftgate, and then connect the electrical connector.2 Nm (1.5 lbs-ft)TIpUse of the following tool(s) is recommended:
- Torx T30 socket
Figure 4. LH shown, RH similar -
Connect the RH antenna filter electrical connector.
-
Install the bolt that attaches the RH FM amplifier to the liftgate, and then connect the electrical connector.4 Nm (2.9 lbs-ft)TIpUse of the following tool(s) is recommended:
- 10 mm deep socket
-
Connect the RH FM antenna amplifier electrical connectors.
- Repeat steps 17 and 20 for the LH side of the vehicle.
-
Install the LH and RH tail lamp plugs.
- Install the LH and RH rear fog/reverse lights. See Light - Fog / Reverse - Rear - LH (Remove and Replace).
-
Position the radio tuner into the liftgate, and then install the bolts that attach the radio tuner to the liftgate.8 Nm (5.9 lbs-ft)TIpUse of the following tool(s) is recommended:
- 10 mm deep socket
-
Connect the radio tuner electrical connectors.
- Install the trunk exterior release switch. See Switch and Camera Assembly - Exterior Release - Liftgate (Remove and Replace).
- Install the LH and RH license plate lights. See Light - License Plate (Remove and Replace).
-
Install the LH and RH
liftgate bump stops and jamb nuts onto the liftgate.
- Enable Service Mode. See Service Mode.
- Unlock the vehicle gateway. See Gateway (Unlock).
-
On the touchscreen, tap the
Service Mode "wrench" (at the bottom of the touchscreen UI), and then tap
, select
RearView
in theCamera Selection
drop list, click Run, and allow the routine to complete. - Disable Service Mode. See Service Mode.
- Verify that the rear facing camera works properly.
- Install the liftgate lower trim. See Trim - Liftgate - Lower (Remove and Replace).
- Install the liftgate upper trim. See Trim - Upper - Liftgate (Remove and Replace).
-
Install the LH and RH bump stop onto the lower liftgate.
NoteNote the number of turns during removal of the bump stop.
- Clean the LH and RH liftgate hinge bolts, washer and surrounding area.
- Apply touch up pain to the head of the LH and RH liftgate hinge bolts as necessary.
- Raise the LH front window and close the LH front door.
-
For China, Japan and Korea
only: Install a new motor ID label on the liftgate assembly.
-
Install the T-badge. See Tesla Badge - Rear (Remove and Replace).
NoteIf the removed trunk/liftgate had additional badges due to vehicle configuration or regional badges, make sure that all badges are installed on the replacement trunk/liftgate.
-
Install the LH and RH license plate grommets into the liftgate.
NotePress the grommet in fully to secure it to the liftgate.
-
Remove the screws that attach the license plate bracket to the liftgate, and then remove the bracket from the assembly.1.2 Nm (.9 lbs-ft)TIpUse of the following tool(s) is recommended:
- PH2 Phillips screwdriver
- Install the rear license plate.