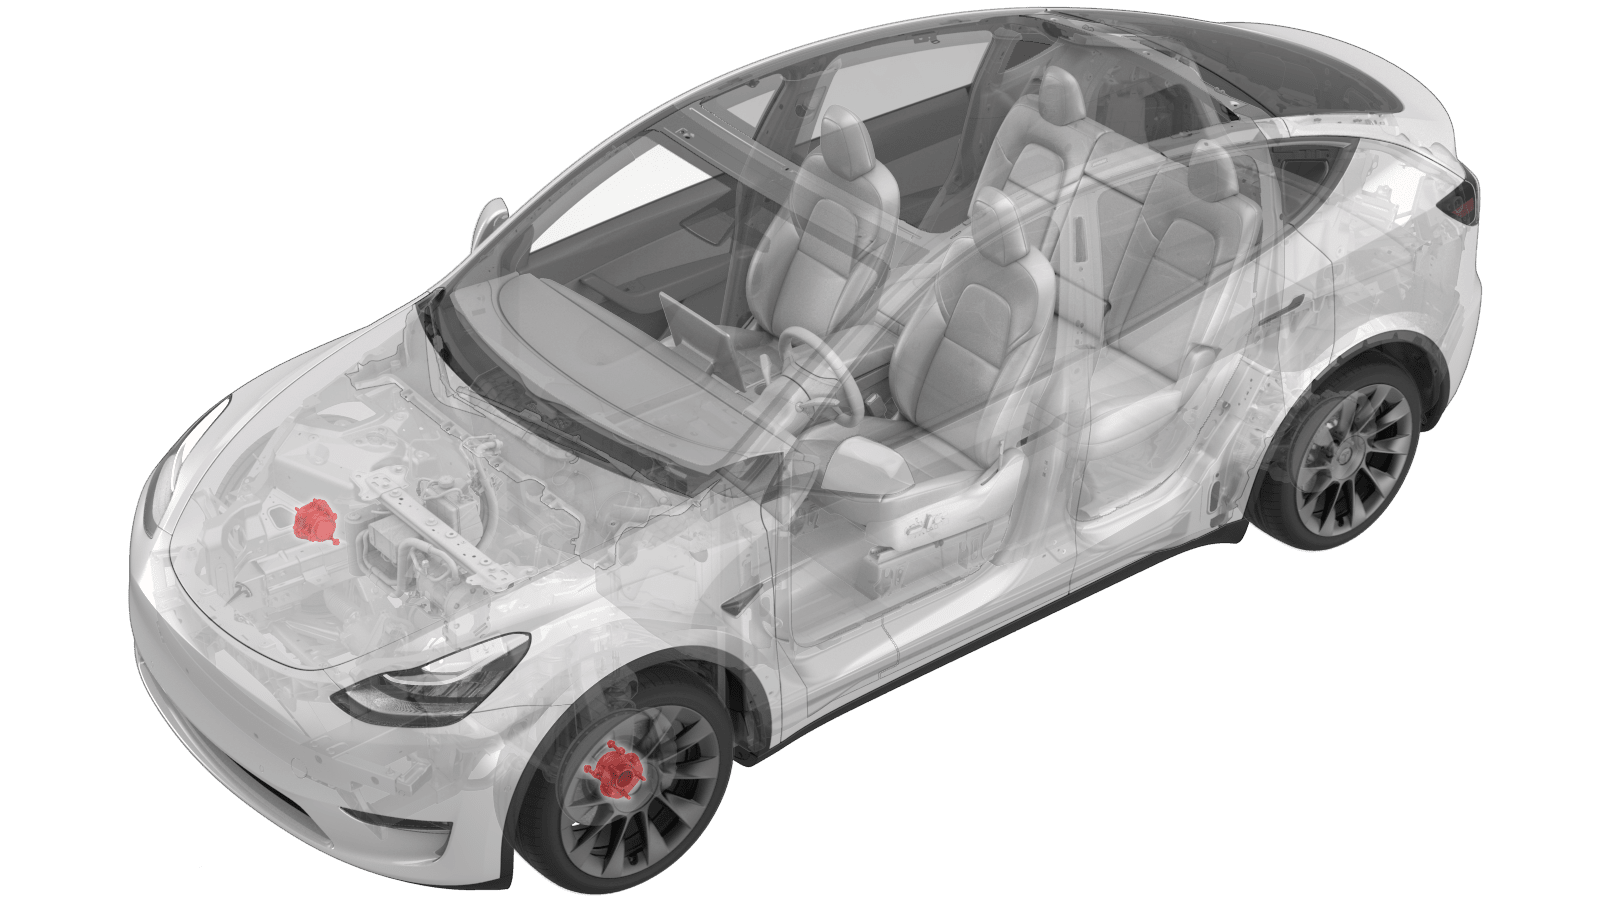
Hub - Front - LH (Dual Motor) (Remove and Replace)
 Correction code
31010802
0.42
NOTE: Unless otherwise explicitly
stated in the procedure, the above correction code and FRT reflect all of the work
required to perform this procedure, including the linked procedures. Do not stack correction codes unless
explicitly told to do so.
NOTE: See Flat Rate
Times to learn more about FRTs and how they are created. To provide feedback on
FRT values, email ServiceManualFeedback@tesla.com.
NOTE: See Personal Protection to make sure wearing proper PPE when
performing the below procedure. See Ergonomic Precautions for safe and healthy working practices.
- 2023-11-03: Move the step order of removing the brake rotor bolt due to the hub puller tool is updated.
Equipment:
- 1096075-00-A Tool, Hub Puller, Hydraulic
- 1062500-00-A Card, Magnetic Field Viewer
Torque Specifications
| Description | Torque Value | Recommended Tools | Reuse/Replace | Notes |
|---|---|---|---|---|
| LH front drive unit halfshaft nut |
 300 Nm (221.2 lbs-ft) |
|
Replace | |
| Bolt that attaches the LH front rotor to the LH front hub |
 5 Nm (3.7 lbs-ft) |
|
Reuse | |
| Bolt that attaches the front brake hose bracket to the LH front knuckle |
 5 Nm (3.7 lbs-ft) |
|
Reuse | |
| Bolts that attach the LH front caliper to the LH front knuckle |
 94 Nm (69.3 lbs-ft) |
|
Replace | |
| Bolts that attach the LH front hub and bearing to the LH front knuckle |
 85 Nm (62.7 lbs-ft) |
|
Reuse |
Remove
- Raise and support the vehicle. See Raise Vehicle - 2 Post Lift.
- If equipped, remove the LH front wheel center cap. See Cap - Wheel (Remove and Replace).
-
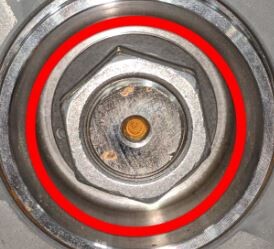
Loosen the LH front drive
unit halfshaft nut.
NoteUse of the following tool(s) is recommended:
- Long Breaker Bar
- 32 mm deep impact socket
-
Loosen the LH front wheel
lug nuts.
CAUTIONUse only hand tools to remove or install the fasteners. Do not use impact or power tools.CAUTIONUse a 6 point socket. Do not use a 12 point socket or a specialty socket.
- Remove the LH front wheel. See Wheel Assembly (Remove and Install).
-
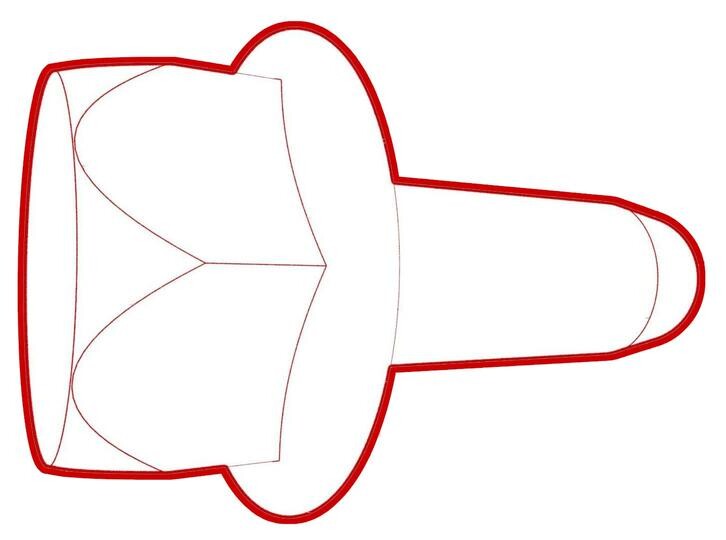
Remove and discard the LH
front drive unit halfshaft nut and washers.
NoteThe washers are attached to the nut.
- Position the hydraulic hub puller tool (1096075-00-A) onto the LH front wheel studs, and then hand tighten the wheel lug nuts (x5).
-
Separate the LH front drive
unit halfshaft from the LH front hub assembly.
NoteWhile holding the hub in position, turn the hydraulic hub puller tool handle clockwise to separate the LH front drive unit halfshaft from the hub assembly.
- Remove the hub puller tool from the LH front wheel studs.
-
Remove the bolt that
attaches the front brake hose bracket to the LH front knuckle.
TIpUse of the following tool(s) is recommended:
- 10 mm socket
- Flex head ratchet/flex head torque wrench
- 4 in extension
-
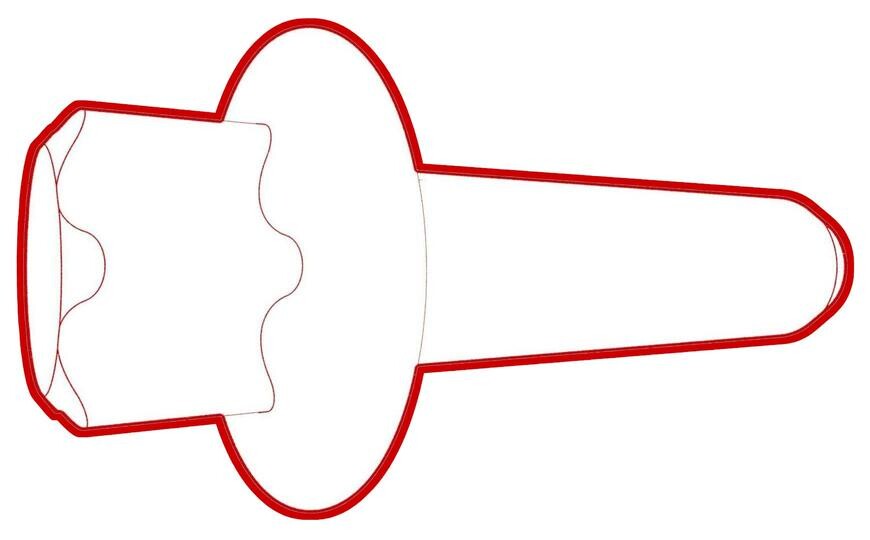
Remove and discard the bolts
that attach the LH front brake caliper to the LH front knuckle, and then
hang the caliper aside with an S-hook.
TIpUse of the following tool(s) is recommended:
- External Torx E18
-
Remove the bolt that
attaches the LH rear front rotor to the hub, but do not remove the rotor at
this time.
TIpUse of the following tool(s) is recommended:
- 10 mm socket
- 2 in extension
- Ratchet/torque wrench
-
Remove the LH front rotor
from the vehicle.
-
Remove the bolts that attach
the LH front hub to the LH front knuckle.
TIpUse of the following tool(s) is recommended:
- 18 mm socket
- Flex head ratchet/flex head torque wrench
- 3 in extension
-
Remove the LH front hub from
the vehicle.
Install
- Use a magnetic field viewing card to check the LH front hub's tone ring.
-
Apply Molykote M-77 Lubricant Paste to the outboard side of the LH
rear halfshaft assembly.
NoteClean the halfshaft before applying if necessary.NoteApply no more than 1 gram to axle only.
- Line up the LH front drive unit halfshaft splines, and then install the LH front hub on the LH front knuckle.
-
Install the bolts that
attach the LH front hub to the LH front knuckle.
 85 Nm (62.7 lbs-ft)TIpUse of the following tool(s) is recommended:
- 18 mm socket
- Flex head ratchet/flex head torque wrench
- 3 in extension
-
Install the LH front rotor
on the LH front hub, and
then install the bolt that attaches the rotor to the hub.
 5 Nm (3.7 lbs-ft)TIpUse of the following tool(s) is recommended:
- 10 mm socket
- Flex head ratchet/flex head torque wrench
- 4 in extension
-
Install and hand tighten a new halfshaft nut on the halfshaft.
-
Install the new bolts that
attach the LH front brake caliper to the LH front knuckle, and then remove
the S-hook from the vehicle.
 94 Nm (69.3 lbs-ft)NoteMark the bolts with a paint pen.TIpUse of the following tool(s) is recommended:
- External Torx E18
-
Install the bolt that
attaches the front brake hose bracket to the LH front knuckle.
 5 Nm (3.7 lbs-ft)TIpUse of the following tool(s) is recommended:
- 10 mm socket
- Flex head ratchet/flex head torque wrench
- 4 in extension
- Install the LH front wheel and hand tighten the wheel lug nuts.
- Lower the vehicle until the tires are touching the ground. See Raise Vehicle - 2 Post Lift.
- Fully tighten the wheel lug nuts. See Wheel Assembly (Remove and Install).
-
Fully tighten the new LH
front drive unit halfshaft nut.
 300 Nm (221.2 lbs-ft)TIpUse of the following tool(s) is recommended:
- 32 mm deep impact socket
- If equipped, install the LH front wheel center cap. See Cap - Wheel (Remove and Replace).
- Refer to the Alignment Requirement tables to determine whether an EPAS alignment check (EC) or four wheel alignment check (AC) is necessary. If performed, add the alignment check/adjust correction code as a separate activity to the SV. See Alignment Requirement - Suspension.