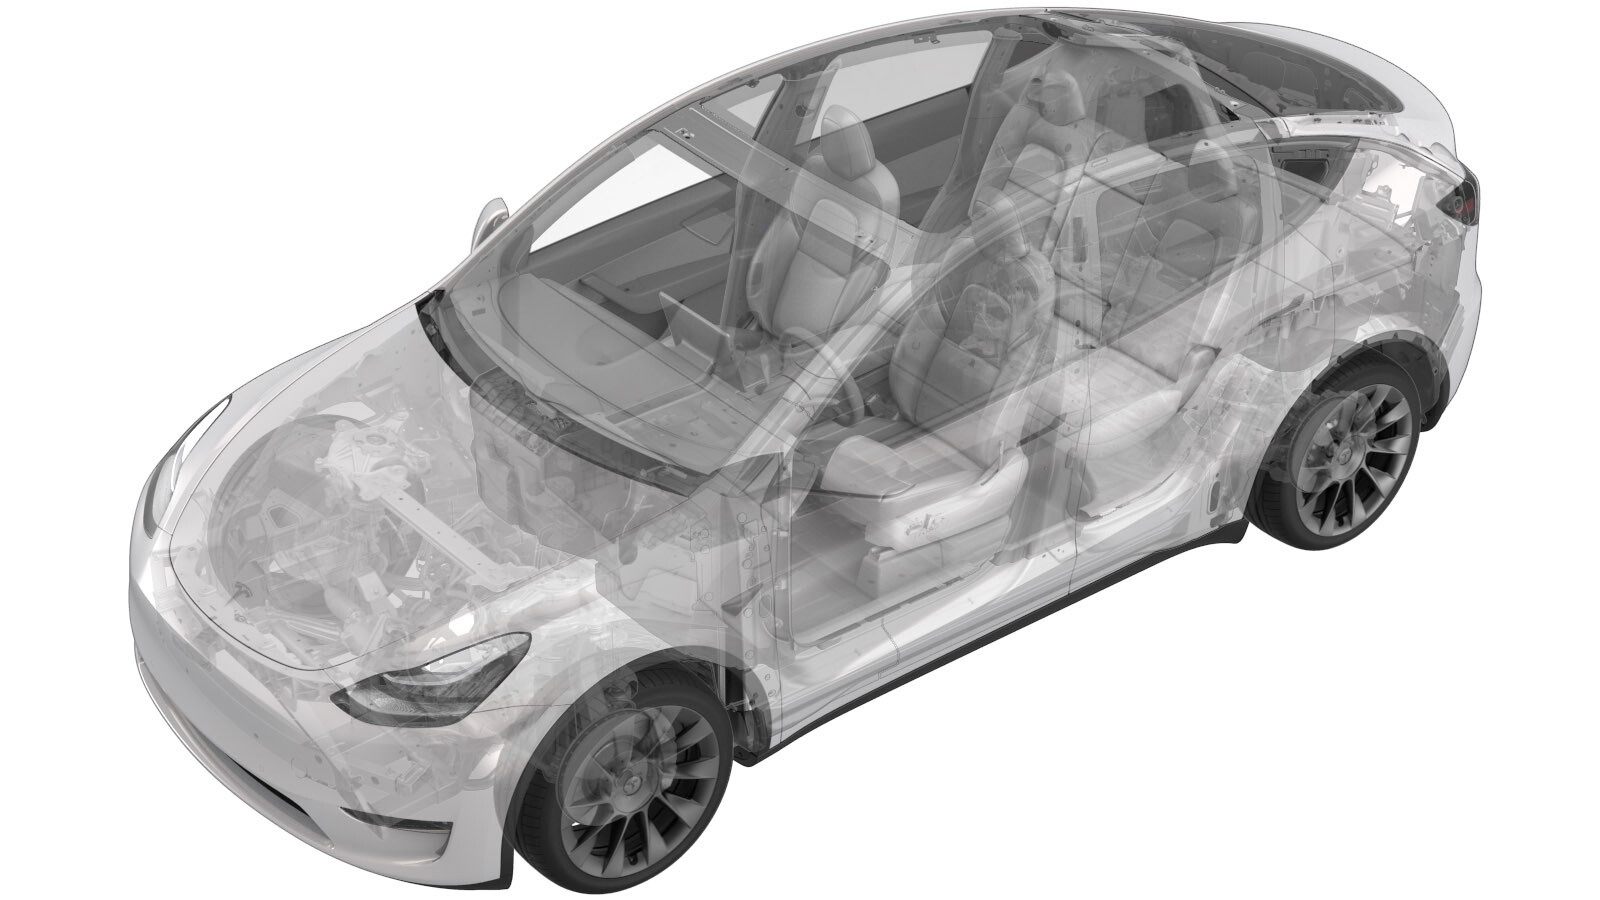
Liftgate Assembly (Remove and Install)
 Correction code
10107001
0.48
NOTE: Unless otherwise explicitly
stated in the procedure, the above correction code and FRT reflect all of the work
required to perform this procedure, including the linked procedures. Do not stack correction codes unless
explicitly told to do so.
NOTE: See Flat Rate
Times to learn more about FRTs and how they are created. To provide feedback on
FRT values, email ServiceManualFeedback@tesla.com.
NOTE: See Personal Protection to make sure wearing proper PPE when
performing the below procedure. See Ergonomic Precautions for safe and healthy working practices.
- 2025-11-25: Added step to apply touch up paint to the liftgate hinge bolts.
Remove
- Open the LH front door and fully lower the LH front window.
- Open the liftgate.
- Open the RH rear door.
- Fold the RH 2nd row seat to the down the position.
- Remove the front trunk load floor. See Trunk Load Floor - Front (Remove and Replace).
- Remove the trunk sill trim. See Trim - Sill - Trunk (Remove and Replace).
- Remove the RH trunk side trim. See .
- Remove the RH upper C-pillar trim. See Trim - C-Pillar - Upper - LH (Remove and Replace).
-
Release the clips that
attach the rear edge of the rear headliner to the vehicle.
-
Remove the liftgate harness ground bolt.
NoteInspect the bolt. If the bolt is a self tapping tri-lobular bolt (1128269-00-A), then discard. If it is a normal bolt (1447438-00-A), reuse.TIpUse of the following tool(s) is recommended:
- 10 mm deep socket
- Flex head ratchet/flex head torque wrench
-
Disconnect the liftgate harness connectors (x3).
-
Release the grommet from the body.
- Use a telescoping hood prop to support the liftgate.
- Place shop towels on the LH and RH side trunk jambs.
-
Release the liftgate power
strut upper ball stud that is attached to the liftgate, and then lay the
strut down on the door jamb.
-
Release the liftgate strut
assist upper ball stud that is attached to the liftgate, and then lay the
strut down on the door jamb.
-
With assistance, remove the
bolts that attach the liftgate to the vehicle, and then place the liftgate
on a stand.
TIpUse of the following tool(s) is recommended:
- 13 mm combination wrench
Install
-
With assistance, position
the liftgate onto the vehicle, and then install the bolts that attach the
liftgate to the vehicle. Do not tighten the bolts at this time.
TIpUse of the following tool(s) is recommended:
- 13 mm socket
- Flex head ratchet/flex head torque wrench
CAUTIONMake sure that the hinges do not come into contact with the glass to prevent damage. -
Route the liftgate harness
through the access hole, and then install the grommet to the body.
-
Connect the liftgate harness
connectors (x3).
-
Install the liftgate harness
ground bolt.
 8 Nm (5.9 lbs-ft)NoteInspect the bolt. If the bolt is a self tapping tri-lobular bolt (1128269-00-A), then discard. If it is a normal bolt (1447438-00-A), reuse.TIpUse of the following tool(s) is recommended:
- 10 mm deep socket
- Flex head ratchet/flex head torque wrench
-
Install the liftgate power
strut upper ball stud to the liftgate.
-
Install the liftgate strut
assist upper ball stud to the liftgate.
-
Install the clips that
attach the rear edge of the rear headliner to the vehicle.
- Install the RH upper C-pillar trim. See Trim - C-Pillar - Upper - LH (Remove and Replace).
- Install the RH trunk side trim. See .
- Install the trunk sill trim. See Trim - Sill - Trunk (Remove and Replace).
- Install the front trunk load floor. See Trunk Load Floor - Front (Remove and Replace).
- Fold the RH 2nd row seat to the vertical the position.
-
Close the liftgate to check
gap/flush. With assistance, perform adjustment as necessary to the hinge
bolts and trunk striker.
NoteRefer to CVIS for latest specifications.
-
Tighten the bolts that
attach the liftgate to the vehicle.
 32 Nm (23.6 lbs-ft)TIpUse of the following tool(s) is recommended:
- 13 mm socket
- Flex head ratchet/flex head torque wrench
-
Apply touch up paint to the
bolt heads (x4 total) on the LH and RH liftgate hinges and let dry.
NoteShake the paint canister before applying the paint.NoteMake sure the paint completely covers the bolt head and also the space between the bolt head and the hinges. This will help prevent corrosion at the hinge bolt holes.
Figure 1. LH shown; RH similar - Raise the LH front window and close the LH front door.
- Close the liftgate.