Brake Pedal (Non-Structural Pack) (Remove and Replace)
 Correction code
33251002
2.94
NOTE: Unless otherwise explicitly
stated in the procedure, the above correction code and FRT reflect all of the work
required to perform this procedure, including the linked procedures. Do not stack correction codes unless
explicitly told to do so.
NOTE: See Flat Rate
Times to learn more about FRTs and how they are created.
NOTE: See Personal Protection to make sure wearing proper PPE when
performing the below procedure. NOTE: See Ergonomic Precautions for safe and healthy working
practices.
Correction code
33251002
2.94
NOTE: Unless otherwise explicitly
stated in the procedure, the above correction code and FRT reflect all of the work
required to perform this procedure, including the linked procedures. Do not stack correction codes unless
explicitly told to do so.
NOTE: See Flat Rate
Times to learn more about FRTs and how they are created.
NOTE: See Personal Protection to make sure wearing proper PPE when
performing the below procedure. NOTE: See Ergonomic Precautions for safe and healthy working
practices.
- 2025-09-08: Added steps to remove/install the cross car beam from/to the vehicle.
Remove
- Remove the rear underhood apron. See Underhood Apron - Rear (Remove and Replace).
- Remove the underhood storage unit. See Underhood Storage Unit (Remove and Replace).
- Disconnect 12V power. See 12V/LV Power (Disconnect and Connect).
- Remove the cross car beam. See Beam - Cross Car (Remove and Replace)
-
Disconnect the brake pedal
electrical connector.
- Remove the brake light switch. See Switch - Brake Light (Remove and Replace).
-
Remove the brake clevis pin cotter pin.
-
Remove the brake clevis pin that attaches the brake pedal to the electromechanical brake booster.
-
Disconnect the accelerator pedal electrical connector.
-
Release the clips that attach the electrical harness to the brake pedal assembly.
-
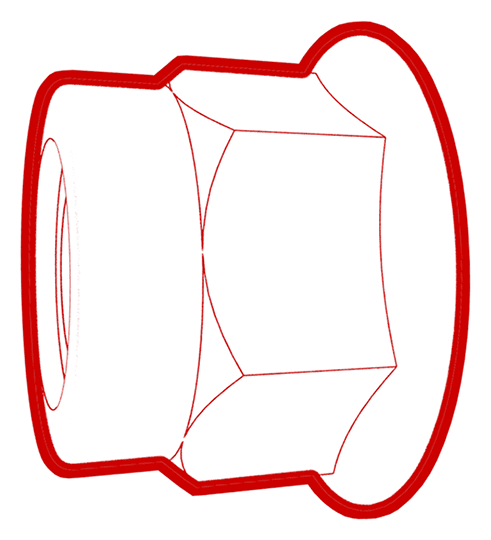
Remove the bolt and discard the nuts (x4)
that attach the brake pedal assembly to the vehicle.
TIpUse of the following tool(s) is recommended:
- 13mm socket
- 10mm socket
- Flex head ratchet / flex head torque wrench
- 6 in extension
-
Remove the brake pedal and the accelerator pedal as an assembly from the vehicle.
Install
- Install the brake pedal assembly onto the studs (x4) of the body.
-
Install the bolt
and new nuts (x4) that attach the brake pedal assembly to the vehicle.
 16.5 Nm (12.2 lbs-ft)
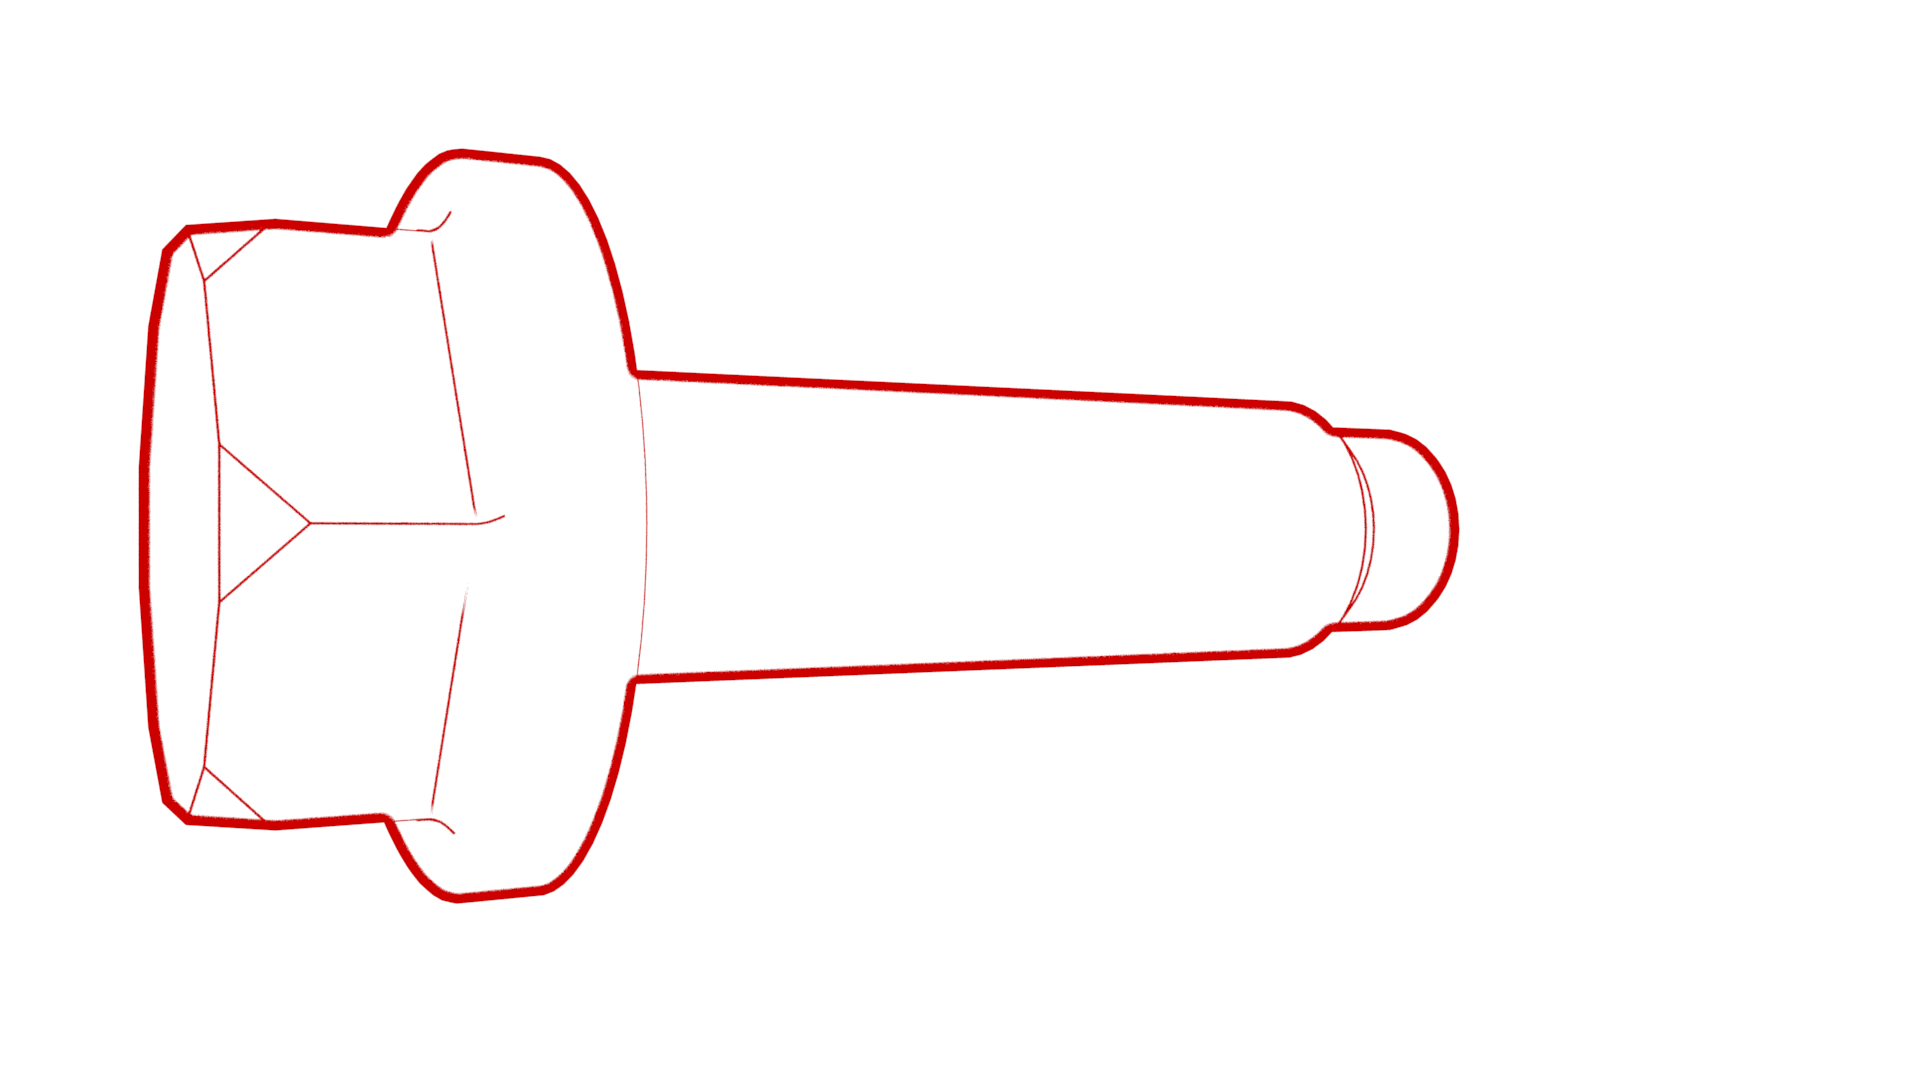 13 Nm (9.6 lbs-ft)TIpUse of the following tool(s) is recommended:
- 13mm socket
- 10mm socket
- Flex head ratchet / flex head torque wrench
- 6 in extension
-
Fasten the clips that attach the electrical harness to the brake pedal assembly.
-
Connect the accelerator pedal electrical connector.
-
Install the brake clevis pin that attaches the brake pedal to the electromechanical brake booster.
-
Install the brake clevis pin cotter pin.
-
Install the brake light
switch. See Switch - Brake Light (Remove and Replace).
NoteInstall a new brake switch if the existing one was damaged during removal.NoteConfirm that the brake pedal is in the home position: Push the brake pedal switch into the clip until it stops, and then twist the brake switch clockwise 45 degrees to set the brake switch in position. Do not push the brake pedal switch too hard as to move the brake pedal.
-
Connect the brake pedal electrical
connector.
- Install the cross car beam. See Beam - Cross Car (Remove and Replace)
- Connect 12V power. See 12V/LV Power (Disconnect and Connect).
- Install the underhood storage unit. See Underhood Storage Unit (Remove and Replace).
- Install the rear underhood apron. See Underhood Apron - Rear (Remove and Replace).