Drive Unit - Rear (3DU) (Remove and Install)
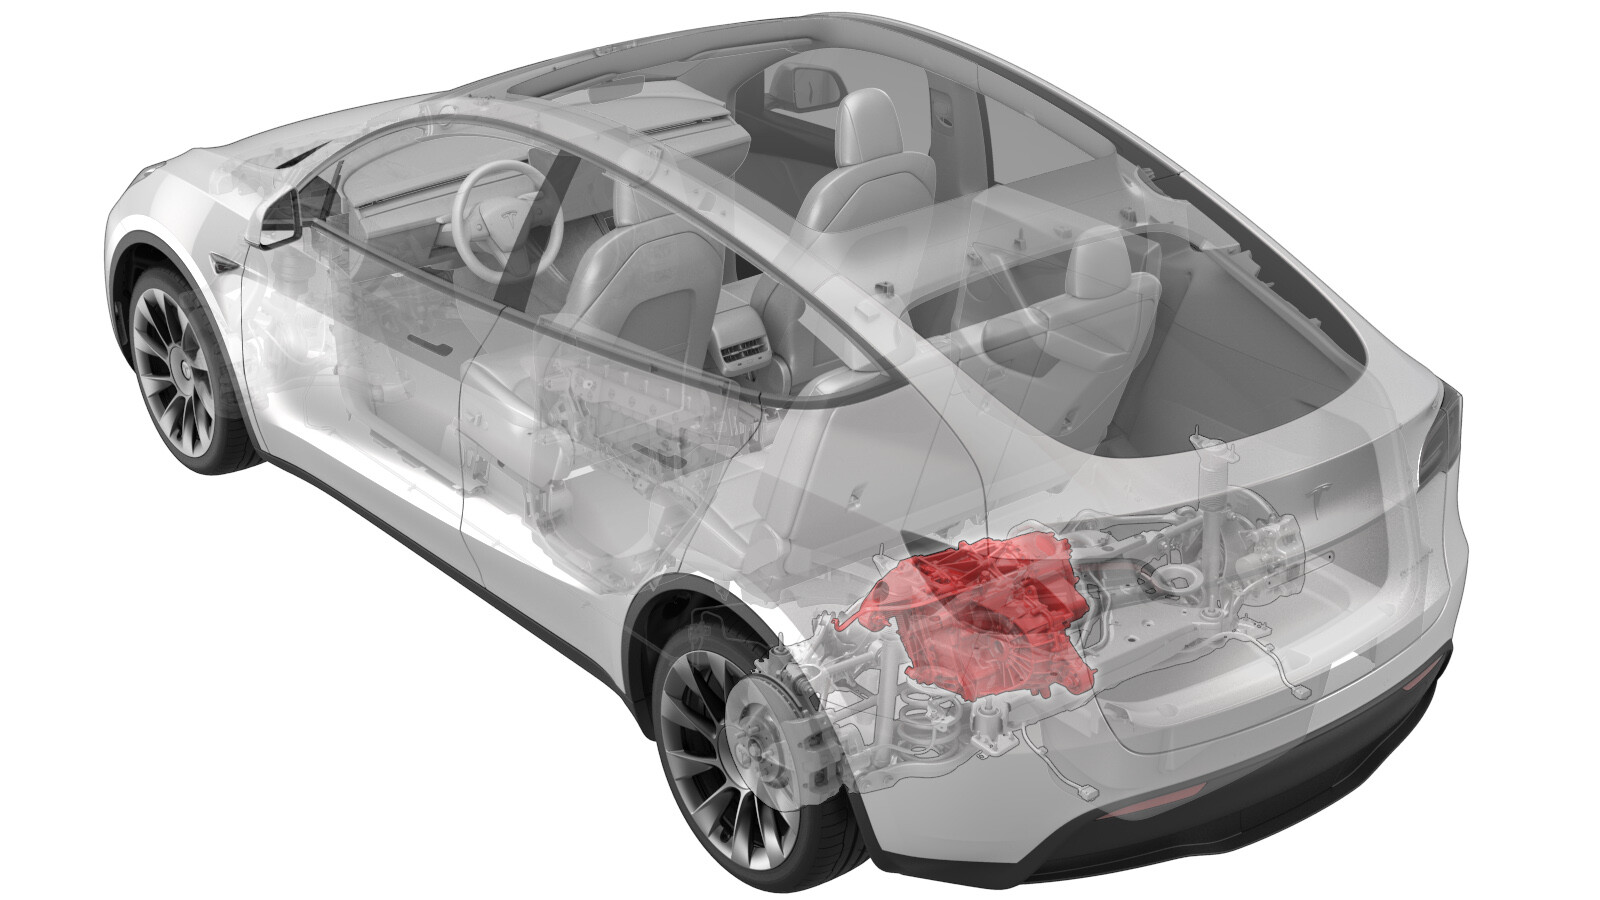 Correction code
40011001
3.12
NOTE: Unless otherwise explicitly
stated in the procedure, the above correction code and FRT reflect all of the work
required to perform this procedure, including the linked procedures. Do not stack correction codes unless
explicitly told to do so.
NOTE: See Flat Rate
Times to learn more about FRTs and how they are created. To provide feedback on
FRT values, email ServiceManualFeedback@tesla.com.
NOTE: See Personal Protection to make sure wearing proper PPE when
performing the below procedure. See Ergonomic Precautions for safe and healthy working practices.
- 2024-01-11: Updated torque figure for the bolt that attaches the ground strap to the RDU from 6 Nm to 10 Nm.
Equipment:
- 1099645-00-B Fixture, Subframe, Model 3
- 1130279-00-A Lifting Sling, Drive Unit, Model 3 (NA, APAC)
- 1130481-00-A Adapter, Subframe, Body Shop, Model 3
- 1096075-00-A Tool, Hub Puller, Hydraulic
- 1498673-00-A KIT, CABLE AXLE REMOVER, MS/MX/M3
- 1140311-00-A Lever Lock, HV Connector, Model 3
Torque Specifications
| Description | Torque Value | Recommended Tools | Reuse/Replace | Notes |
|---|---|---|---|---|
| Bolt that attaches the rear drive unit HV harness bracket to the rear drive unit |
 6 Nm (4.4 lbs-ft) |
|
Reuse | |
| Bolt that attaches the rear LH ABS wheel speed sensor to the knuckle |
 5 Nm (3.7 lbs-ft) |
|
Reuse | |
| Bolt that attaches the ground strap harness to the rear drive unit assembly |
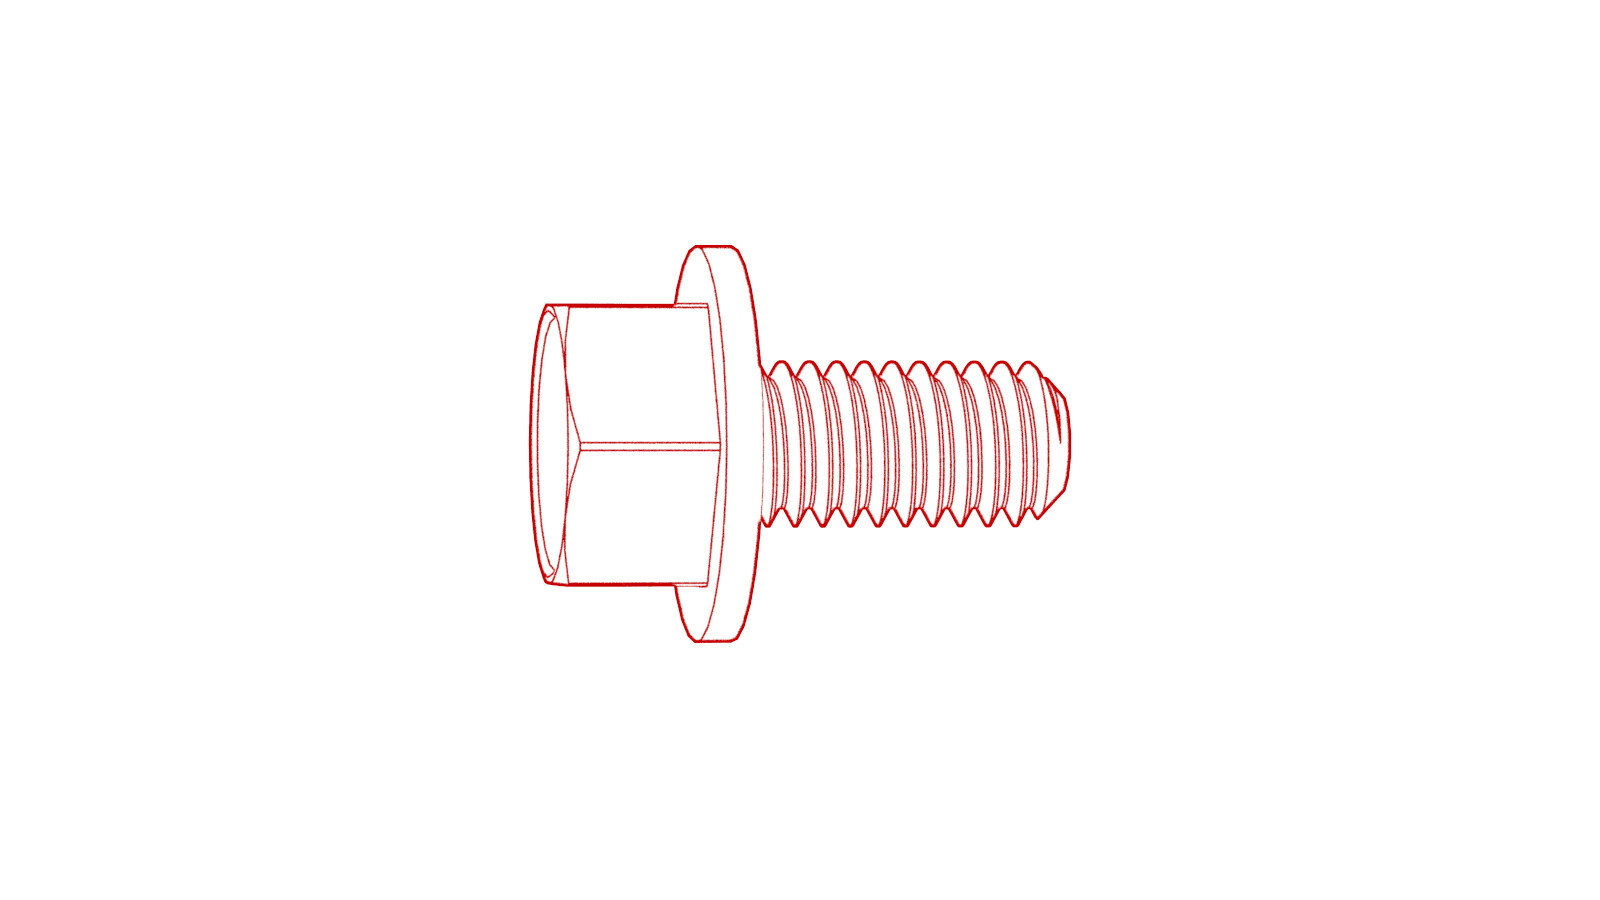 10 Nm (7.4 lbs-ft) |
|
Reuse | |
| Bolt and nut that attach the LH rear upper aft link to the knuckle |
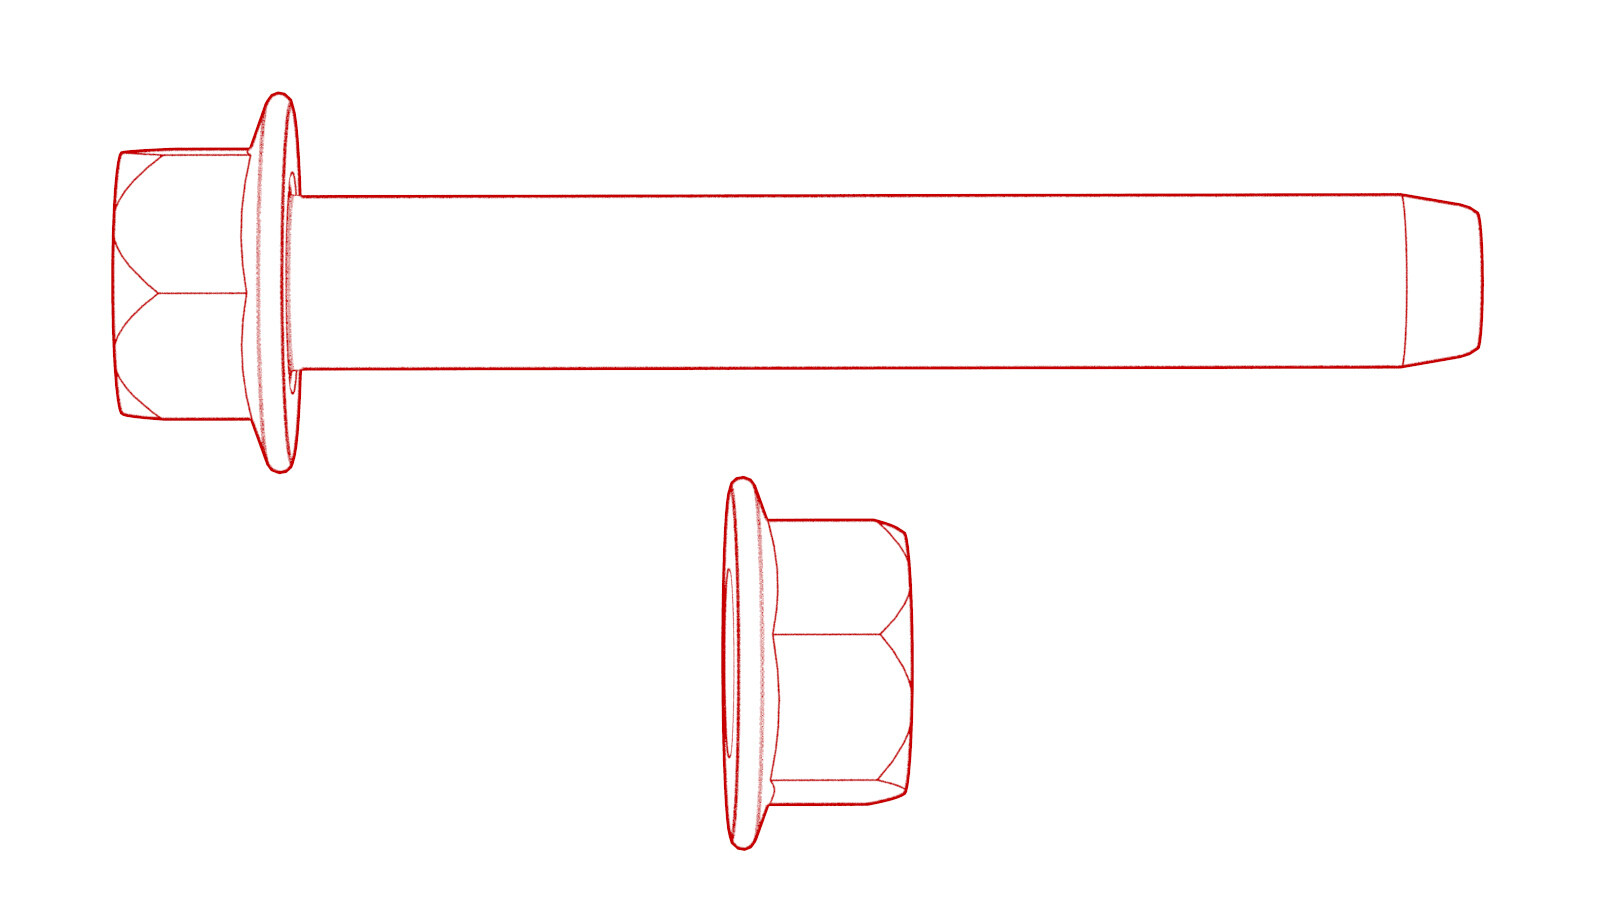 134 Nm (98.8 lbs-ft) |
|
Reuse |
Note The bolt and nut
will be tightened to specification during the Four Wheel Alignment
(Check and Adjust) at the end of the Rear Subframe Assembly (Remove
and Install) procedure. |
| Bolt and nut that attach the LH upper fore link to the knuckle |
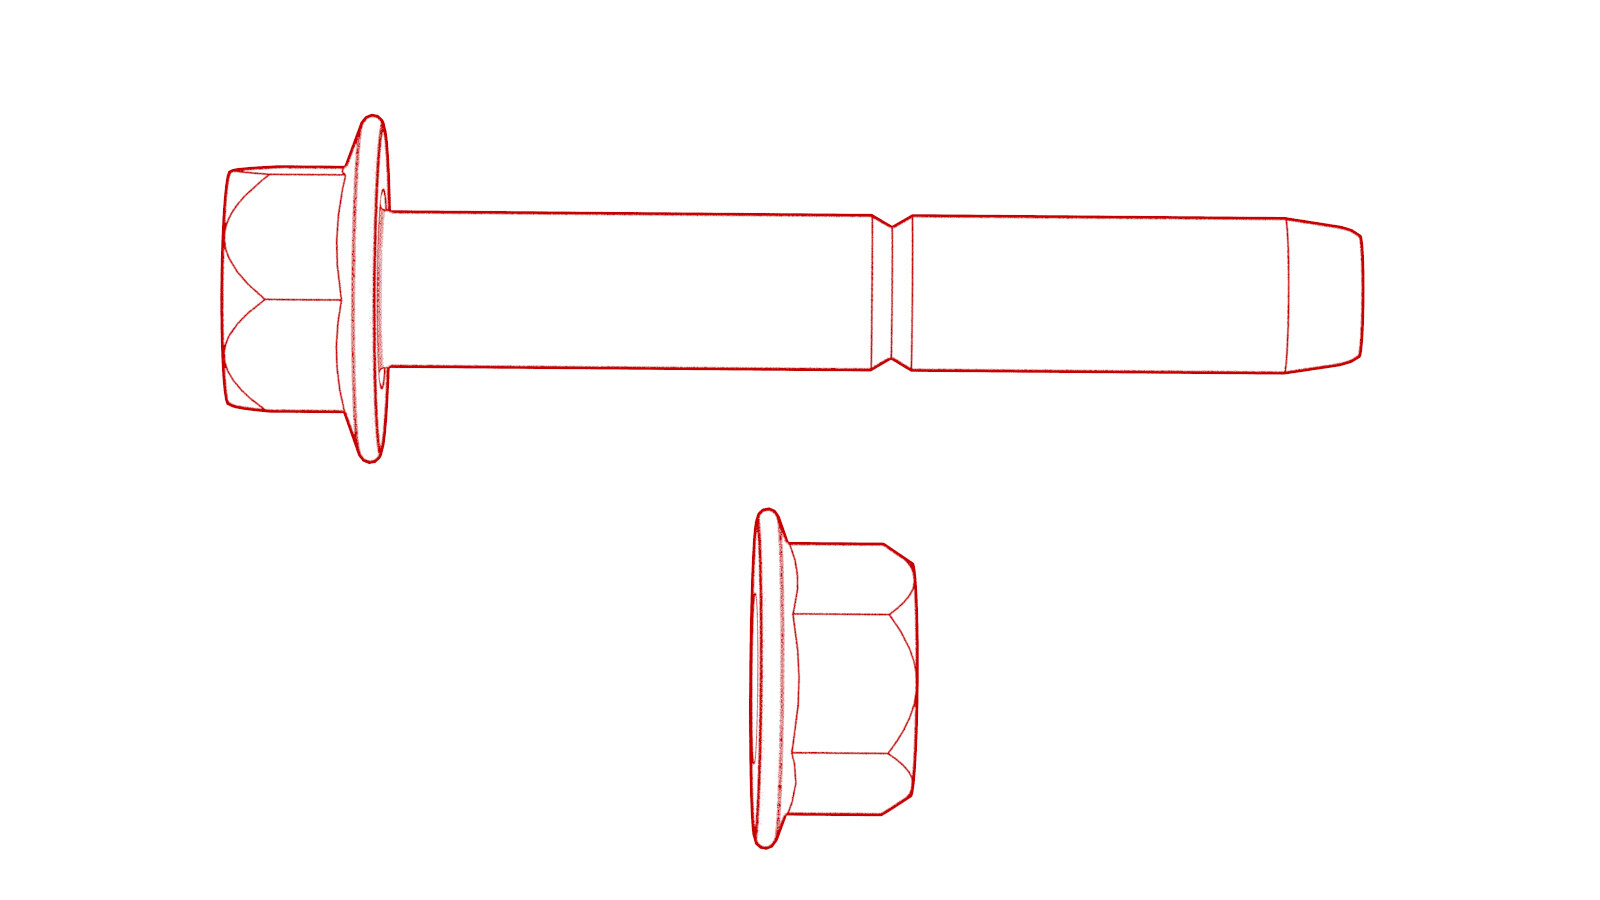 84 Nm (61.9 lbs-ft) |
|
Reuse |
Note The bolt and nut
will be tightened to specification during the Four Wheel Alignment
(Check and Adjust) at the end of the Rear Subframe Assembly (Remove
and Install) procedure. |
| Bolt and nut that attach the LH rear toe link to the knuckle |
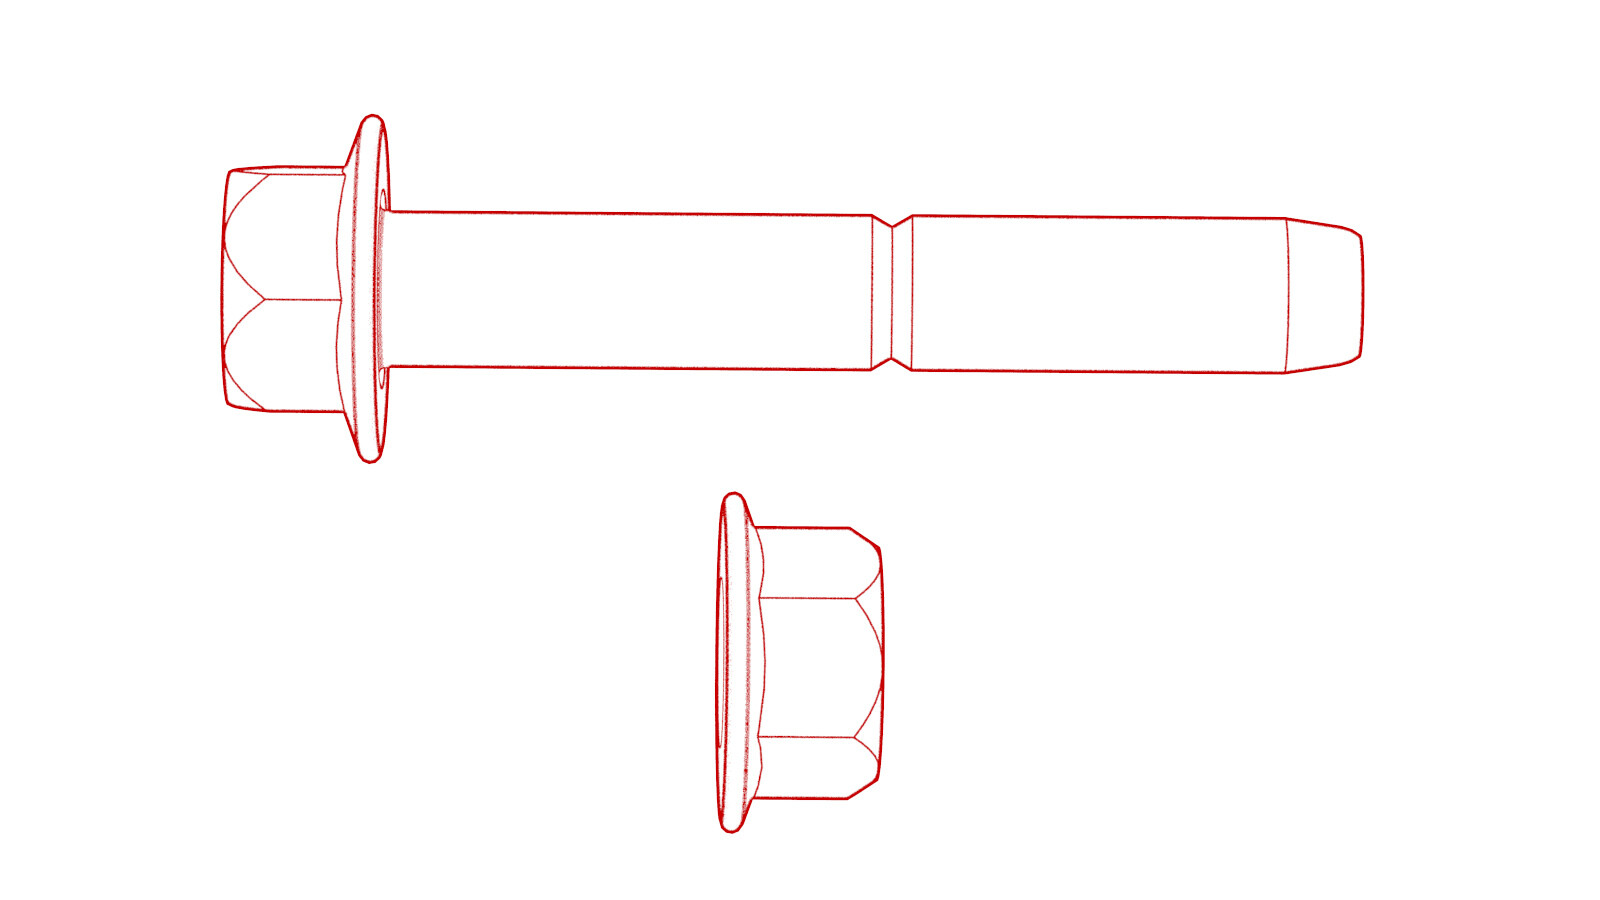 76 Nm (56.0 lbs-ft) |
|
Reuse |
Note The bolt and nut
will be tightened to specification during the Four Wheel Alignment
(Check and Adjust) at the end of the Rear Subframe Assembly (Remove
and Install) procedure. |
| Nut that attaches the LH rear lower aft link to the knuckle |
 115 Nm (84.8 lbs-ft) |
|
Reuse |
Note The bolt and nut
will be tightened to specification during the Four Wheel Alignment
(Check and Adjust) at the end of the Rear Subframe Assembly (Remove
and Install) procedure. |
| Nut that attaches the LH rear lower fore link to the knuckle |
 76 Nm (56.0 lbs-ft) |
|
Reuse |
Note The bolt and nut
will be tightened to specification during the Four Wheel Alignment
(Check and Adjust) at the end of the Rear Subframe Assembly (Remove
and Install) procedure. |
| Bolt that attaches the LH mount of the rear drive unit to the rear subframe |
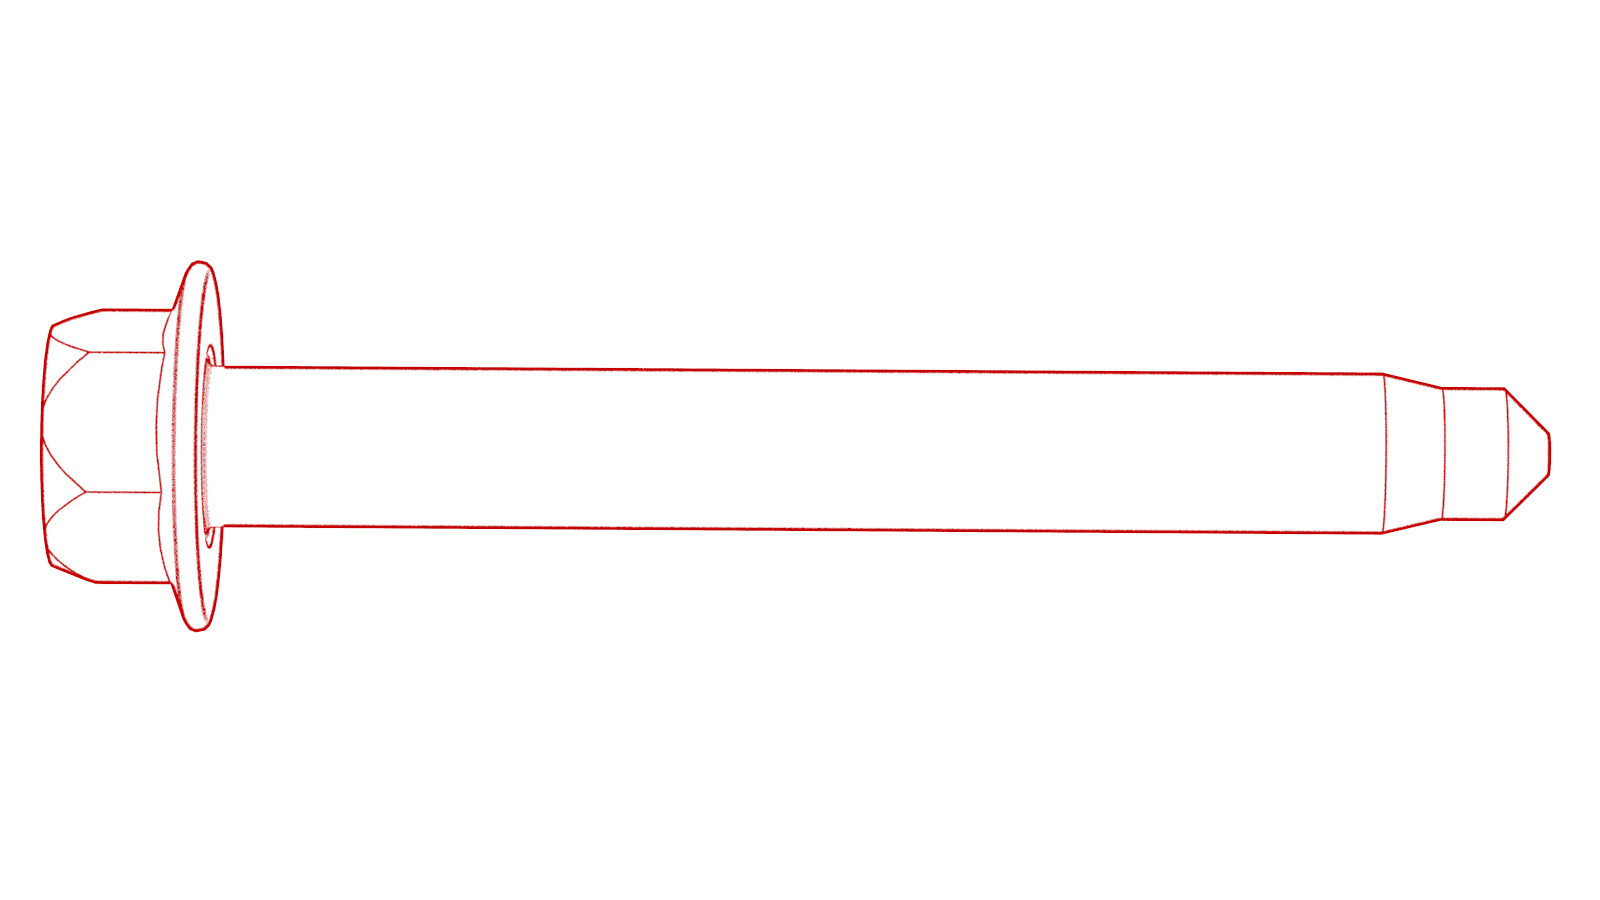 80 Nm (59.0 lbs-ft) |
|
Reuse | |
| Bolt that attaches the RH mount of the rear drive unit to the rear subframe |
 80 Nm (59.0 lbs-ft) |
|
Reuse | |
| Bolt that attaches the rear of the rear drive unit to the rear subframe |
 80 Nm (59.0 lbs-ft) |
|
Reuse |
Remove
- Remove the rear subframe assembly. See Subframe Assembly - Rear (Remove and Install).
-
Release the clip that
attaches the rear drive unit inlet hose to the HV harness bracket, and then
remove the hose from the rear subframe assembly.
-
Remove the bolt that attaches the rear drive unit HV harness bracket to the rear drive unit.
TIpUse of the following tool(s) is recommended:
- 10 mm socket
-
Slide the release to unlock the rear drive unit HV connector handle of the rear drive unit to HV battery harness from the secured position.
-
Fully raise the handle on the rear drive unit HV connector.
- Disconnect the rear drive unit HV connector from the rear drive unit HV header, and then remove the cable from the assembly.
- If the rear drive unit is being replaced, continue to the next step. If the drive unit is not being replaced, skip to step 9.
-
Perform rear drive unit diode test.
NoteVerify the rear drive unit HV cable is disconnected from the HV battery. Use a multimeter in diode mode, with the positive DMM probe to the B- of the inverter and the negative probe to the B+. Pin #1 on HV cables is B- and Pin #2 is B+. MOSFET acceptable diode reading is 1.0V-2.0V. IGBT acceptable diode reading is 0.45V-2.0V. If the result for a reading is OL or the reading is greater than 2V, verify the probes are installed correctly.
-
Remove the bolt that
attaches the ground strap harness to the rear drive unit, and then remove
the harness from the assembly.
TIpUse of the following tool(s) is recommended:
- 10 mm socket
- 4 in extension
-
Remove the bolt that attaches the rear LH ABS wheel speed sensor to the knuckle, and then remove the sensor from the knuckle.
TIpUse of the following tool(s) is recommended:
- 10 mm socket
- 6 in extension
-
Release the grommet that
attaches the rear LH ABS wheel speed sensor cable to the rear knuckle.
-
Remove the bolt and nut that attach the LH rear upper aft link to the knuckle.
TIpUse of the following tool(s) is recommended:
- 21 mm socket
- 6 in extension
-
Remove the bolt and nut that attach the LH upper fore link to the knuckle.
TIpUse of the following tool(s) is recommended:
- 21 mm socket
- 6 in extension
-
Remove the bolt and nut that attach the LH rear toe link to the knuckle.
TIpUse of the following tool(s) is recommended:
- 18 mm socket
-
Disconnect the electrical harness from the inverter low voltage connector.
CAUTIONMove the low voltage connector away from the coolant manifold to prevent that coolant is spilled onto the connector during inverter removal.
-
Release the clip that attaches the low voltage electrical harness to the inverter.
-
Release the clips that
attach the resolver electrical harness to the rear drive unit, and then
disconnect the electrical connector.
- Repeat step 10through step 14 for the RH side of the vehicle.
-
Position the axle remover
cable around the inner joint of the LH rear drive unit halfshaft, and then
use a cable tie to hold the axle remover cable in position.
Figure 1. Axle removed from drive unit for demonstration purposes - Hook the axle remover slide hammer on the 2 axle remover cable loops, and then use the slide hammer to release the halfshaft from the drive unit.
- With assistance, remove the LH rear drive unit halfshaft from the rear drive unit, and then install a halfshaft plug into the opening of the gearbox.
- Repeat step 19 through step 21 for the RH rear drive unit halfshaft.
- Attach the drive unit sling tool to the rear drive unit.
- Position the drive unit stand underneath the gantry.
- Attach the drive unit sling tool to the gantry.
- Raise the sling tool so that there is a slight tension on the cables.
-
Remove the bolt that
attaches the LH mount of the rear drive unit to the rear subframe.
TIpUse of the following tool(s) is recommended:
- 18 mm socket
-
Remove the bolt that
attaches the RH mount of the rear drive unit to the rear subframe.
TIpUse of the following tool(s) is recommended:
- 18 mm socket
-
Remove the bolt that
attaches rear of the rear drive unit to the rear subframe.
TIpUse of the following tool(s) is recommended:
- 18 mm socket
- Raise the drive unit sling tool to lift the rear drive unit out of the rear subframe.
- Move the subframe and lifting tool from beneath the drive unit.
- Position a coolant catcher container beneath the rear drive unit assembly, and then lower the drive unit assembly to hover over the container.
-
Release the clip that
attaches the inverter-to-cooler hose to the inverter, and then remove the
hose from the inverter.
-
Release the clips that
attach the inverter-to-cooler hose to the rear drive unit.
-
Release the clip that
attaches the inverter-to-cooler hose to the cooler, and then remove the hose
from the assembly.
-
Release the clips that
attach the coolant outlet hose to the rear drive unit.
-
Release the spring clip that
attach the coolant outlet hose from the rear drive unit heat exchanger, and
then remove the hose from the rear drive unit.
- Remove the coolant catcher container from beneath the rear drive unit assembly.
- Position an empty drive unit crate below the rear drive unit.
- Lower the rear drive unit into the empty crate or pallet.
-
Remove the drive unit sling
tool from the rear drive unit.
Install
- Position the new rear drive unit beneath the gantry.
- Attach the drive unit sling tool to the new rear drive unit.
- Raise the new rear drive unit out of the crate.
- Move the rear subframe and lifting tool beneath the rear drive unit.
- With an assistant, lower the drive unit sling tool to install the new rear drive unit into the rear subframe.
-
Install and hand-tighten the
bolt and nut that attach the rear bushing of the rear drive unit to the rear
subframe.
TIpUse of the following tool(s) is recommended:
- 18 mm socket
-
Install and hand-tighten the
bolt that attaches the RH bushing of the rear drive unit to the rear
subframe.
TIpUse of the following tool(s) is recommended:
- 18 mm socket
-
Install and hand-tighten the
bolt that attaches the LH bushing of the rear drive unit to the rear
subframe.
NoteUse of the following tool(s) is recommended:
- 18 mm socket
- Lower the drive unit sling tool to release the tension on the cables.
- Remove the drive unit sling tool from the gantry.
- Remove the drive unit sling tool from the rear drive unit.
-
Torque the LH, RH and rear
motor mount bolts.
 80 Nm (59.0 lbs-ft)TIpUse of the following tool(s) is recommended:
- 18 mm socket
-
Remove the halfshaft plugs
from the gearbox, and then with assistance, install the LH and RH rear drive
unit halfshafts into the rear drive unit.
CAUTIONTake care not to damage or displace the oil seal.CAUTIONMake sure that the opening of the snap ring is facing towards the bottom of the drive unit.NoteMove the rear knuckle assembly aside to provide enough clearance to safely install the rear drive unit halfshaft.NoteNew rear drive units come prefilled with gearbox fluid. Clean up any leaks during installation and top off the gearbox fluid as necessary. For more information, search for 1446276-00-B in the Service Tooling Catalog.
-
Verify that the halfshafts
are fully seated:
- Carefully push the halfshaft into the drive unit until there is an audible "click" from the halfshaft stub contacting the pinion shaft.
- There will be a slight pulling sensation on the halfshaft as the halfshaft circlip locks into place.
- Pull on the inner halfshaft cup to confirm that the circlip is locked into place. If the halfshaft detaches from the drive unit then reinstall the halfshaft and then test that it is fully seated.
-
Attach the clips that hold
the coolant outlet hose to the rear drive unit.
-
Install the coolant outlet
hose to the rear drive unit cooler, and then attach the hose with a spring
clip.
CAUTIONPerform a push-pull test to verify that the hose is fully seated.
-
Install the
inverter-to-cooler hose to the cooler, and then attach the hose with a
spring clip.
CAUTIONPerform a push-pull test to verify that the hose is fully seated.
-
Install the clips that
attach the inverter-to-coolant hose to the rear drive unit.
-
Install the
inverter-to-cooler hose to the inverter, and then attach the hose with a
spring clip.
CAUTIONPerform a push-pull test to verify that the hose is fully seated.
- Position the rear subframe and lifting tool beneath the rear drive unit.
-
Install the clips, and
connect the electrical harness to the resolver connector.
-
Connect the oil pump
electrical connector, and then engage the connector lock.
-
With an assistant,
hand-tighten the bolt and nut that attach the LH rear toe link to the
knuckle.
NoteThe bolt and nut will be tightened to specification during the Four Wheel Alignment (Check and Adjust) at the end of the Rear Subframe Assembly (Remove and Install) procedure.
-
With an assistant,
hand-tighten the bolt and nut that attach LH rear upper fore link to the
knuckle.
NoteThe bolt and nut will be tightened to specification during the Four Wheel Alignment (Check and Adjust) at the end of the Rear Subframe Assembly (Remove and Install) procedure.
-
With an assistant,
hand-tighten the bolt and nut that attach the LH rear upper aft link to the
knuckle.
NoteThe bolt and nut will be tightened to specification during the Four Wheel Alignment (Check and Adjust) at the end of the Rear Subframe Assembly (Remove and Install) procedure.
-
Loosely install the nut that
attaches the LH rear lower fore link to LH rear knuckle
-
Install the grommet that
attaches the rear LH ABS wheel speed sensor cable to the rear LH
knuckle.
CAUTIONPerform a push-pull check on the grommet to make sure it is securely fastened to the knuckle.
-
Install the rear LH ABS
wheel speed sensor to the knuckle, and then install a new bolt to attach the
sensor to the knuckle.
 5 Nm (3.7 lbs-ft)TIpUse of the following tool(s) is recommended:
- 10 mm socket
- 6 in extension
-
Fasten the clip that
attaches the low voltage electrical harness to the inverter.
-
Install the electrical
harness clip, and then connect the electrical harness to the inverter low
voltage connector.
-
Install the bolt that
attaches the ground strap harness to the rear drive unit.
 10 Nm (7.4 lbs-ft)TIpUse of the following tool(s) is recommended:
- 10 mm socket
- 4 in extension
- Repeat step 23 through 28 on the RH side of the rear drive unit.
- Position the rear drive unit HV cable on the rear subframe.
-
Fully raise the handle on the rear drive unit HV connector of the rear drive unit to HV battery harness.
-
Install the HV connector special tool onto the rear drive unit HV connector.
-
Use both hands to firmly
connect the rear drive unit HV connector of the rear drive unit to HV
battery harness to the rear drive unit HV header.
CAUTIONMake sure that the connector fits the header squarely and tightly, and that both retention pins enter the handle.
- Remove the HV connector special tool from the rear drive unit HV connector.
-
While pressing the rear
drive unit HV connector onto the rear drive unit HV header, fully lower the
handle.
CAUTIONMake sure that the handle does not bind as it is lowered.
-
Slide the release to lock the rear drive unit HV connector handle in the secured position.
-
Verify that the rear drive
unit HV connector is fully seated, and compare both sides of the connector
that it is properly secured in place.
NoteAn improperly seated connector might lead to connector damage and rear drive unit problems later on.
-
Install the bolt that
attaches the HV harness bracket to the inverter.
 6 Nm (4.4 lbs-ft)TIpUse of the following tool(s) is recommended:
- 10 mm socket
-
Connect the rear drive unit
inlet hose to the inverter coolant coupling, and then fasten the spring
clip.
CAUTIONPerform a push-pull test to verify that the hose is fully seated.
-
Fasten the clip that
attaches the rear drive unit inlet hose to the HV harness bracket.
- Install the rear subframe assembly. See Subframe Assembly - Rear (Remove and Install).
- Check the vehicle wheel alignment, and adjust if necessary. See Four Wheel Alignment Check.