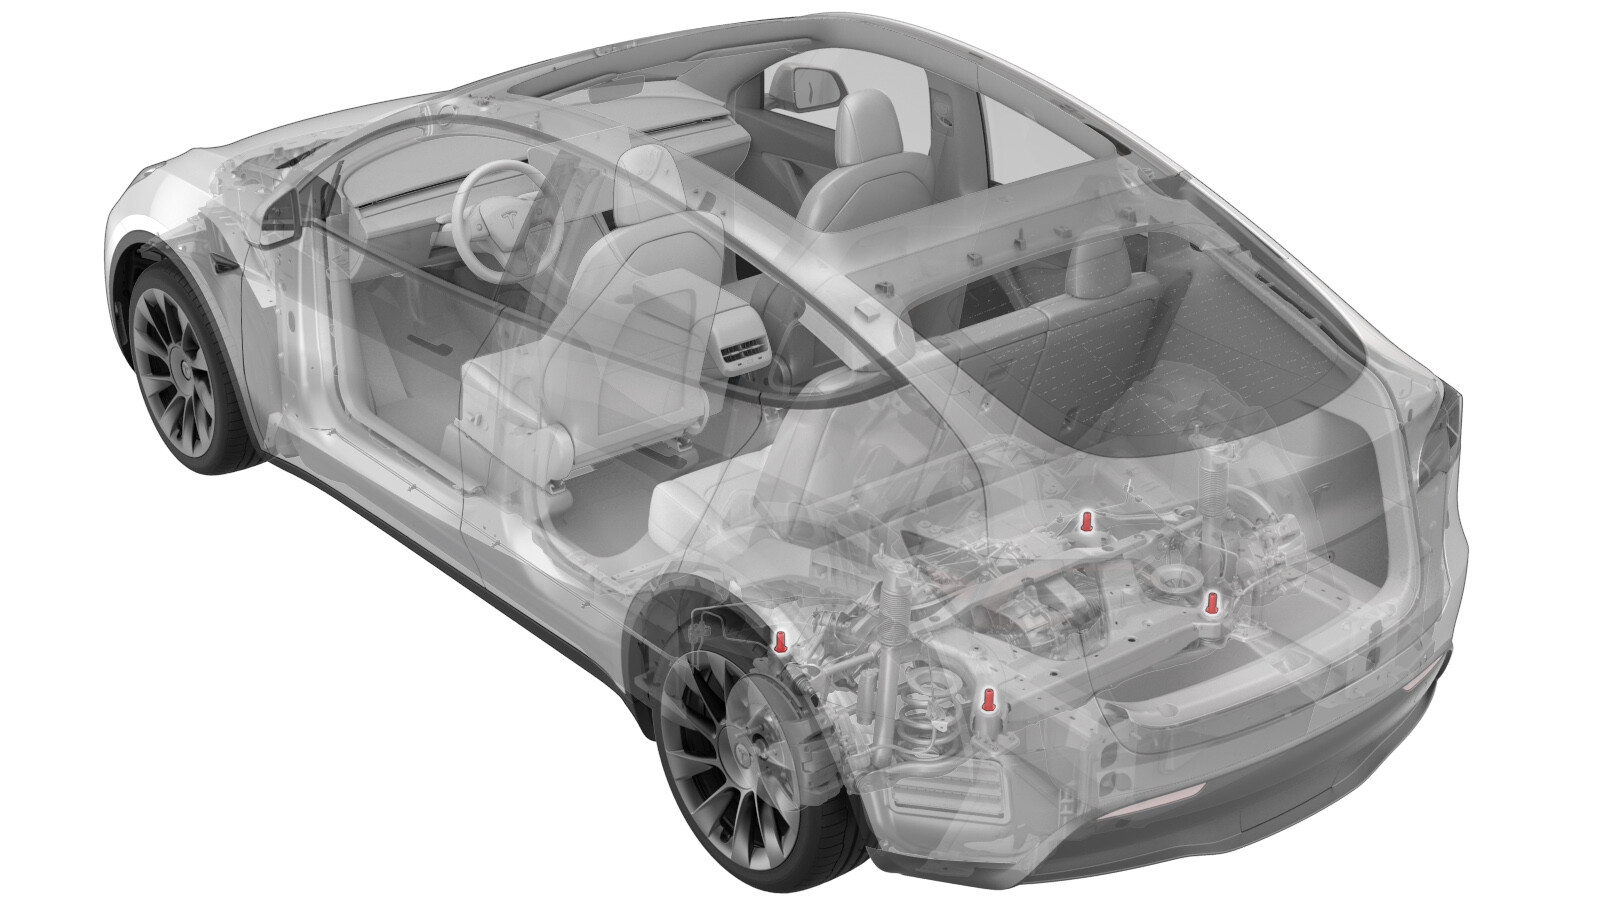
Insert - Subframe - Rear (Remove and Replace)
 Correction code
30014102
2.04
NOTE: Unless otherwise explicitly
stated in the procedure, the above correction code and FRT reflect all of the work
required to perform this procedure, including the linked procedures. Do not stack correction codes unless
explicitly told to do so.
NOTE: See Flat Rate
Times to learn more about FRTs and how they are created. To provide feedback on
FRT values, email ServiceManualFeedback@tesla.com.
NOTE: See Personal Protection to make sure wearing proper PPE when
performing the below procedure. See Ergonomic Precautions for safe and healthy working practices.
- 2024-03-13: Added repair rear subframe insert part number.
- 2023-09-19: Updated procedure according to Serviceability advisement.
Equipment:
- 1717074-00-A M18 Fuel Drill kit
- 1535895-00-A Annular Cutter 23x50mm
Torque Specifications
| Description | Torque Value | Recommended Tools | Reuse/Replace | Notes |
|---|---|---|---|---|
| Rear subframe insert that threads into the rear underbody casting. |
 300 Nm (221.2 lbs-ft) |
|
Reuse |
Remove
- Remove the rear subframe. See Subframe Assembly - Rear (Remove and Install).
-
Remove the rear subframe
insert from the rear underbody casting.
TIpUse of the following tool(s) is recommended:
- 30mm socket
- Long ½ in breaker bar
- Flex head ½ in ratchet
- Inspect the internal threads of the rear subframe insert and the internal threads of the hole in the rear underbody casting.
Install
-
Install the rear subframe
insert into the rear underbody casting.
 300 Nm (221.2 lbs-ft)CAUTIONHand start the insert to avoid cross threading. Do not use electric tools.TIpUse of the following tool(s) is recommended:
- 30mm socket
- Long ½ in breaker bar
- Flex head ½ in ratchet
- Install the rear subframe. See Subframe Assembly - Rear (Remove and Install).
Retrofit
-
Prepare the drill and
annular cutter to remove the threads from the rear underbody casting.
- Attach the drill handle.
- Set the drill speed to 2.
- Chuck the annular cutter into the drill.
- Apply WD-40 or cutting oil to the annular cutter.
-
Staying square to the hole,
drill out the threads from the rear underbody casting where the repair rear
subframe insert is to be retrofitted.
CAUTIONMake sure to wear appropriate PPE, including safety glasses, gloves and ear plugs.
-
Use a clean shop towel to
remove any debris and oil from the hole in the rear underbody casting.
-
Hand start the repair rear
subframe insert (1461703-00-A) into the hole of the rear underbody casting,
making sure that the insert is square to the hole and not at an angle.
NoteThe repair insert is marked with "REP" on the bolt head.
-
Use the impact tool to drive the repair rear subframe insert into the rear
underbody casting.
NoteStop the impact tool when an audible cue indicates that the insert has bottomed out in the rear underbody casting;
-
Tighten the repair rear
subframe insert.
 350 Nm (258.1 lbs-ft)TIpUse of the following tool(s) is recommended:
- 30 mm socket
- Install the rear subframe. See Subframe Assembly - Rear (Remove and Install).