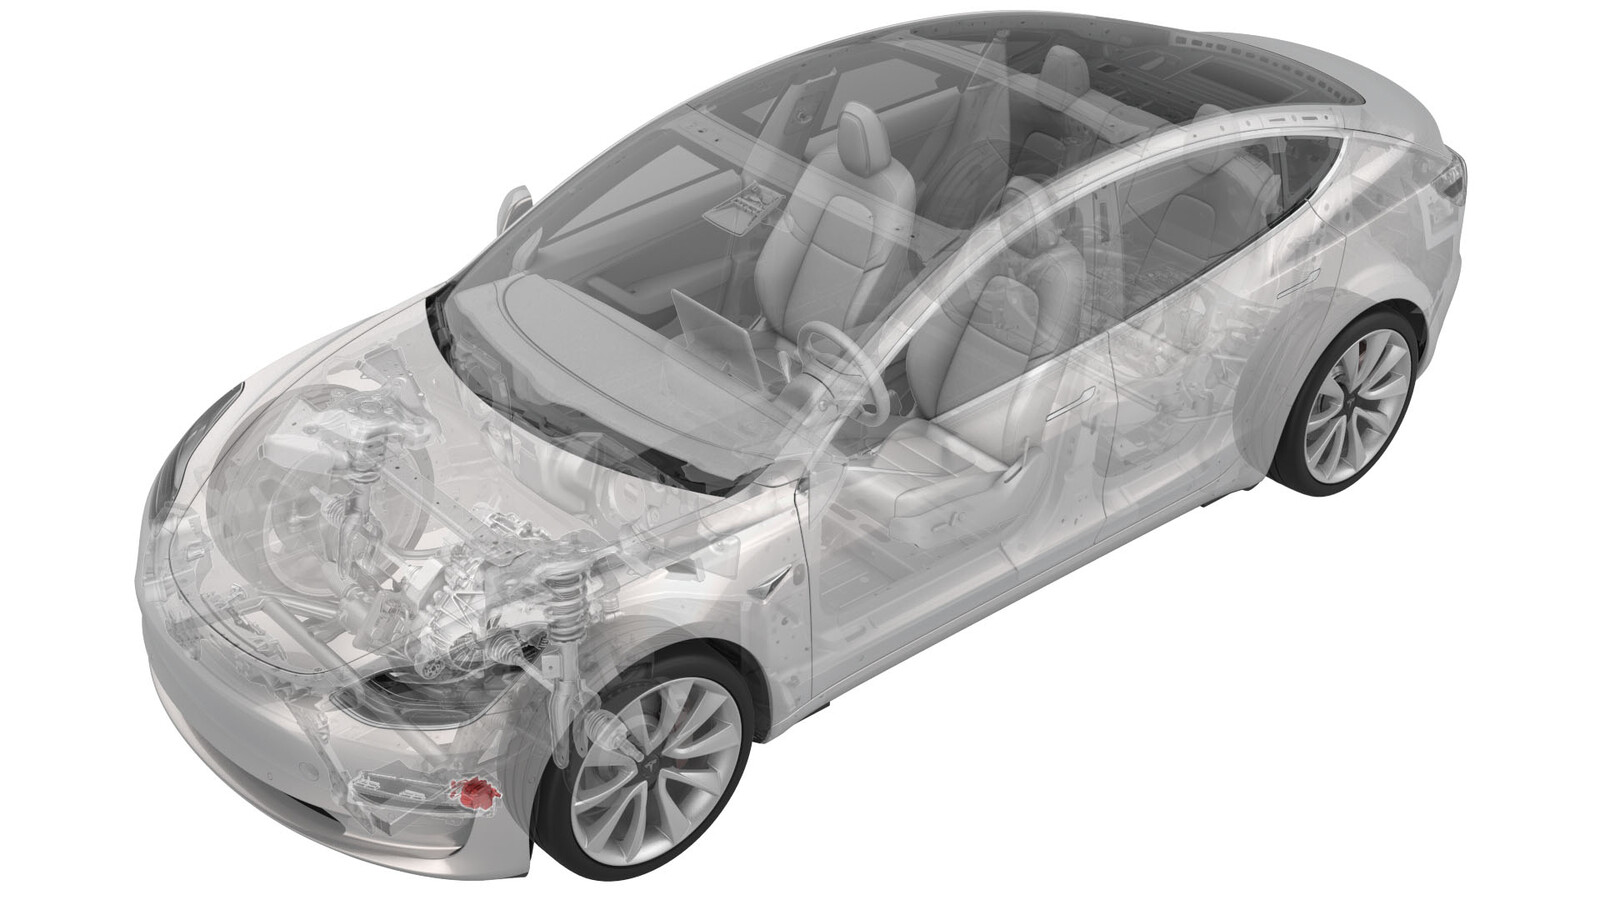
Light - Fog - Front (Adjust)
 Correction code
17404000
0.35
NOTE: Unless otherwise explicitly
stated in the procedure, the above correction code and FRT reflect all of the work
required to perform this procedure, including the linked procedures. Do not stack correction codes unless
explicitly told to do so.
NOTE: See Flat Rate
Times to learn more about FRTs and how they are created. To provide feedback on
FRT values, email ServiceManualFeedback@tesla.com.
NOTE: See Personal Protection to make sure wearing proper PPE when
performing the below procedure. See Ergonomic Precautions for safe and healthy working practices.
- 2025-04-24: Added adjustment procedure using a wall and updated adjustment procedure using a headlight tester.
Adjust the Fog Lights Using a Wall
Special tools required for this procedure:
Equipment:
- 1133569-00-A Pliers, Clip Removal
-
Apply tape on a wall at a
height of 39 cm (15.3 in) from the floor
(distance X).
NoteFor best results, choose a dark working area with low ambient lighting.
-
Apply tape to the floor,
parallel to the wall, at a distance of 4 m (13.1 ft) from the wall.
- Position the vehicle perpendicular to the wall, aligning the vehicle front fascia with the tape on the floor.
-
Use a laser measure to
measure the distance from the center of each front tire to the wall.
NoteIf the measured distances between the front tires differ more than 5 mm (0.2 in), the vehicle is not positioned sufficiently perpendicular to the wall. Reposition the vehicle until the measured distances are within a 5 mm (0.2 in) difference.
-
Make sure that all tires are
inflated to their recommended settings. Refer to the "Tire and Loading
Information" label on the driver's side B-pillar.
- Make sure that the vehicle is powered up and that the exterior lights are set to "On" or "Auto".
- Turn on the front fog lights.
- Use fender covers (or similar) to completely cover both headlights.
-
Check the front fog lights
beam projections on the wall. The fog lights beam projections should be
aligned at the same height, and tangent to (touching) the reference line on
the wall.
NoteDo not sit in the vehicle, as this will affect fog light height.
-
Adjust the fog light(s) as
required.
- Repeat the previous step on the RH fog light, as required.
-
Remove the inflatable airbag from in between the front fascia and the wheel
arch liner.
-
Reinstall the push clips
(x3) that attach the LH and RH front wheel liners to the fascia.
-
Reinstall the clips that
attach the LH/RH front fender garnish to the vehicle.
- Turn off the lights and remove the covers from the head lights.
Adjust the Fog Lights Using a Headlight Tester
Special tools required for this procedure:
Equipment:
- 1133569-00-A Pliers, Clip Removal
- 1133367-00-A Headlight Tester, Beissbarth, Model 815
- Park the vehicle on a level surface.
-
Make sure that all tires are
inflated to their recommended settings. Refer to the "Tire and Loading
Information" label on the driver's side B-pillar.
- Ensure that the vehicle is powered up and that the exterior lights are set to "On" or "Auto".
- Turn on the fog lights.
-
Set up the Headlight Tester,
Beissbarth, Model 815 (1133367-00-A). See one of the following:
NoteUse the knobs on the base of the headlight tester tool to level the tool. The bubble must be entirely inside of the center ring to level the tool.
- Click OK.
- On the headlight tester tool Settings1 Fog Light screen, set the Inclinat. to -1.0%.
- On the headlight tester tool Settings2 Fog Light screen, select Yes to set up the fog light test.
- On the headlight tester tool Settings2 Fog Light screen, select LED.
- Click OK.
- On the headlight tester tool, select the Laser icon in the lower right corner of the screen.
-
Adjust the headlight tester tool horizontal and vertical position to place the headlight laser guide crosshair over the center of the LH fog light.
NoteThe headlight tester tool should be positioned ~300 mm from the surface of the LH fog light lens. Adjust the headlight tester tool height as necessary to match the center point of the fog light. Operating range for the tester is 200-500 mm.NoteDo not sit in the vehicle, as this will affect fog light height.
- Turn off the laser guide.
- To begin the fog light test, select the LH fog light icon on the headlight tester tool touchscreen, and then select the fog light button at the bottom of the screen.
-
Adjust the fog light as
required.
- Roll the headlight tester tool to the RH fog light, and repeat step 12 to 15 as required.
- When both fog lights have been tested, select the Save icon on the headlight tester tool again to view the test results.
-
Remove the inflatable airbag
from in between the front fascia and the wheel arch liner.
-
Reinstall the push clips
(x3) that attach the LH/RH front wheel liners to the fascia.
-
Reinstall the clips (x3)
that attach the LH/RH front fender garnish to the vehicle.
- Turn off the lights and remove the covers from the head lights.